TP-Link 13dBi PharosControl V1 UserGuide - Page 9
Step 7., Server Config
 |
View all TP-Link 13dBi manuals
Add to My Manuals
Save this manual to your list of manuals |
Page 9 highlights
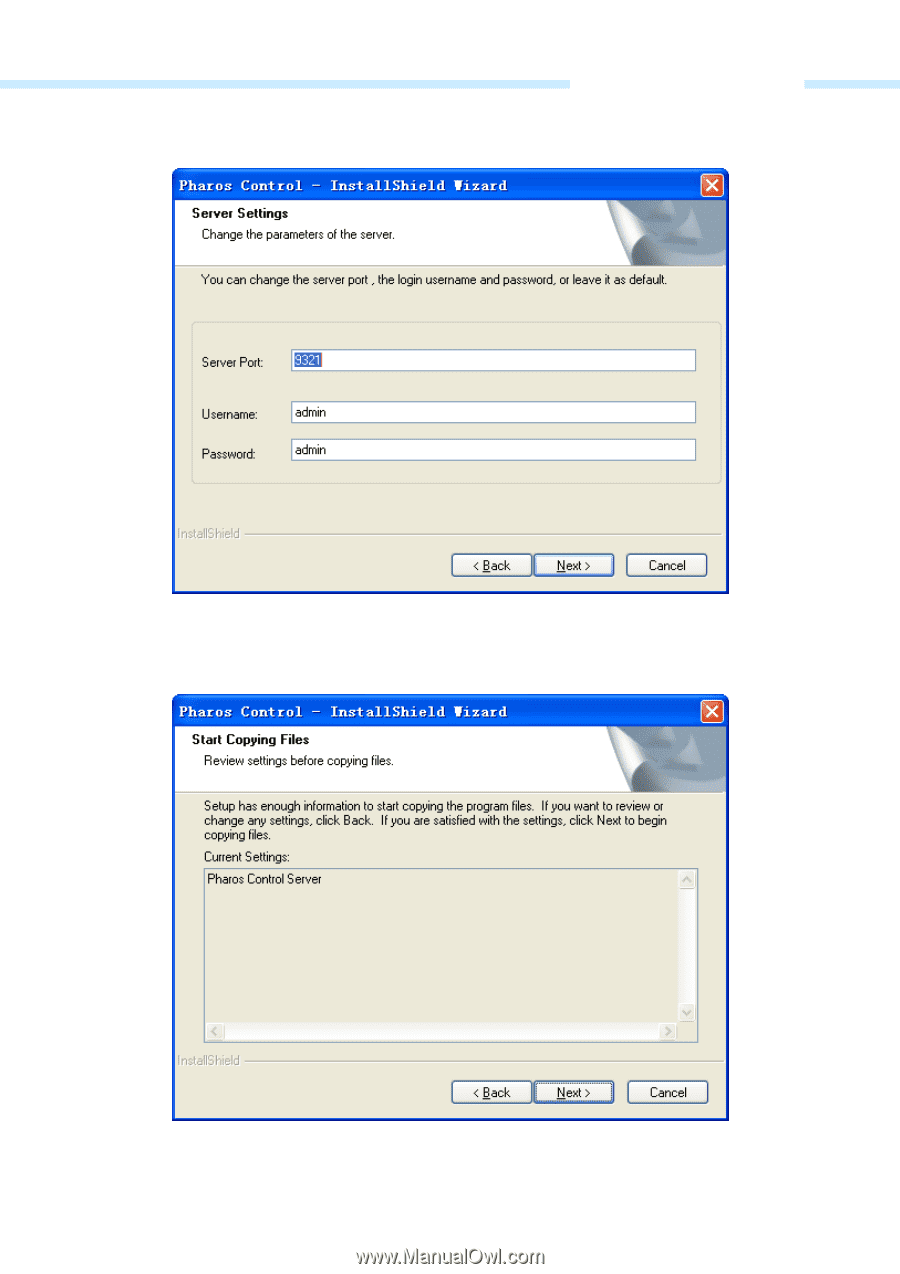
Pharos Control User Guide Step 7. The following screen shows the default settings of the server. You can customize the server port number, the username and password here. Click Next to continue. Figure 1-7 Server Config Step 8. Till now, the Wizard is ready to begin the installation. Click Next to start the installation on the following screen. Figure 1-8 Start Installation 6
-
 1
1 -
2
-
3
-
 4
4 -
 5
5 -
 6
6 -
 7
7 -
 8
8 -
 9
9 -
 10
10 -
 11
11 -
 12
12 -
 13
13 -
 14
14 -
15
-
16
-
17
-
18
-
19
-
20
-
21
-
22
-
23
-
24
-
25
-
26
-
27
-
28
-
29
-
30
-
31
-
32
-
33
-
34
-
35
-
36
-
37
-
38
-
39
-
40
-
41
-
42
-
43
-
44
-
45
-
46
-
47
-
48
-
49
-
50
-
51
-
52
-
53
-
54
-
55
-
56
-
57
-
58
-
59
-
60
-
61
-
62
-
63
-
64
-
65
-
66
-
67
-
68
-
69
-
70
-
71
-
72
-
73
-
74
-
75
-
76
-
77
 |
 |
Pharos Control User Guide
6
Step 7.
The following screen shows the default settings of the server. You can customize the
server port number, the username and password here. Click
Next
to continue.
Figure 1-7 Server Config
Step 8.
Till now, the Wizard is ready to begin the installation. Click
Next
to start the installation on
the following screen.
Figure 1-8 Start Installation