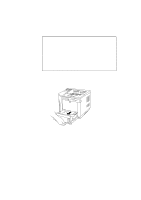
Brother International HL-1660 Users Manual - English - Page 39
letter, legal, A4, ISO B5, Executive and A5, A6, COM10, Monarch, C5 and DL
 |
View all Brother International HL-1660 manuals
Add to My Manuals
Save this manual to your list of manuals |
Page 39 highlights
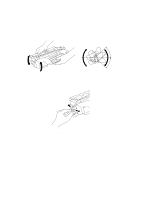
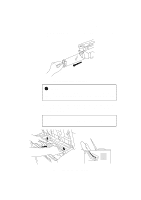
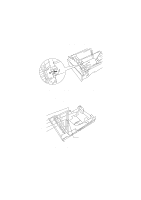
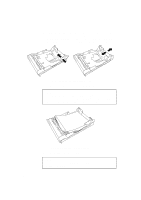
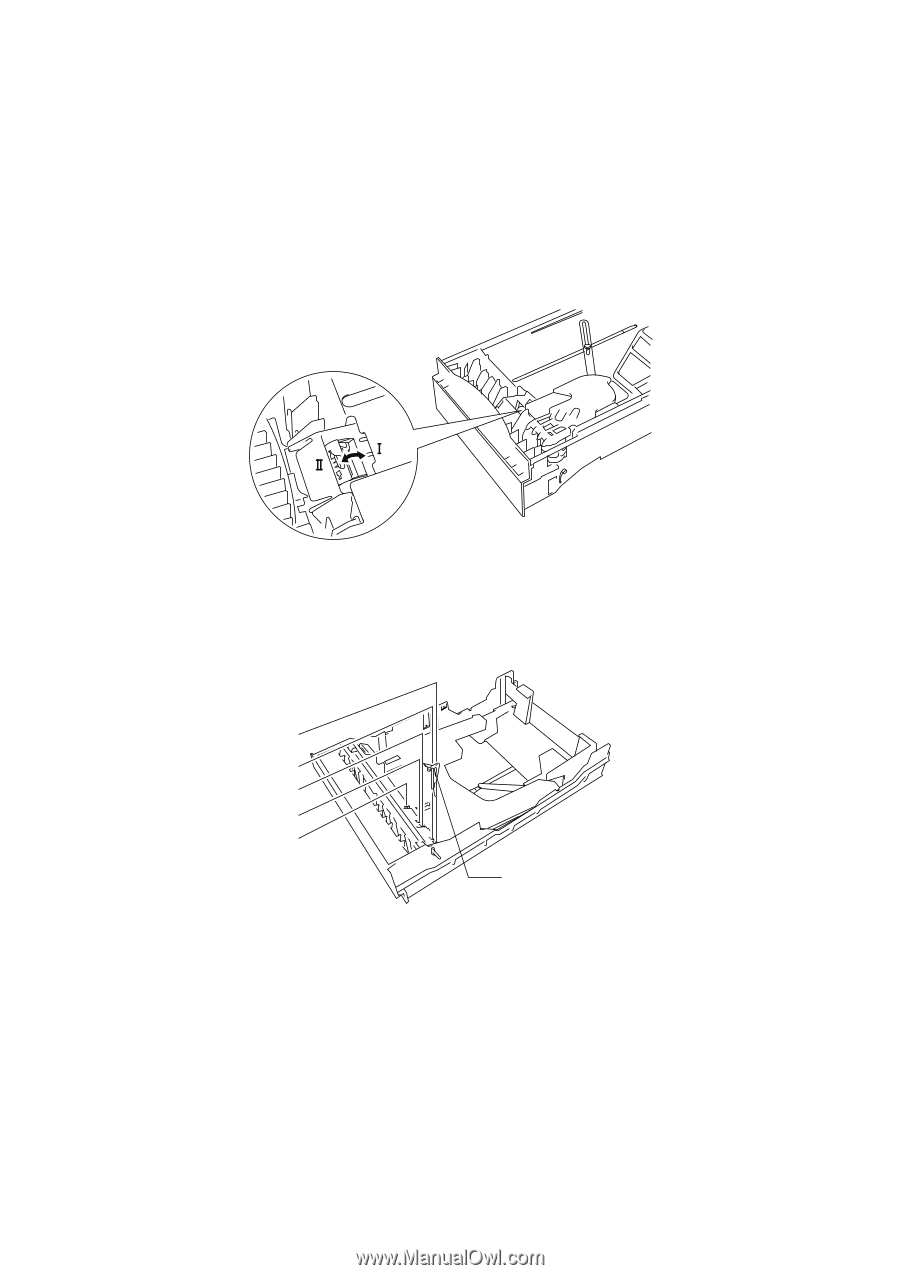
CHAPTER 2 GETTING STARTED 2. Switch the adjustment lever on the back of the paper cassette according to the paper size shown below. I. Backwards : letter, legal, A4, ISO B5, Executive and A5 II. Forwards : ISO B6, A6, COM10, Monarch, C5 and DL Fig. 2-15 Switching the Adjustment lever by Paper Size 3. Set a side paper stop at right front corner inside the paper cassette by the paper size to be used so that 2 projectors of the side paper stop are inserted into the guide holes on the base of the paper cassette. Letter and Legal A4 Executive ISO B5 A5 Side Paper Stop Fig. 2-16 Setting the Side Paper Stop 2-13
-
 1
1 -
2
-
3
-
4
-
5
-
6
-
7
-
8
-
9
-
10
-
11
-
12
-
13
-
14
-
15
-
16
-
17
-
18
-
19
-
20
-
21
-
22
-
23
-
24
-
25
-
26
-
27
-
28
-
29
-
30
-
31
-
32
-
33
-
 34
34 -
 35
35 -
 36
36 -
 37
37 -
 38
38 -
 39
39 -
 40
40 -
 41
41 -
 42
42 -
 43
43 -
 44
44 -
45
-
46
-
47
-
48
-
49
-
50
-
51
-
52
-
53
-
54
-
55
-
56
-
57
-
58
-
59
-
60
-
61
-
62
-
63
-
64
-
65
-
66
-
67
-
68
-
69
-
70
-
71
-
72
-
73
-
74
-
75
-
76
-
77
-
78
-
79
-
80
-
81
-
82
-
83
-
84
-
85
-
86
-
87
-
88
-
89
-
90
-
91
-
92
-
93
-
94
-
95
-
96
-
97
-
98
-
99
-
100
-
101
-
102
-
103
-
104
-
105
-
106
-
107
-
108
-
109
-
110
-
111
-
112
-
113
-
114
-
115
-
116
-
117
-
118
-
119
-
120
-
121
-
122
-
123
-
124
-
125
-
126
-
127
-
128
-
129
-
130
-
131
-
132
-
133
-
134
-
135
-
136
-
137
-
138
-
139
-
140
-
141
-
142
-
143
-
144
-
145
-
146
-
147
-
148
-
149
-
150
-
151
-
152
-
153
-
154
-
155
-
156
-
157
-
158
-
159
-
160
-
161
-
162
-
163
-
164
-
165
-
166
-
167
-
168
-
169
-
170
-
171
-
172
-
173
-
174
-
175
-
176
-
177
-
178
-
179
-
180
-
181
-
182
-
183
-
184
-
185
-
186
-
187
-
188
-
189
-
190
-
191
-
192
-
193
-
194
-
195
-
196
-
197
-
198
-
199
-
200
-
201
-
202
-
203
-
204
-
205
-
206
-
207
-
208
-
209
-
210
-
211
-
212
-
213
-
214
-
215
-
216
-
217
-
218
-
219
-
220
-
221
-
222
-
223
-
224
-
225
-
226
-
227
-
228
-
229
-
230
-
231
-
232
-
233
-
234
-
235
-
236
-
237
-
238
-
239
-
240
-
241
-
242
-
243
-
244
-
245
-
246
-
247
-
248
-
249
-
250
-
251
-
252
-
253
-
254
-
255
-
256
-
257
-
258
-
259
-
260
-
261
-
262
-
263
-
264
-
265
-
266
-
267
-
268
-
269
-
270
-
271
 |
 |
CHAPTER 2 GETTING STARTED
2–13
2.
Switch the adjustment lever on the back of the paper cassette according
to the paper size shown below.
I.
Backwards
: letter, legal, A4, ISO B5, Executive and A5
II.
Forwards
: ISO B6, A6, COM10, Monarch, C5 and DL
Fig. 2-15
Switching the Adjustment lever by Paper Size
3.
Set a side paper stop at right front corner inside the paper cassette by the
paper size to be used so that 2 projectors of the side paper stop are
inserted into the guide holes on the base of the paper cassette.
Fig. 2-16
Setting the Side Paper Stop
Side Paper Stop
Letter and
Legal
A4
Executive
ISO B5
A5