Canon EOS Rebel T1i EOS REBEL T1i/EOS 500D Instruction Manual - Page 144
Photograph a solid-white object., About the Dust Delete Data - software update
 |
View all Canon EOS Rebel T1i manuals
Add to My Manuals
Save this manual to your list of manuals |
Page 144 highlights
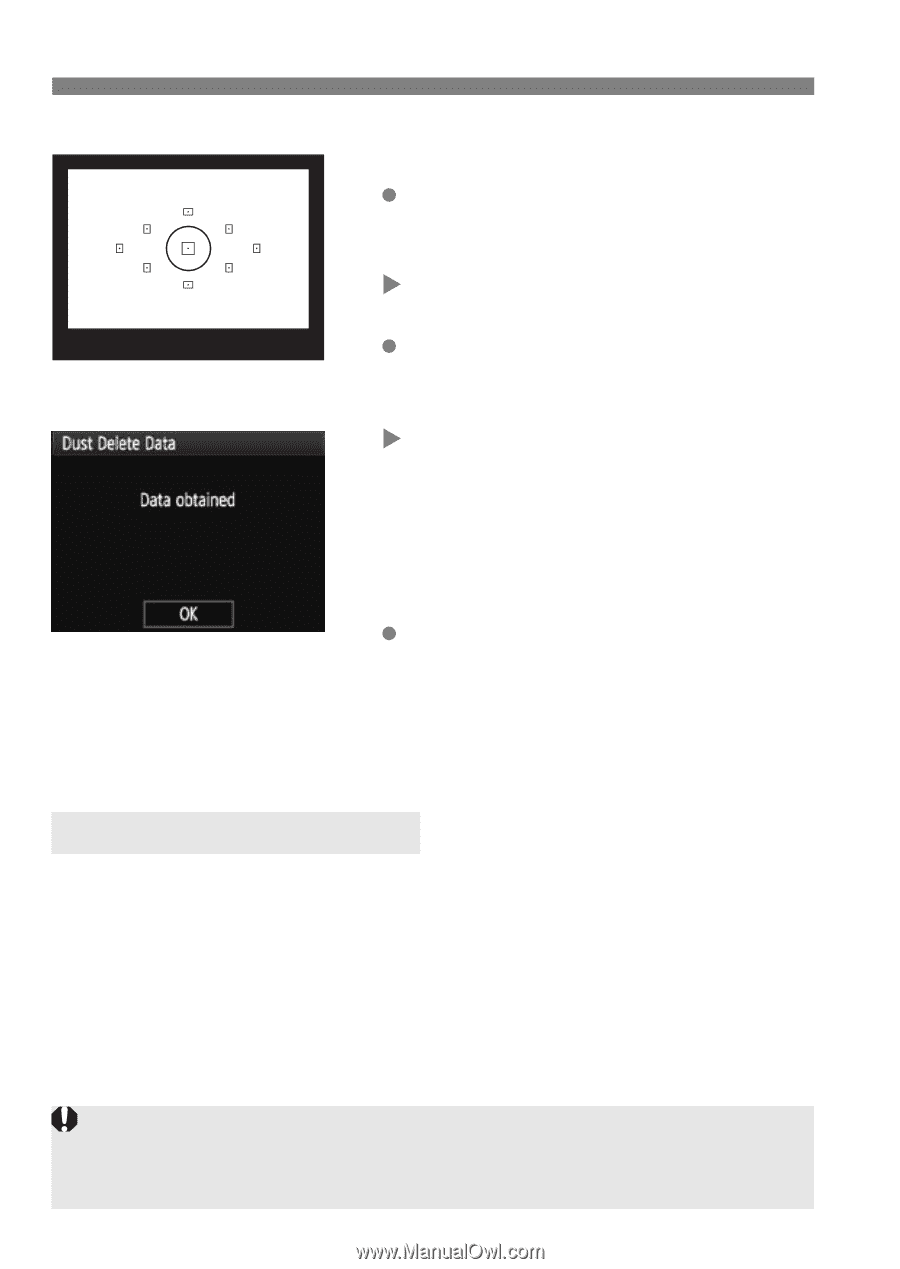
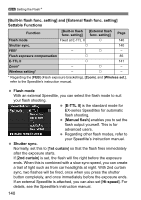
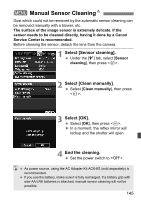
3 Appending Dust Delete DataN 3 Photograph a solid-white object. At a distance of 20 cm - 30 cm / 0.7 ft. - 1.0 ft., fill the viewfinder with a patternless, solid-white object and take a picture. X The picture will be taken in the aperturepriority AE mode with an aperture of f/22. Since the image will not be saved, the data can still be obtained even if there is no card in the camera. X When the picture is taken, the camera will start obtaining the Dust Delete Data. When the Dust Delete Data is obtained, a message will appear. Select [OK], and the menu will reappear. If the data was not obtained successfully, a message to that effect will appear. Follow the "Preparation" procedure on the preceding page, then select [OK]. Take the picture again. About the Dust Delete Data After the Dust Delete Data is obtained, it is appended to all the JPEG and RAW images captured thereafter. Before an important shoot, you should update the Dust Delete Data by obtaining it again. To erase dust spots automatically with the provided software, see the Software Instruction Manual in the CD-ROM. The Dust Delete Data appended to the image is so small that it hardly affects the image file size. Be sure to use a solid-white object such as a new sheet of white paper. If the paper has any pattern or design, it may be recognized as dust data and affect the accuracy of the dust deletion with the software. 144
-
 1
1 -
2
-
3
-
4
-
5
-
6
-
7
-
8
-
9
-
10
-
11
-
12
-
13
-
14
-
15
-
16
-
17
-
18
-
19
-
20
-
21
-
22
-
23
-
24
-
25
-
26
-
27
-
28
-
29
-
30
-
31
-
32
-
33
-
34
-
35
-
36
-
37
-
38
-
39
-
40
-
41
-
42
-
43
-
44
-
45
-
46
-
47
-
48
-
49
-
50
-
51
-
52
-
53
-
54
-
55
-
56
-
57
-
58
-
59
-
60
-
61
-
62
-
63
-
64
-
65
-
66
-
67
-
68
-
69
-
70
-
71
-
72
-
73
-
74
-
75
-
76
-
77
-
78
-
79
-
80
-
81
-
82
-
83
-
84
-
85
-
86
-
87
-
88
-
89
-
90
-
91
-
92
-
93
-
94
-
95
-
96
-
97
-
98
-
99
-
100
-
101
-
102
-
103
-
104
-
105
-
106
-
107
-
108
-
109
-
110
-
111
-
112
-
113
-
114
-
115
-
116
-
117
-
118
-
119
-
120
-
121
-
122
-
123
-
124
-
125
-
126
-
127
-
128
-
129
-
130
-
131
-
132
-
133
-
134
-
135
-
136
-
137
-
138
-
 139
139 -
 140
140 -
 141
141 -
 142
142 -
 143
143 -
 144
144 -
 145
145 -
 146
146 -
 147
147 -
 148
148 -
 149
149 -
150
-
151
-
152
-
153
-
154
-
155
-
156
-
157
-
158
-
159
-
160
-
161
-
162
-
163
-
164
-
165
-
166
-
167
-
168
-
169
-
170
-
171
-
172
-
173
-
174
-
175
-
176
-
177
-
178
-
179
-
180
-
181
-
182
-
183
-
184
-
185
-
186
-
187
-
188
-
189
-
190
-
191
-
192
-
193
-
194
-
195
-
196
-
197
-
198
-
199
-
200
-
201
-
202
-
203
-
204
-
205
-
206
-
207
-
208
-
209
-
210
-
211
-
212
-
213
-
214
-
215
-
216
-
217
-
218
-
219
-
220
-
221
-
222
-
223
-
224
-
225
-
226
-
227
-
228
-
229
-
230
-
231
-
232
-
233
-
234
-
235
-
236
-
237
-
238
-
239
-
240
-
241
-
242
-
243
-
244
 |
 |