Canon PowerShot A570IS Software Starter Guide For the Canon Digital Camera Sol - Page 14
How to Display the Installer Panel, Windows Vista, Windows XP, Windows 2000
 |
UPC - 013803078442
View all Canon PowerShot A570IS manuals
Add to My Manuals
Save this manual to your list of manuals |
Page 14 highlights
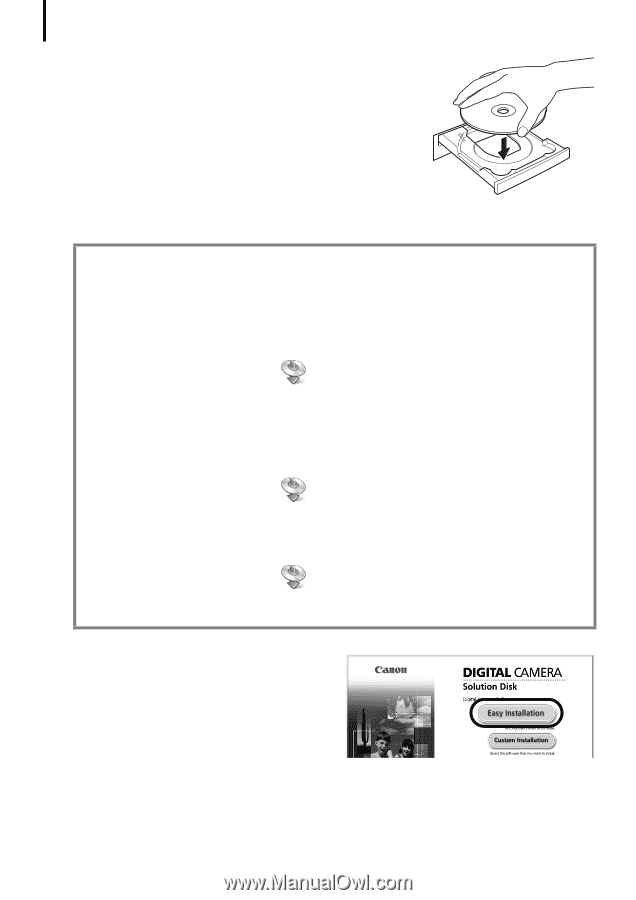
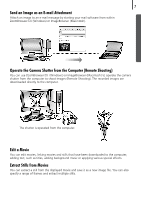
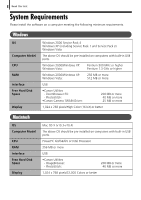
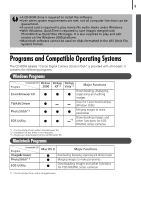
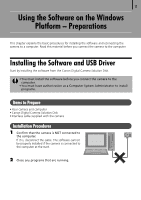
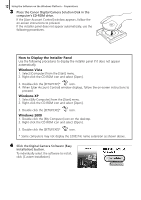
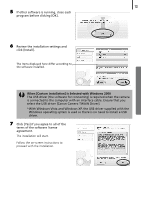
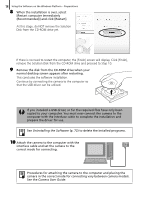
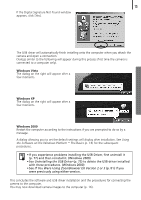
12 Using the Software on the Windows Platform - Preparations 3 Place the Canon Digital Camera Solution Disk in the computer's CD-ROM drive. IfÅtheÅ[UserÅAccountÅControl]ÅwindowÅappears,ÅfollowÅtheÅ on-screenÅinstructionsÅtoÅproceed. IfÅtheÅinstallerÅpanelÅdoesÅnotÅappearÅautomatically,ÅuseÅtheÅ followingÅprocedures.Å How to Display the Installer Panel UseÅtheÅfollowingÅproceduresÅtoÅdisplayÅtheÅinstallerÅpanelÅifÅitÅdoesÅnotÅappearÅ automatically. Windows Vista 1. SelectÅ[Computer]ÅfromÅtheÅ[Start]Åmenu. 2. Right-clickÅtheÅCD-ROMÅiconÅandÅselectÅ[Open]. 3. Double-clickÅtheÅ[SETUP.EXE]*Å Åicon. 4. WhenÅ[UserÅAccountÅControl]ÅwindowÅdisplays,ÅfollowÅtheÅon-screenÅinstructionsÅtoÅ proceed. Windows XP 1. SelectÅ[MyÅComputer]ÅfromÅtheÅ[Start]Åmenu. 2. Right-clickÅtheÅCD-ROMÅiconÅandÅselectÅ[Open]. 3. Double-clickÅtheÅ[SETUP.EXE]*Å Åicon. Windows 2000 1. Double-clickÅtheÅ[MyÅComputer]ÅiconÅonÅtheÅdesktop. 2. Right-clickÅtheÅCD-ROMÅiconÅandÅselectÅ[Open]. 3. Double-clickÅtheÅ[SETUP.EXE]*Å Åicon.Å * SomeÅcomputersÅmayÅnotÅdisplayÅtheÅ[.EXE]ÅfileÅnameÅextensionÅasÅshownÅabove. 4 Click the Digital Camera Software [Easy Installation] button. ToÅindividuallyÅselectÅtheÅsoftwareÅtoÅinstall,Å clickÅ[CustomÅInstallation].Å Installer Panel
-
 1
1 -
2
-
3
-
4
-
5
-
6
-
7
-
8
-
 9
9 -
 10
10 -
 11
11 -
 12
12 -
 13
13 -
 14
14 -
 15
15 -
 16
16 -
 17
17 -
 18
18 -
 19
19 -
20
-
21
-
22
-
23
-
24
-
25
-
26
-
27
-
28
-
29
-
30
-
31
-
32
-
33
-
34
-
35
-
36
-
37
-
38
-
39
-
40
-
41
-
42
-
43
-
44
-
45
-
46
-
47
-
48
-
49
-
50
-
51
-
52
-
53
-
54
-
55
-
56
-
57
-
58
-
59
-
60
-
61
-
62
-
63
-
64
-
65
-
66
-
67
-
68
-
69
-
70
-
71
-
72
-
73
-
74
-
75
-
76
-
77
-
78
-
79
-
80
-
81
-
82
-
83
-
84
-
85
-
86
-
87
-
88
-
89
-
90
 |
 |