Gateway ZX6800 Gateway Desktop Quick Start Guide - Page 35
Before you connect or disconnect the power cord to the back of the computer, please ensure - motherboard
 |
View all Gateway ZX6800 manuals
Add to My Manuals
Save this manual to your list of manuals |
Page 35 highlights
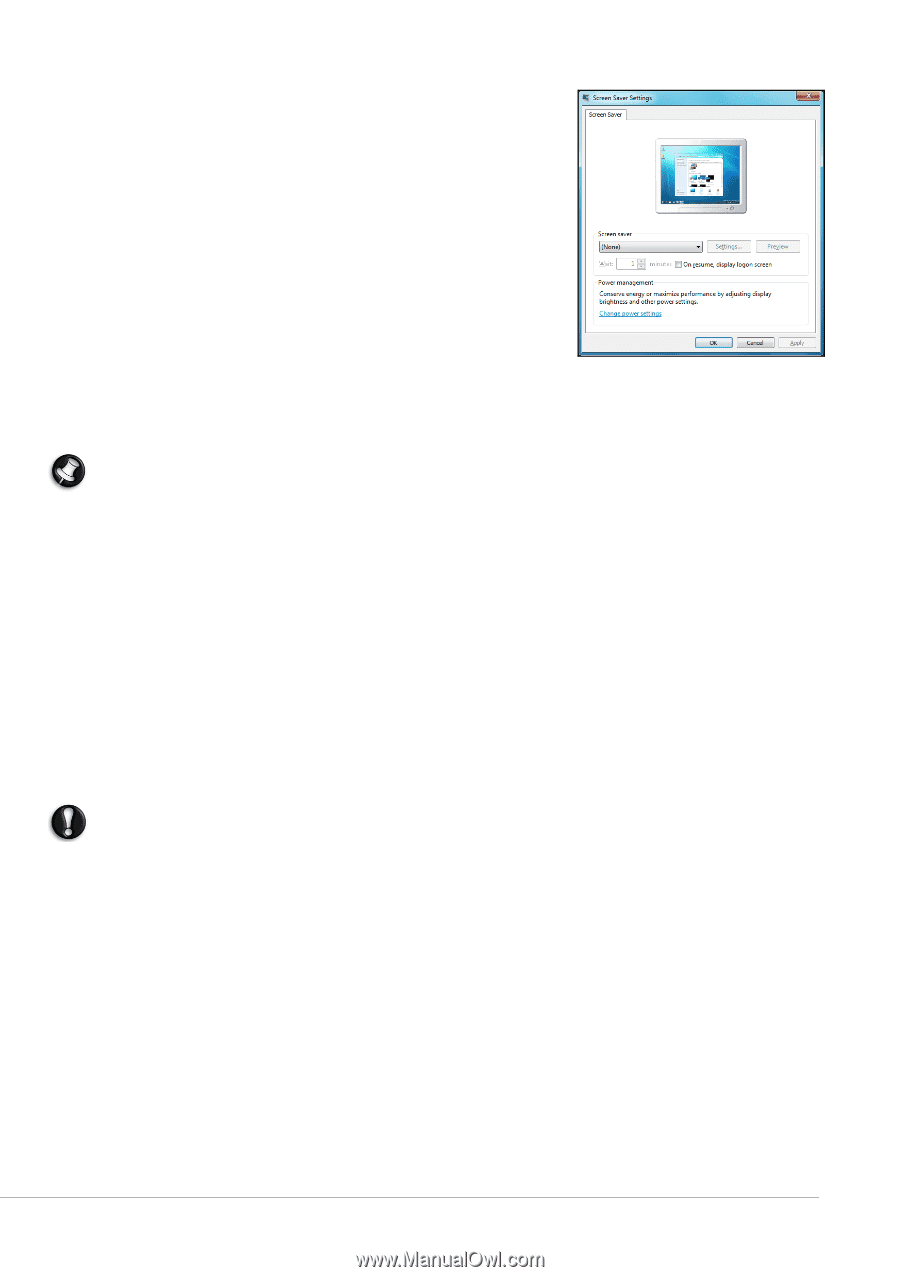
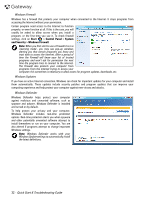
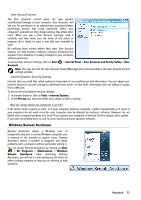
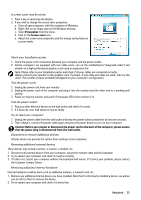
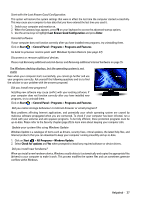
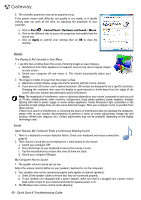
A screen saver may be active. 1. Press a key to reactivate the display. 2. If you wish to change the screen saver properties: a. Close all open programs, with the exception of Windows. b. Right-click on an empty spot on the Windows desktop. c. Select Personalize from the menu. d. Click on the Screen saver icon. e. Adjust the screen saver properties and the energy saving features to your needs. Check your Installation poster. 1. Check the power cord connections between your computer and the power outlets. 2. Certain computers are equipped with two video ports, one on the motherboard ("integrated video") and another on a high-performance graphics card using an expansion slot. Note: Please refer to your Installation poster and check if all your cables are connected correctly. Always connect your monitor to the graphics card, if present. If one video port does not work, then try the other. The number of items available will depend on your computer's configuration. Test the power cords: 1. Unplug the power cord from your monitor. 2. Unplug the power cord of the computer and plug it into the monitor (and the other end to a working wall socket). 3. Power on only the monitor and watch if the power LED of the monitor is lit. Test the power socket: 1. Plug any other electrical device on the wall socket and check if it works. 2. If it does not, your wall socket is may be faulty. Try to reset your computer: 1. Unplug the power cable from the wall socket and keep the power button pressed for at least ten seconds. 2. Then release it, connect the power cable again and press the power button to turn on your computer. Caution: Before you connect or disconnect the power cord to the back of the computer, please ensure that the power plug is disconnected from the wall outlet. Disconnect or remove additional devices: A faulty device can prevent the system from starting in some situations. Removing additional external devices These devices may include a printer, a scanner, a modem, etc. 1. Disconnect all external devices from your computer, except the monitor cable and the keyboard. 2. Try to restart your computer and check if it works correctly. 3. If it does not, restart your computer without the keyboard and mouse. If it solves your problem, please contact the Customer Contact Center. Removing additional internal hardware Internal hardware could be items such as additional memory, a network card, etc. 1. Remove any additional internal device you have installed. Note that if a third party installed a device, we advise you to refer to them to remove the device. 2. Try to restart your computer and check if it works fine. Helpdesk - 35
-
 1
1 -
2
-
3
-
4
-
5
-
6
-
7
-
8
-
9
-
10
-
11
-
12
-
13
-
14
-
15
-
16
-
17
-
18
-
19
-
20
-
21
-
22
-
23
-
24
-
25
-
26
-
27
-
28
-
29
-
 30
30 -
 31
31 -
 32
32 -
 33
33 -
 34
34 -
 35
35 -
 36
36 -
 37
37 -
 38
38 -
 39
39 -
 40
40 -
41
-
42
-
43
-
44
-
45
-
46
-
47
-
48
-
49
-
50
-
51
-
52
-
53
-
54
-
55
-
56
-
57
 |
 |