JVC DLA-HX1U Instruction Manual - Page 26
Adjusting the Zoom Ring (the screen size), 4. Adjusting the Focus Ring (Focus)
 |
View all JVC DLA-HX1U manuals
Add to My Manuals
Save this manual to your list of manuals |
Page 26 highlights
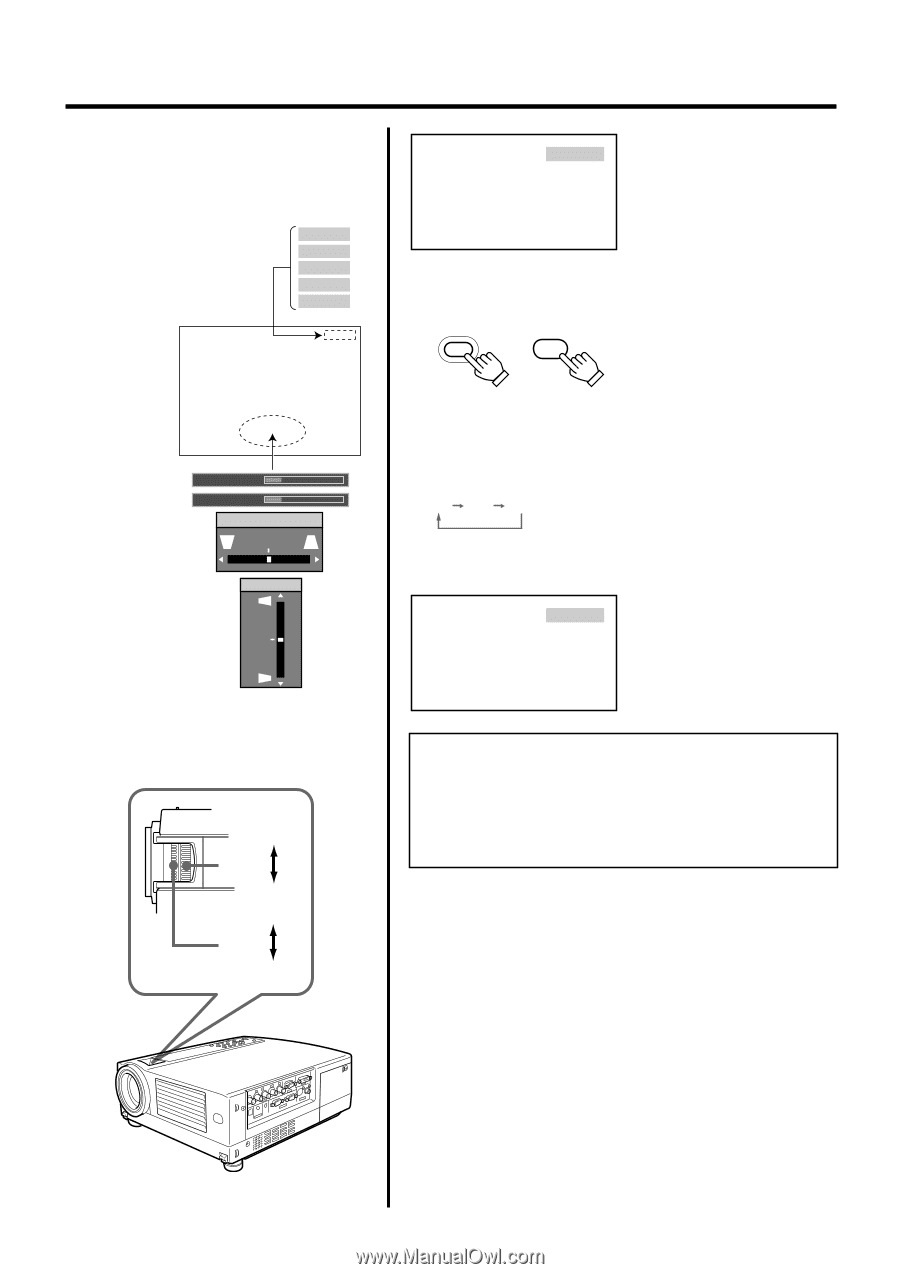
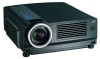
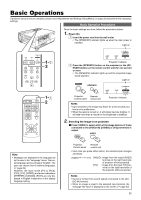
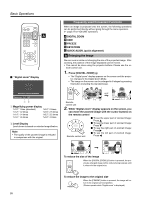
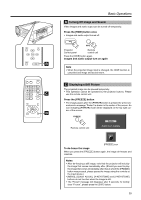
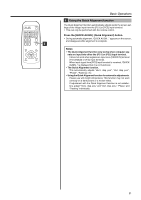
Basic Operations Ⅵ Display using the direct buttons The direct buttons enable direct switching and operation without having to go through the menu. VIDEO When "Line display" (☞ page 39) is set to "5sec" : After changing an input , the new selection will appear on the screen for about 5 seconds. Input mode can be selected by pressing the [PC] button or the [VIDEO] button. PC 1 PC 2 PC 3 Y/C VIDEO Screen display Ⅵ To select a computer or other devices connected to [PC1], [PC2] or [PC3]: Press [PC] PC PC Audio-Vol 12 Digital zoom x1.2 Vert.keystone 0 Horiz.Keystone 0 Projector: Remote Control panel control unit • Upon pressing the button, the input mode changes as follows. [PC1]: Projects image from [PC1] input terminal on the right hand side of the projector. PC1 PC2 PC3 [PC2]: Projects image from [PC2] input terminal on the right hand side of the projector [PC3]: Projects image from [PC3] input terminal on the right hand side of the projector. When "Line display" (☞ page 39) is set PC1 to "5sec": After changing an input, the new selection will appear on the screen for about 5 seconds. When the [DIGITAL ZOOM], [VOLUME], [V-KEYSTONE] or [H-KEYSTONE] buttons are pressed, the level bar of the function is displayed. 'Tele side' 3. 'Wide side' 'Near side' 4. 'Far side' Screen display Notes • Sound is formed from sound signals connected to the [AUDIO IN] terminal. • When no image is input to the selected input terminal, the mes- sage "No Input" is displayed on the screen. (☞ page 53) • When the [PC2] input terminal is used, "PC2(BNC)" must be se- lected from the "Options" item in the main menu. (☞ page 39) 3. Adjusting the Zoom Ring (the screen size) Ⅵ To enlarge the screen size: Turn the zoom ring towards the 'Wide side' Ⅵ To reduce the screen size: Turn the zoom ring towards 'Tele side' 4. Adjusting the Focus Ring (Focus) Ⅵ To focus on nearer points: Turn the focus ring towards the 'Near side' Ⅵ To focus on farther points: Turn the focus ring towards the 'Far side' 26
-
 1
1 -
2
-
3
-
4
-
5
-
6
-
7
-
8
-
9
-
10
-
11
-
12
-
13
-
14
-
15
-
16
-
17
-
18
-
19
-
20
-
 21
21 -
 22
22 -
 23
23 -
 24
24 -
 25
25 -
 26
26 -
 27
27 -
 28
28 -
 29
29 -
 30
30 -
 31
31 -
32
-
33
-
34
-
35
-
36
-
37
-
38
-
39
-
40
-
41
-
42
-
43
-
44
-
45
-
46
-
47
-
48
-
49
-
50
-
51
-
52
-
53
-
54
-
55
-
56
-
57
-
58
-
59
-
60
-
61
-
62
 |
 |