Lexmark BDX5495HSN3 User Guide - Page 13
Installing another language control panel, Getting the printer ready to fax, Choosing a fax connection
 |
UPC - 836367004401
View all Lexmark BDX5495HSN3 manuals
Add to My Manuals
Save this manual to your list of manuals |
Page 13 highlights
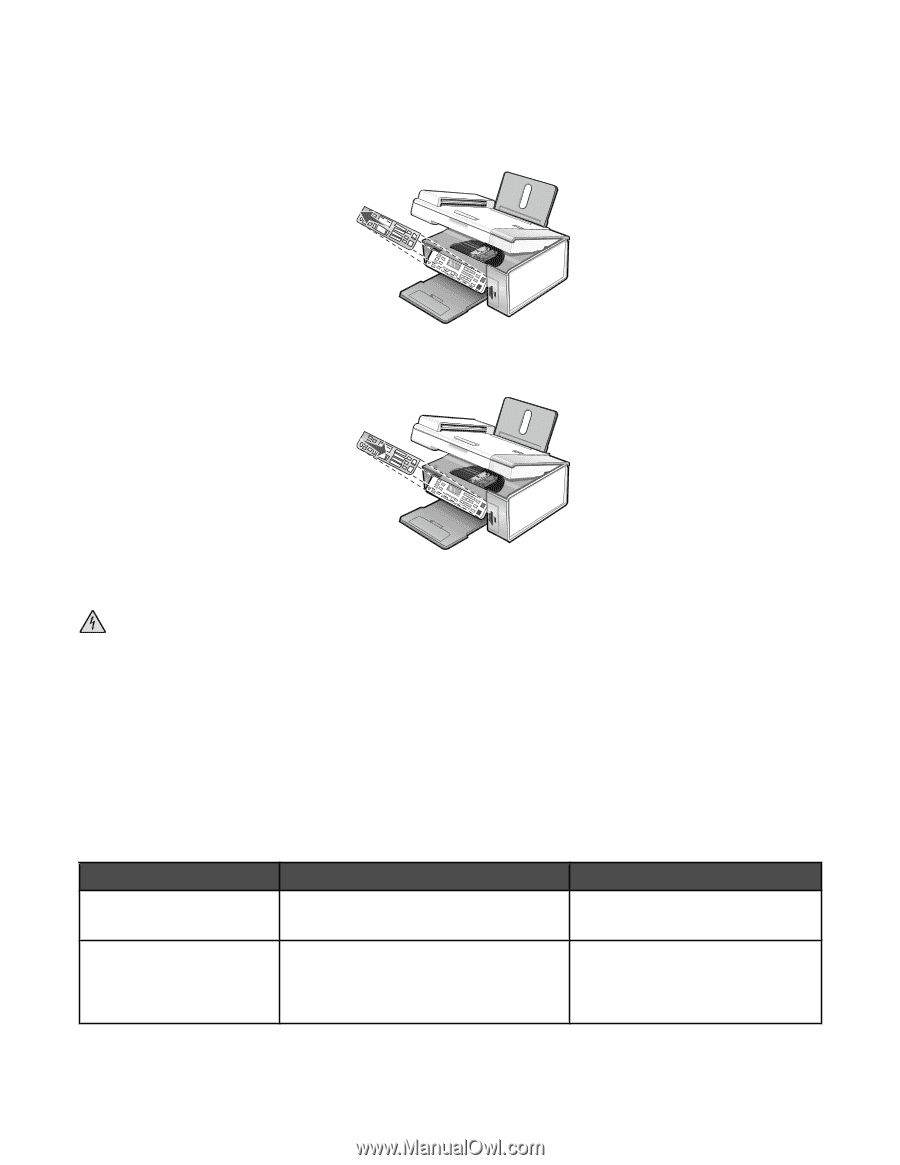
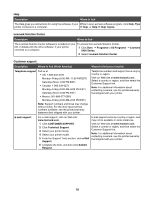
Installing another language control panel These instructions apply only if you received one or more additional language control panels with the printer. 1 Lift and remove the control panel (if one is installed). 2 Choose the correct control panel for your language. 3 Align the clips on the control panel with the holes on the printer, and then press down. Getting the printer ready to fax CAUTION: Do not use the fax feature during a lightning storm. Do not set up this product or make any electrical or cabling connections, such as the power supply cord or telephone, during a lightning storm. Choosing a fax connection You can connect the printer with equipment such as a telephone, an answering machine, or a computer modem. If problems occur, see "Setup troubleshooting" on page 93. Note: The printer is an analog device that works best when directly connected to the wall jack. Other devices (such as a telephone or answering machine) can be successfully attached to pass through the printer, as described in the setup steps. If you want a digital connection such as ISDN, DSL, or ADSL, a third-party device (such as a DSL filter) is required. You do not need to attach the printer to a computer, but you do need to connect it to a telephone line to send and receive faxes. You can connect the printer to other equipment. See the following table to determine the best way to set up the printer. Equipment • The printer • A telephone cord • The printer • A telephone • Two telephone cords Benefits Send and receive faxes without using a computer. See this section "Connecting directly to a telephone wall jack" on page 16 • Use the fax line as a normal telephone line. • Send and receive faxes without using a computer. "Connecting to a telephone" on page 17 13
-
 1
1 -
2
-
3
-
4
-
5
-
6
-
7
-
 8
8 -
 9
9 -
 10
10 -
 11
11 -
 12
12 -
 13
13 -
 14
14 -
 15
15 -
 16
16 -
 17
17 -
 18
18 -
19
-
20
-
21
-
22
-
23
-
24
-
25
-
26
-
27
-
28
-
29
-
30
-
31
-
32
-
33
-
34
-
35
-
36
-
37
-
38
-
39
-
40
-
41
-
42
-
43
-
44
-
45
-
46
-
47
-
48
-
49
-
50
-
51
-
52
-
53
-
54
-
55
-
56
-
57
-
58
-
59
-
60
-
61
-
62
-
63
-
64
-
65
-
66
-
67
-
68
-
69
-
70
-
71
-
72
-
73
-
74
-
75
-
76
-
77
-
78
-
79
-
80
-
81
-
82
-
83
-
84
-
85
-
86
-
87
-
88
-
89
-
90
-
91
-
92
-
93
-
94
-
95
-
96
-
97
-
98
-
99
-
100
-
101
-
102
-
103
-
104
-
105
-
106
-
107
-
108
-
109
-
110
-
111
-
112
-
113
-
114
-
115
-
116
-
117
-
118
-
119
-
120
-
121
-
122
-
123
-
124
-
125
-
126
-
127
 |
 |