Magnavox MDV560VR User manual, Spanish - Page 22
Normal Recording, Timer Recording
 |
View all Magnavox MDV560VR manuals
Add to My Manuals
Save this manual to your list of manuals |
Page 22 highlights
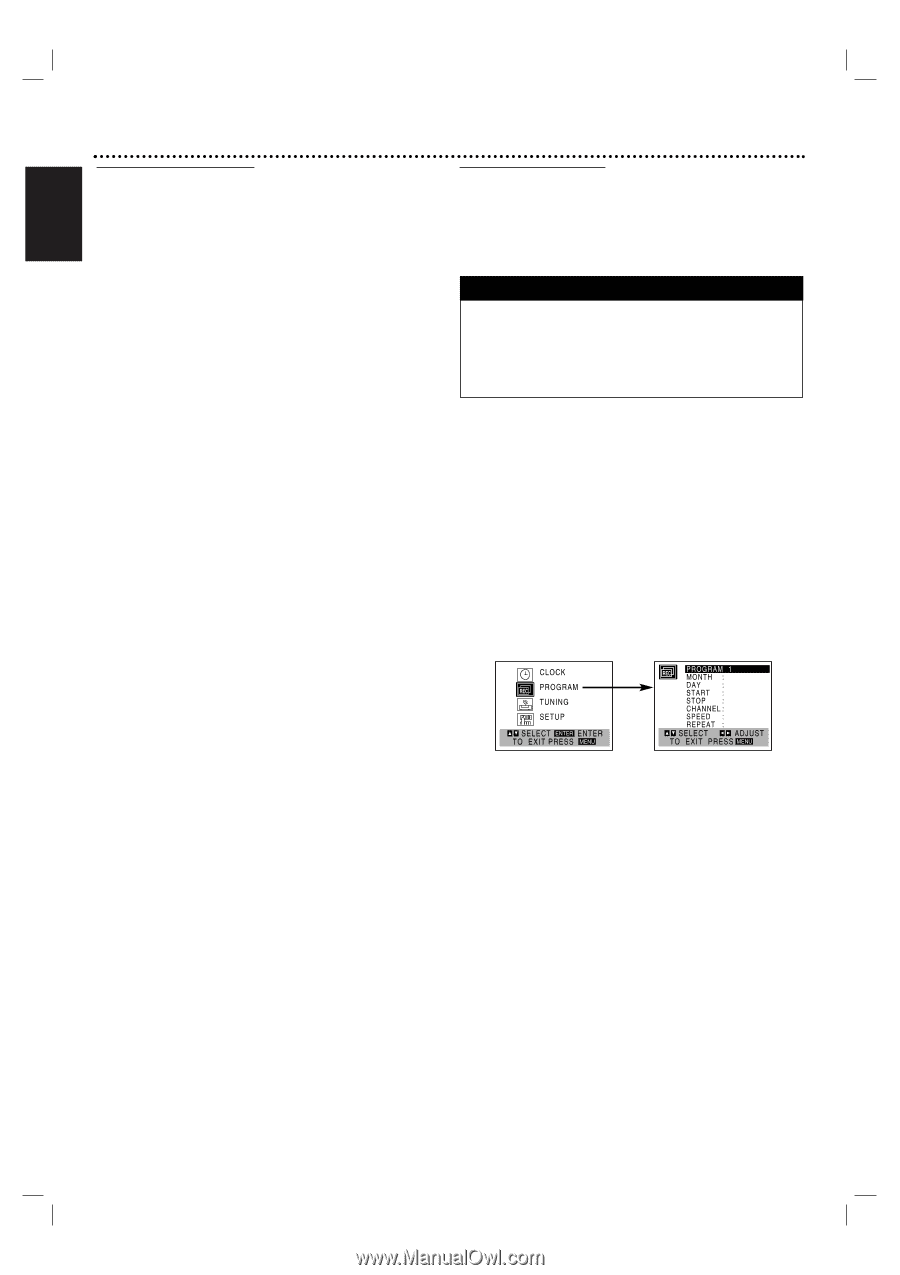
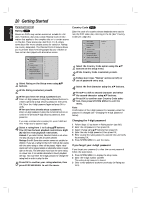
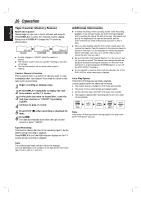
22 Operation English Normal Recording Preparation: " Turn on the power for both the DVD+VCR and TV. " Tune the TV to the DVD+VCR output channel (CH 3 or 4) or set the TV's source selector to VIDEO (if using Video Inputs). " If a direct VIDEO/AUDIO connection is made between the DVD+VCR and the TV, set the TV's source selector to correct VIDEO mode. 1 Insert a video cassette with the safety tab intact. 2 Select the desired channel by using v/V. " If you are recording from another source via audio/video input jacks (at the Rear or Front panel), select the LINE1 or LINE2 by pressing INPUT. 3 Set the desired recording speed (SP or SLP) by pressing SPEED. " This DVD+VCR is not designed to record in LP mode. 4 Set the MTS mode as desired (See page 15, 25). 5 Press REC/ITR (z) once. Recording will start. (The REC indicator will light in the display window.) " REC indicator appears only when the Output Source is set to VCR. " If a cassette with no safety tab is loaded, the cassette will be ejected automatically. 6 Press STOP (x) to stop recording. If the tape reaches the end of its playback, the DVD+VCR will automatically stop, rewind, eject, and turn itself off (Functions only with no disc in unit). Timer Recording This DVD+VCR can be programmed to record up to 8 programs within a period of 1 year. For unattended recording, the timer needs to know the channels to be recorded and the program start and end times. Things to know before starting " If you try to set the program timer before setting the clock, PLEASE SET THE CLOCK appears for a moment and then CLOCK menu appears on the TV screen. Set the time and date to continue. " Make sure a tape is in the DVD+VCR and the safety tab is in place or the tape will be automatically ejected. Preparation: " Turn on the power of both the DVD+VCR and the TV. " Be sure the TV is set to the DVD+VCR output channel (3 or 4). " Make sure the TUNING BAND in the TUNING menu is set cor- rectly (TV or CATV). 1 Press SYSTEM MENU and the MAIN menu will appear. 2 Use v/V to choose the PROGRAM menu. 3 Press OK to go to the PROGRAM menu. The PROGRAM menu will appear. " If all programs had been entered, 'FULLY PROGRAMMED' message would appear, and then PROGRAM 1 would show on the TV screen. To pause the recording 1 Press PAUSE/STEP (X) to pause the tape during recording. The REC indicator will flash in the display window. 2 When you want to continue recording, press PAUSE/STEP (X) or press REC/ITR (z). " After 5 minutes in pause mode, the unit will stop automatically to protect the tape and the video heads. To record one TV program while watching another 1 Press TV/VCR to select the TV mode during recording. The TV indicator appears. 2 Using the TV, select the desired channel to be viewed. Tips Always use PAUSE/STEP (X) for the best results when making changes during recording. For example: To change channels during recording, first press PAUSE/STEP (X) to put the unit in pause mode. Then select the desired channel on the DVD+VCR, and press PAUSE/STEP (X) again to resume recording. 4 Use b/B to choose the PROGRAM No. (1-8). 5 Use V to choose the MONTH option. Use b/B to choose the desired month. 6 Use V to choose the DAY option. Use b/B to choose the desired day. 7 Use V to choose the START option. Use b/B to choose the desired start time. 8 Use V to choose the STOP option. Use b/B to choose the desired stop time. 9 Use V to choose the CHANNEL option. Use b/B to choose the desired channel (Channel, LINE1 or LINE2). Cable Users: If you have CABLE TV and used a Cable Box in Connecting to the DVD+VCR, you must set the channel to match the cable box output channel (usually CH 3 or 4). Select or change channels on the cable box instead of on the DVD+VCR.
-
 1
1 -
2
-
3
-
4
-
5
-
6
-
7
-
8
-
9
-
10
-
11
-
12
-
13
-
14
-
15
-
16
-
 17
17 -
 18
18 -
 19
19 -
 20
20 -
 21
21 -
 22
22 -
 23
23 -
 24
24 -
 25
25 -
 26
26 -
 27
27 -
28
-
29
-
30
-
31
-
32
-
33
-
34
-
35
-
36
-
37
-
38
-
39
-
40
-
41
-
42
-
43
-
44
-
45
-
46
-
47
-
48
-
49
-
50
-
51
-
52
-
53
-
54
-
55
-
56
-
57
-
58
-
59
-
60
-
61
-
62
-
63
-
64
-
65
-
66
-
67
-
68
-
69
-
70
-
71
-
72
-
73
-
74
-
75
-
76
-
77
-
78
-
79
-
80
 |
 |