Marantz DR4050 DR4050 USER'S MANUAL - Page 26
Programming - cd recorder review
 |
View all Marantz DR4050 manuals
Add to My Manuals
Save this manual to your list of manuals |
Page 26 highlights
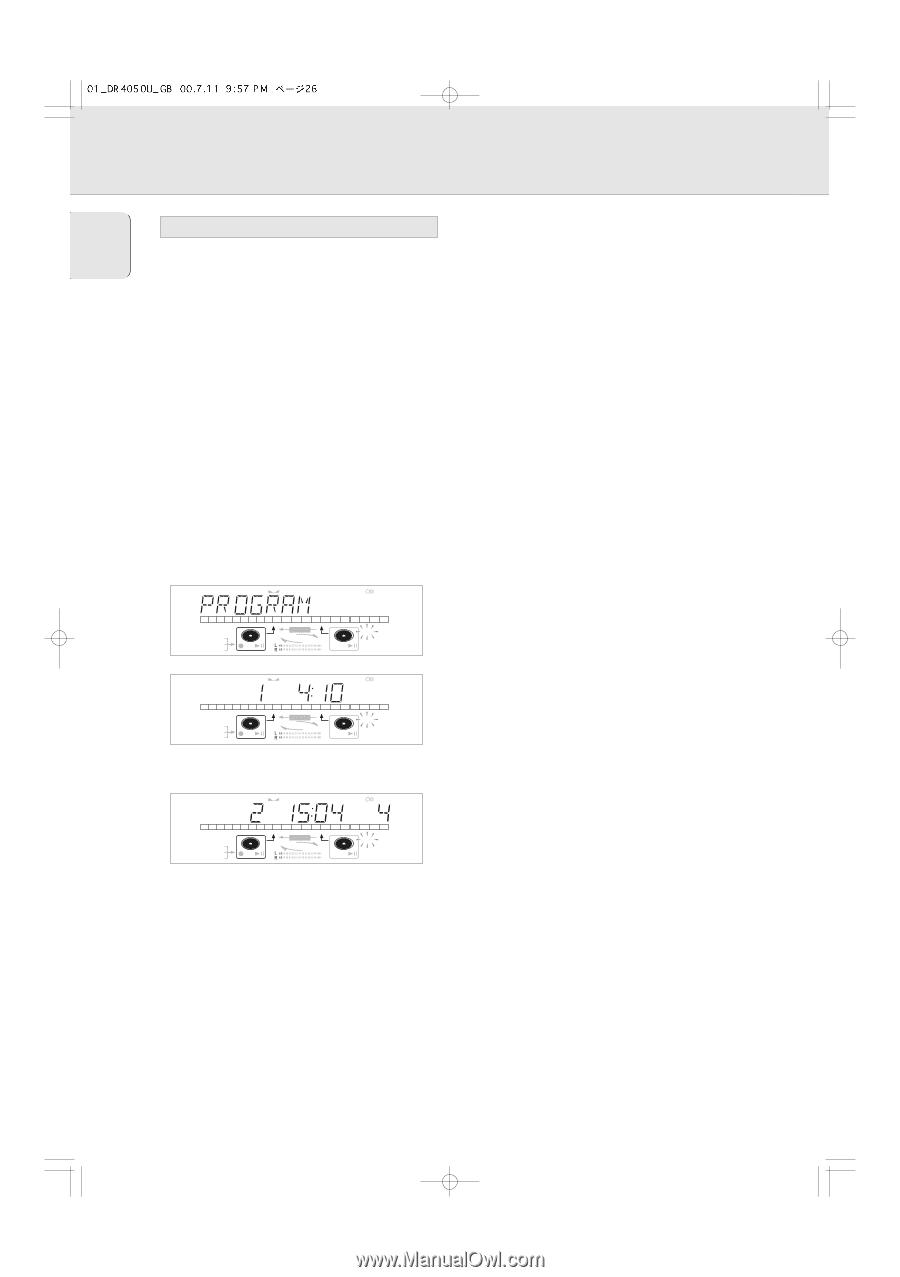
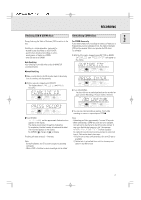
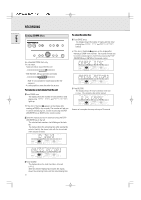
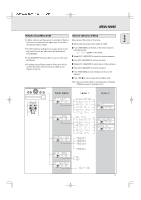
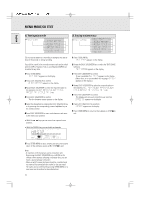
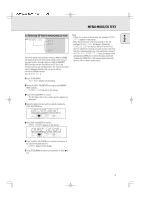
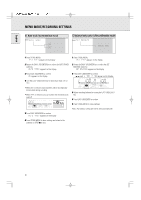
PROGRAMMING English Remarks about programming • You can program up to 99 tracks to play in any desired sequence. • Tracks can be programmed more than once, but each time counts as a track. (STEP) • A program for playback can be made from both the disc in the recorder deck and the disc in the player deck. A program for recording can only be made from the disc in the player deck. Programming for playback 1 Select Changer mode or DJ mode using the DJ MODE key. § CHANGER or DJ MODE appears on the display. 2 Press CDR or CD to select the required deck. § Selected key lights up. 3 Press PROG(ram) to enter Program mode. § PROG flashes and PROGRAM followed by track information appears on the display. REM REC TIME TRACK TOTAL REM TRACK TIME STEP 1 2 3 4 5 6 7 8 9 10 11 SYNC MANUAL DIGITAL I CD OPTICAL I ANALOG RW RECORD CHANGER PROG CD SHUFFLE ALL RW REPEAT SCAN TRACK REM REC TIME TRACK TOTAL REM TRACK TIME STEP 1 SYNC MANUAL DIGITAL I CD OPTICAL I RW ANALOG RECORD CHANGER PROG CD SHUFFLE ALL RW REPEAT SCAN TRACK 4 Select the required track numbers by turning the EASY JOG/ENTER key left or right and store by pressing ENTER. REM REC TIME TRACK TOTAL REM TRACK TIME STEP 2 SYNC MANUAL DIGITAL I OPTICAL I ANALOG 78 CD RW 11 RECORD CHANGER PROG CD SHUFFLE ALL RW REPEAT SCAN TRACK Programming for recording 1 Press REC TYPE to select the required recording mode (see 'Recording'). 2 Compile your programme as described in "programming for playback". (steps 3 to 5) • Only tracks from the disc in the CD player can be stored. 3 Press REC(ord). to start recording. Note: - To review the program, press PROG(ram), followed by 5 or 6 with the CD player or CD recorder in stop mode. - To add more tracks to the program, repeat steps 1 to 7. - If you try to store more than 99 tracks, PROG FULL appears on the display. Clearing a program 1 Press STOP 9 if necessary to stop programmed play. 2 Press STOP 9 again to clear the program. § PROG disappears from the display. • The program is also cleared if you open the disc tray. Erasing a track from a program 1 In Stop mode press PROG(ram) to enter Program mode. 2 Use 5 or 6 to select the track that has to be deleted. § The track number and program step will be shown on the display. 3 Press CANCEL/DELETE to erase the track from the program. § The remaining program steps and the remaining playing time of the program will be displayed. 4 Repeat step 2 and 3 for all tracks to be erased. 5 Press STOP 9 or PROG(ram) to end erasing. § PROG lights continuosly. or: Key in a track number with the number keys on the remote control and press ENTER to confirm. For 2-digit numbers, press the keys in rapid succession. § The track will be stored in the program. § The track number, total program time and the number of programmed tracks (STEP) are displayed. 5 Repeat step 4 for all tracks to be programmed. 6 Press STOP or PROG(ram) to end programming. § PROG lights continuously. 7 Press PLAY/PAUSE 2 ; to start programmed play. 26
-
 1
1 -
2
-
3
-
4
-
5
-
6
-
7
-
8
-
9
-
10
-
11
-
12
-
13
-
14
-
15
-
16
-
17
-
18
-
19
-
20
-
 21
21 -
 22
22 -
 23
23 -
 24
24 -
 25
25 -
 26
26 -
 27
27 -
 28
28 -
 29
29 -
 30
30 -
 31
31 -
32
-
33
-
34
-
35
-
36
-
37
-
38
-
39
-
40
-
41
-
42
-
43
-
44
-
45
-
46
-
47
-
48
-
49
-
50
-
51
-
52
-
53
-
54
-
55
-
56
-
57
-
58
-
59
-
60
-
61
-
62
-
63
-
64
 |
 |