Pfaff Tiptronic 2020 Owner's Manual - Page 11
respective, compartments
 |
View all Pfaff Tiptronic 2020 manuals
Add to My Manuals
Save this manual to your list of manuals |
Page 11 highlights
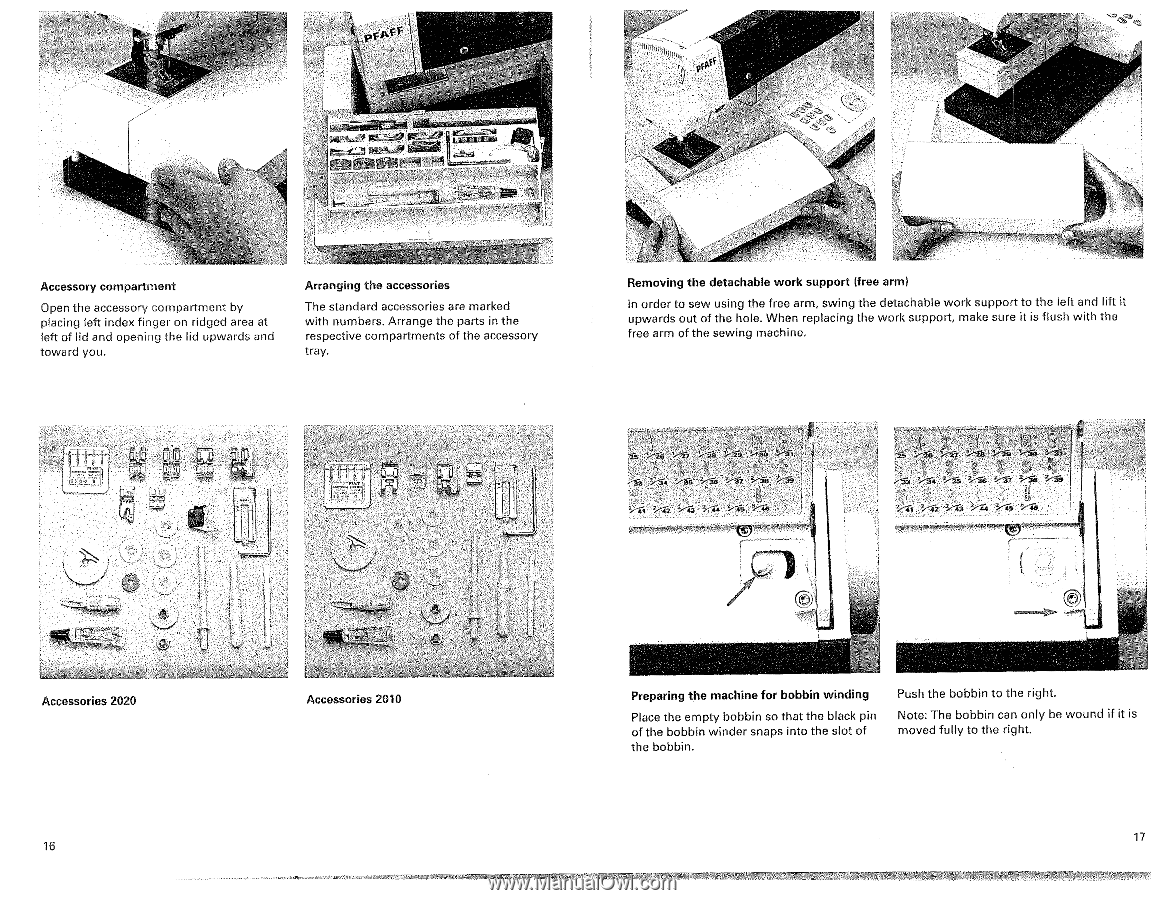
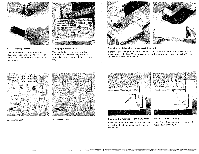
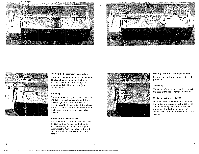
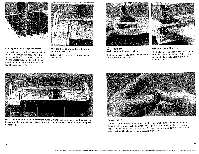
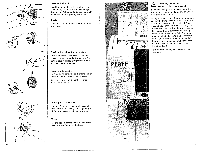
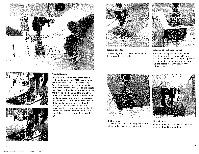
FS yd P.'171:-21141601 fry t Accessory compartment Open the accessory compartment by placing left index finger on ridged area at left of lid and opening the lid upwards and toward you. Arranging the accessories The standard accessories are marked with numbers. Arrange the parts in the respective compartments of the accessory tray. .1f ---- 1...n, il ; • I t t ; Removing the detachable work support (tree arm) In order to sew using the free arm, swing the detachable work support to the left and lift it upwards out of the hole. When replacing the work support, make sure it is flush with the free arm of the sewing machine. • 1,..-11 Om • '1, visiowymeiviovii!",Polvok.,*;;tlywwww.F0- c`ns s-isi 5-16 t ff; li frAt fe* 1.v4 .9f Accessories 2020 Accessories 2010 Preparing the machine for bobbin winding Place the empty bobbin so that the black pin of the bobbin winder snaps into the sky. of the bobbin. Push the bobbin to :he right. Note: The bobbin can only be wound if it is moved fully to the right. 17
-
 1
1 -
2
-
3
-
4
-
5
-
 6
6 -
 7
7 -
 8
8 -
 9
9 -
 10
10 -
 11
11 -
 12
12 -
 13
13 -
 14
14 -
 15
15 -
 16
16 -
17
-
18
-
19
-
20
-
21
-
22
-
23
-
24
-
25
-
26
-
27
-
28
-
29
-
30
-
31
-
32
-
33
-
34
-
35
-
36
-
37
-
38
-
39
-
40
-
41
-
42
-
43
-
44
-
45
-
46
-
47
-
48
-
49
-
50
-
51
-
52
-
53
-
54
 |
 |