Pfaff Tiptronic 2020 Owner's Manual - Page 27
Pfaff Tiptronic 2020 Manual
 |
View all Pfaff Tiptronic 2020 manuals
Add to My Manuals
Save this manual to your list of manuals |
Page 27 highlights
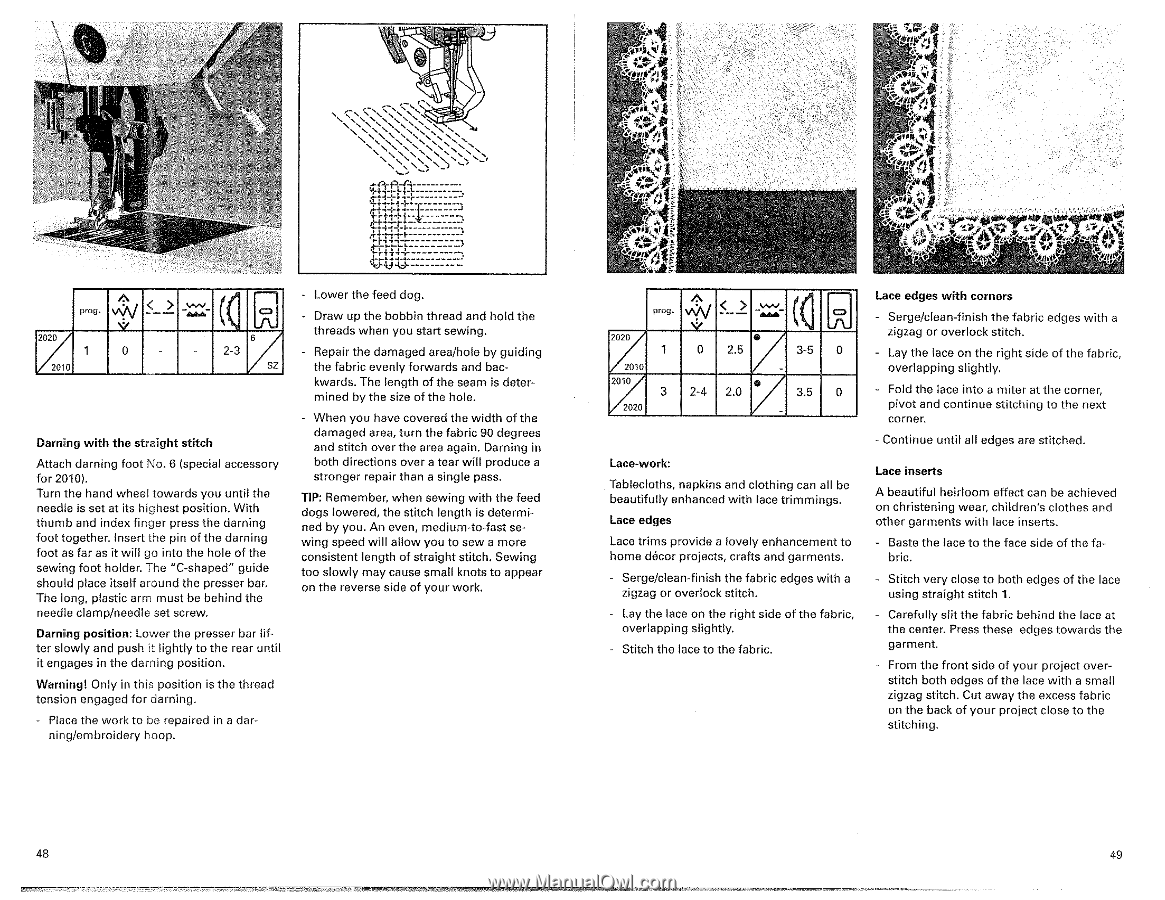
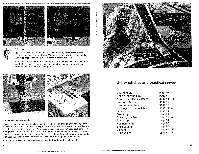
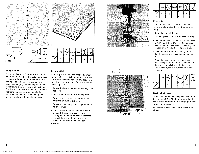
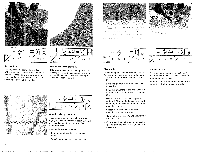
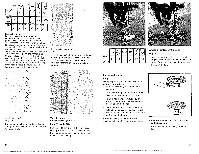
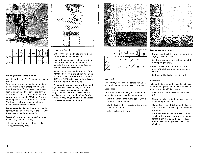
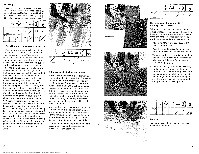
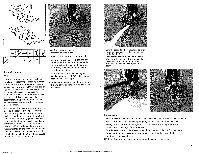
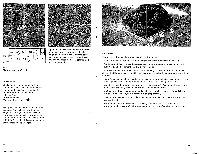
.4 1' •••• \ \. \ \ C • ••;', ) pros. -. 1 vvv ----> -E....a....,.' (1 o NZ, ..A. 2o2o/ 6 1 0 - - 2-3 /2010 /z : Darning with the straight stitch Attach darning foot ho. 6 (special accessory for 2010). Turn the hand wheel towards you until the needle is set at its highest position. With thumb and index finger press the darning foot together. Insert the pin of the darning foot as far as it will go into the hole of the sewing foot holder. The "C-shaped" guide should place itself around the presser bar. The long, plastic arm must be behind the needle clamp/needle set screw. Darning position: Lower the presser bar lifter slowly and push it lightly to the rear until it engages in the darning position. Warning! Only in this position is the thread tension engaged for darning. - Place the work to be repaired in a dor ning/embroidery hoop. - Lower the feed dog. - Draw up the bobbin thread and hold the threads when you start sewing. - Repair the damaged area/hole by guiding the fabric evenly forwards and backwards. The length of the seam is determined by the size of the hole. When yo..1 t•ave covered the width of the damage° area, turn the fabric 90 degrees and stitch over the area again. Darning in both directions over a tear will produce a stronger repair than a single pass. TIP: Remember, when sewing with the feed dogs lowered, the stitch length is determined by you. An even, medium-to-fast sewing speed will allow you to sew a more consistent length of straight stitch. Sewing too slowly may cause small knots to appear on the reverse side of your work. 3. TeT,I. fit A. . tv0, ,- - ' 2 -wv- (I A < PrOs• V'./V .......- (-.=:. ..A. 2020 / • 1 0 2.5 3-5 0 2oto 2010 • 3 2-4 2.0 / 3.5 0 2020 Lace-work: Tablecloths, napkins and clothing can all be beautifully enhanced with lace trimmings. Lace edges Lace trims provide a lovely enhancement to home decor projects, crafts and garments. - Sergeiclean-finish the fabric edges with a zigzag or overlock stitch. - Lay the lace on the right side of the fabric, overlapping slightly. - Stitch the lace to the fabric. Lace edges with corners - Serge/clean-finish the fabric edges with a zigzag or overlock stitch. - Lay the lace on the right side of the fabric, overlapping slightly. Fold the lace into a miter at the corner, pivot and continue stitching to the next corner. - Continue until all edges are stitched. Lace inserts A beautiful heirloom effect can be achieved on christening wear, children's clothes and other garments with lace inserts. Baste the lace to the face side of the fabric. Stitch very close to both edges of the lace using straight stitch 1. Carefully slit the fabric behind the lace at the center. Press these edges towards the garment. From the front side of your project overstitch both edges of the lace with a small zigzag stitch. Cut away the excess fabric on the back of your project close to the stitching. 48 49
-
 1
1 -
2
-
3
-
4
-
5
-
6
-
7
-
8
-
9
-
10
-
11
-
12
-
13
-
14
-
15
-
16
-
17
-
18
-
19
-
20
-
21
-
 22
22 -
 23
23 -
 24
24 -
 25
25 -
 26
26 -
 27
27 -
 28
28 -
 29
29 -
 30
30 -
 31
31 -
 32
32 -
33
-
34
-
35
-
36
-
37
-
38
-
39
-
40
-
41
-
42
-
43
-
44
-
45
-
46
-
47
-
48
-
49
-
50
-
51
-
52
-
53
-
54
 |
 |