Pfaff Tiptronic 2020 Owner's Manual - Page 33
„
 |
View all Pfaff Tiptronic 2020 manuals
Add to My Manuals
Save this manual to your list of manuals |
Page 33 highlights
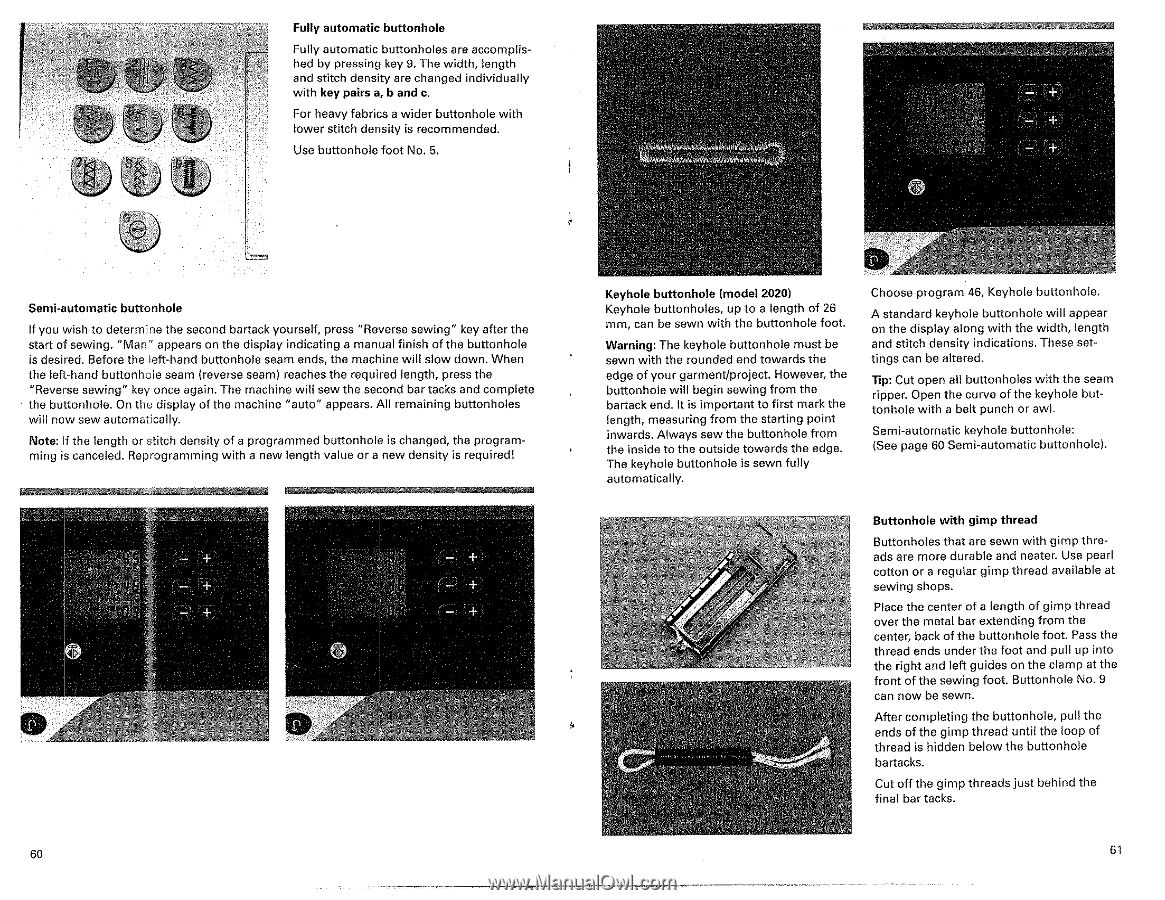
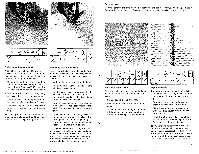
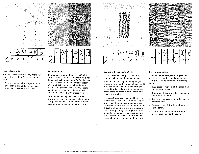
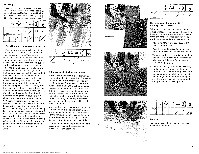
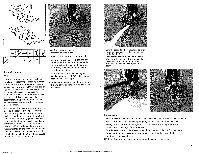
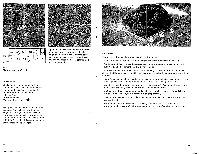
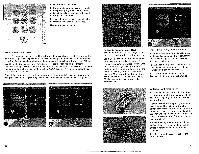
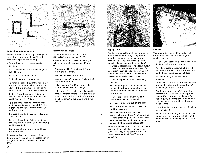
Fully automatic buttonhole Fully automatic buttonholes are accomplished by pressing key 9. The width, length and stitch density are changed individually with key pairs a, b and c. For heavy fabrics a wider buttonhole with lower stitch density is recommended. Use buttonhole foot No. 5. • , n , c.nt Semi-automatic buttonhole If you wish to determine the second bartack yourself, press "Reverse sewing" key after the start of sewing. "Man" appears on the display indicating a manual finish of the buttonhole is desired. Before the left-hand buttonhole seam ends, the machine will slow down. When the left-hand buttonhole seam (reverse seam) reaches the required length, press the "Reverse sewing" key once again. The machine will sew the second bar tacks and complete the buttonhole. On the display of the machine "auto" appears. All remaining buttonholes will now sew automatically. Note: If the length or stitch density of a programmed buttonhole is changed, the programming is canceled. Reprogramming with a new length value or a new density is required! • i• 60 70„ Keyhole buttonhole (model 2020) Keyhole buttonholes, up to a length of 26 mm, can be sewn with the buttonhole foot. Warning: The keyhole buttonhole must be sewn with the rounded end towards the edge of your garment/project. However, the buttonhole will begin sewing from the bartack end. It is important to first mark the length, measuring from the starting point inwards. Always sew the buttonhole from the inside to the outside towards the edge. The keyhole buttonhole is sewn fully automatically. Choose program 46, Keyhole buttonhole. A standard keyhole buttonhole will appear on the display along with the width, length and stitch density indications. These settings can be altered. Tip: Cut open all buttonholes with the seam ripper. Open the curve of the keyhole buttonhole with a belt punch or awl. Semi-automatic keyhole buttonhole: (See page 60 Semi-automatic buttonhole). i on6,00,0nn *n, 'Po Buttonhole with gimp thread Buttonholes that are sewn with gimp threads are more durable and neater. Use pearl cotton or a regular gimp thread available at sewing shops. Place the center of a length of gimp thread over the metal bar extending from the center, back of the buttonhole foot. Pass the thread ends under the foot and pull up into the right and left guides on the clamp at the front of the sewing foot. Buttonhole No. 9 can now be sewn. After completing the buttonhole, pull the ends of the gimp thread until the loop of thread is hidden below the buttonhole ba rtacks. Cut off the gimp threads just behind the final bar tacks. 61
-
 1
1 -
2
-
3
-
4
-
5
-
6
-
7
-
8
-
9
-
10
-
11
-
12
-
13
-
14
-
15
-
16
-
17
-
18
-
19
-
20
-
21
-
22
-
23
-
24
-
25
-
26
-
27
-
 28
28 -
 29
29 -
 30
30 -
 31
31 -
 32
32 -
 33
33 -
 34
34 -
 35
35 -
 36
36 -
 37
37 -
 38
38 -
39
-
40
-
41
-
42
-
43
-
44
-
45
-
46
-
47
-
48
-
49
-
50
-
51
-
52
-
53
-
54
 |
 |