Pfaff Tiptronic 2020 Owner's Manual - Page 38
Appliqués
 |
View all Pfaff Tiptronic 2020 manuals
Add to My Manuals
Save this manual to your list of manuals |
Page 38 highlights
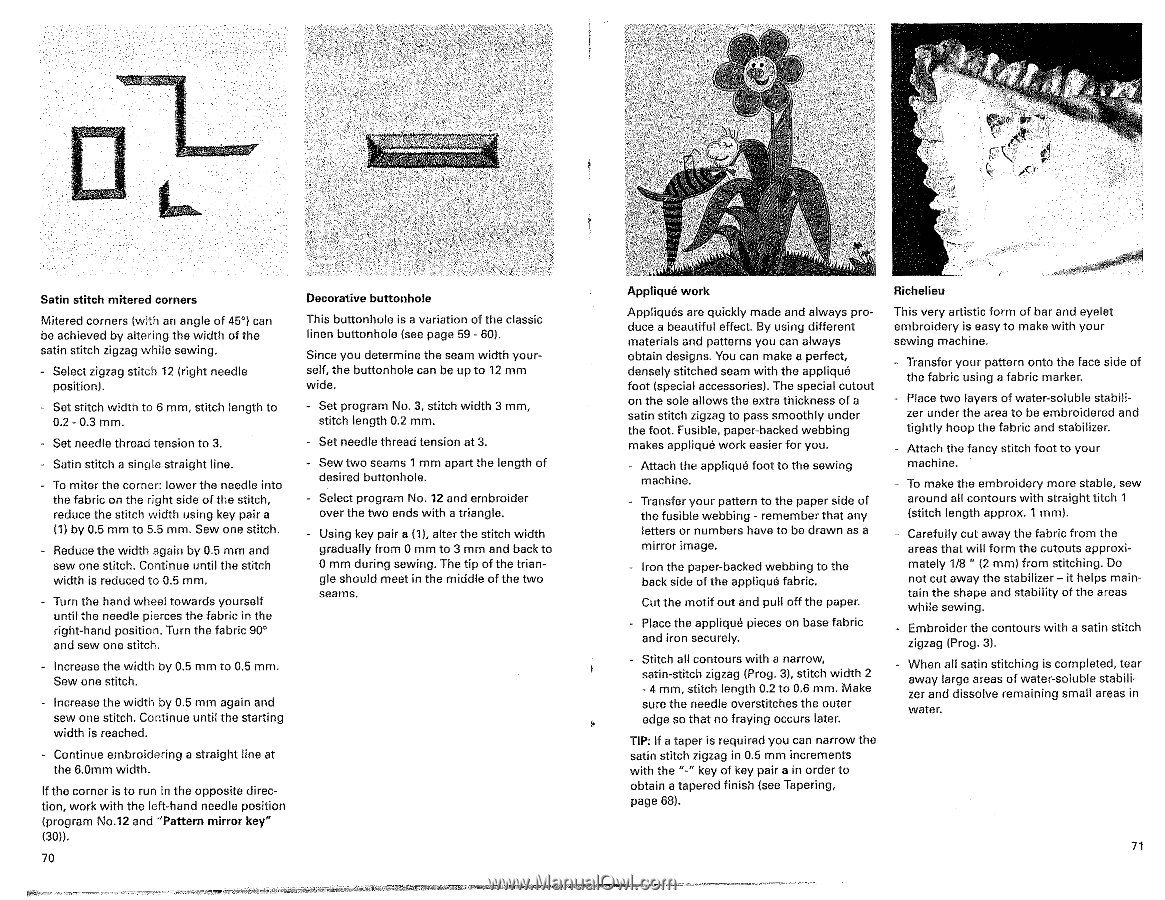
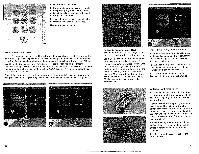
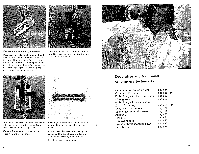
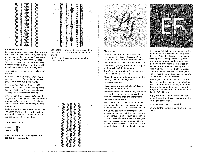
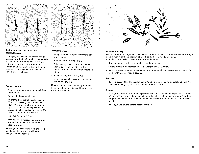
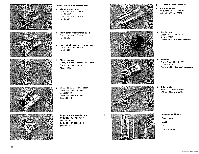
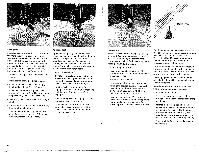
L )1,1 • 8.- 1 Satin stitch mitered corners Mitered corners (with an angle of 45°) can be achieved by altering the width of the satin stitch zigzag while sewing. - Select zigzag stitch 12 (right needle position). - Set stitch width to 6 mm, stitch length to 0.2 - 0.3 mm. - Set needle thread tension to 3. - Satin stitch a single straight line. - To miter the corner: lower the needle into the fabric on the right side of the stitch, reduce the stitch width using key pair a (1) by 0.5 mm to 5.5 mm. Sew one stitch. - Reduce the width again by 0.5 mm and sew one stitch. Continue until the stitch width is reduced to 0.5 mm. - Turn the hand wheel towards yourself until the needle pierces the fabric in the right-hand position. Turn the fabric 90° and sew one stitch. - Increase the widtri by 0.5 mm to 0.5 mm. Sew one stitch. - Increase the width by 0.5 mm again and sew one stitch. Continue until the starting width is reached. - Continue embroidering a straight line at the 6.0mm width. If the corner is to run in the opposite direction, work with the left-hand needle position (program No.12 and "Pattern mirror key" (30)). 70 Decorative buttonhole This buttonhole is a variation of the classic linen buttonhole (see page 59 - 60). Since you determine the seam width yourself, the buttonhole can be up to 12 mm wide. - Set program No. 3, stitch width 3 mm, stitch length 0.2 mm. • Set needle thread tension at 3. Sew two Seams 1 mm apart the length of desired buttonhole. Select program No. 12 and embroider over the two ends with a triangle. Using key pair a (1), alter the stitch width gradually from 0 mm to 3 mm and back to 0 mm during sewing. The tip of the triangle should meet in the middle of the two seams. Appliqué work Appliqués aro quickly made and always produce a beautiful effect. By using different materials and patterns you can always obtain designs. You can make a perfect, densely stitched seam with the appliqué foot (special accessories). The special cutout on the sole allows the extra thickness of a satin stitch zigzag to pass smoothly under the foot. Fusible, paper-backed webbing makes appliqué work easier for you. - Attach the appliqué foot to the sewing machine. - Transfer your pattern to the paper side of the fusible webbing - remember that any letters or numbers have to be drawn as a mirror image. Iron the paper-backed webbing to the back side of the appliqué fabric. Cut the motif out and pull off the paper. Place the applique pieces on base fabric and iron securely. Stitch all contours with a narrow, satin-stitch zigzag (Prog. 3), stitch width 2 - 4 mm, stitch length 0.2 to 0.6 mm. Make sure the needle overstitches the outer edge so that no fraying occurs later. TIP: If a taper is required you can narrow the satin stitch zigzag in 0.5 mm increments with the "-- key of key pair a in order to obtain a tapered finish (see Tapering, page 68). Richelieu This very artistic form of bar and eyelet embroidery is easy to make with your sewing machine. - Transfer your pattern onto the face side of the fabric using a fabric marker. - Place two layers of water-soluble stabilizer under the area to be embroidered and tightly hoop the fabric and stabilizer. - Attach the fancy stitch foot to your machine. - To make the embroidery more stable, sew around all contours with straight litch 1 (stitch length approx. 1 mm). - Carefully cut away the fabric from the areas that will form the cutouts approximately 1/8 " (2 mm) from stitching. Do not cut away the stabilizer - it helps maintain the shape and stability of the areas while sewing. - Embroider the contours with a satin stitch zigzag (Prog. 3). - When al satin stitching is completed, tear away large areas of water-soluble stabilizer and dissolve remaining small areas in water. 71
-
 1
1 -
2
-
3
-
4
-
5
-
6
-
7
-
8
-
9
-
10
-
11
-
12
-
13
-
14
-
15
-
16
-
17
-
18
-
19
-
20
-
21
-
22
-
23
-
24
-
25
-
26
-
27
-
28
-
29
-
30
-
31
-
32
-
 33
33 -
 34
34 -
 35
35 -
 36
36 -
 37
37 -
 38
38 -
 39
39 -
 40
40 -
 41
41 -
 42
42 -
 43
43 -
44
-
45
-
46
-
47
-
48
-
49
-
50
-
51
-
52
-
53
-
54
 |
 |