Pfaff Tiptronic 2020 Owner's Manual - Page 23
prog., Vs:A1
 |
View all Pfaff Tiptronic 2020 manuals
Add to My Manuals
Save this manual to your list of manuals |
Page 23 highlights
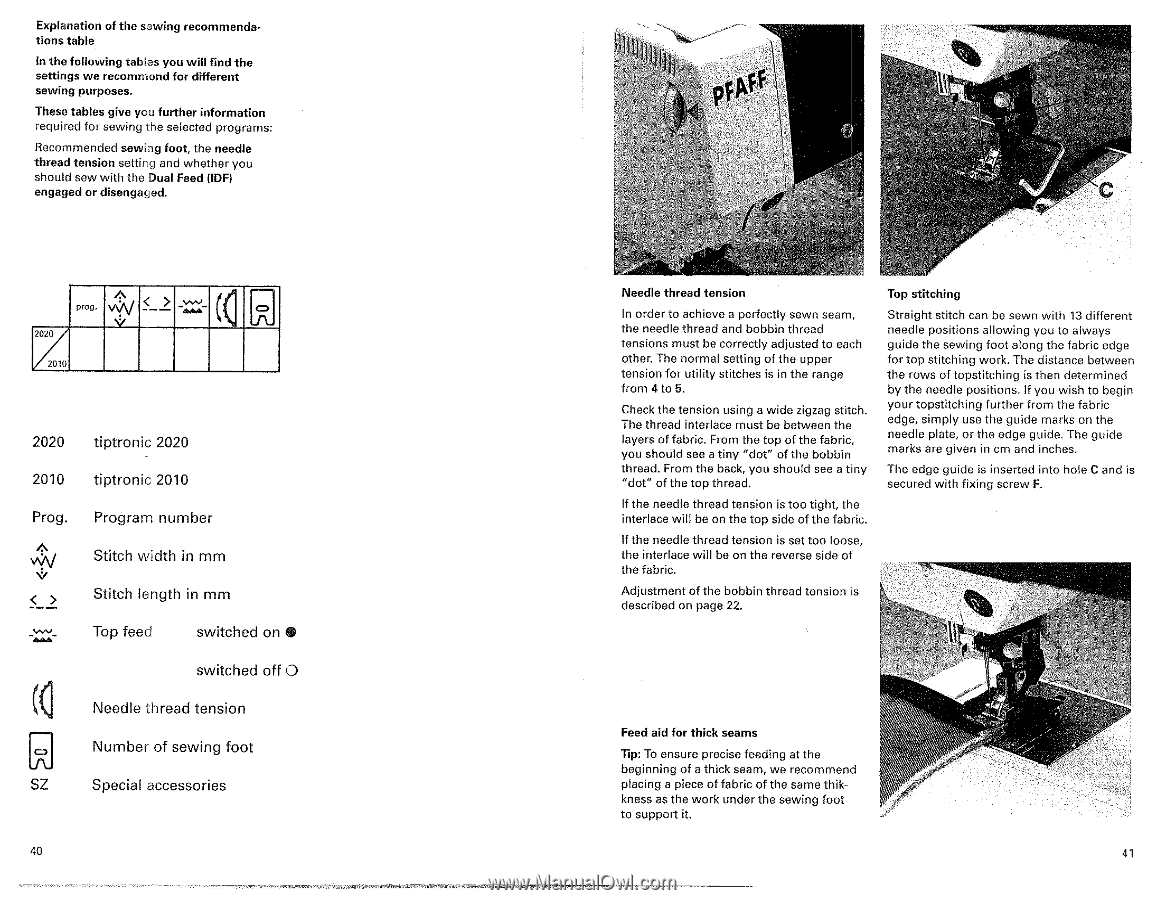
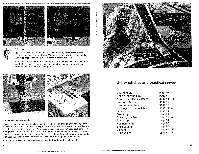
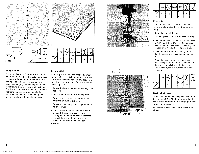
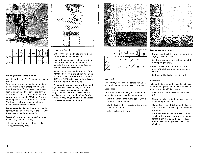
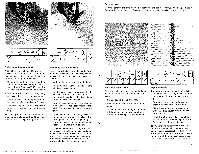
Explanation of the sewing recommendations table In the following tables you will find the settings we recommend for different sewing purposes. These tables give you further information required for sewing the selected programs: Recommended sewing foot, the needle thread tension setting and whether you should sew with the Dual Feed (IDF) engaged or disengaged. ..--. prog. ^ Vs:A1 5_> 2-4- ((I ,=, V J1- 2020 2010 2020 tiptronic 2020 2010 tiptronic 2010 Prog. Program number Stitch width in mm Stitch length in mm Top feed switched on • (11 switched off 0 Needle thread tension Number of sewing foot SZ Special accessories 40 •x'i.i.r.. 11,,,,,,,,041,716., Needle thread tension In order to achieve a perfectly sewn seam, the needle thread and bobbin thread tensions must be correctly adjusted to each other. The normal setting of the upper tension for utility stitches is in the range from 4 to 5. Check the tension using a wide zigzag stitch. The thread interlace must be between the layers of fabric. From the top of the fabric, you should see a tiny "dot" of the bobbin thread. From the back, you should see a tiny "dot" of the top thread. If the needle thread tension is too tight, the interlace will be on the top side of the fabric. If the needle thread tension is set too loose, the interlace will be on the reverse side of the fabric. Adjustment of the bobbin thread tension is described on page 22. Top stitching Straight stitch can be sewn with 13 different needle positions allowing you to always guide the sewing foot along the fabric edge for top stitching work. The distance between the rows of topstitching is then determined by the needle positions. If you wish to begin your topstitching further from the fabric edge, simply use the guide marks on the needle plate, or the edge guide. The guide marks are given in cm and inches. The edge guide is inserted into hole C and is secured with fixing screw F. Feed aid for thick seams Tip: To ensure precise feeding at the beginning of a thick seam, we recommend placing a piece of fabric of the same thikkness as the work under the sewing foot to support it. 41
-
 1
1 -
2
-
3
-
4
-
5
-
6
-
7
-
8
-
9
-
10
-
11
-
12
-
13
-
14
-
15
-
16
-
17
-
 18
18 -
 19
19 -
 20
20 -
 21
21 -
 22
22 -
 23
23 -
 24
24 -
 25
25 -
 26
26 -
 27
27 -
 28
28 -
29
-
30
-
31
-
32
-
33
-
34
-
35
-
36
-
37
-
38
-
39
-
40
-
41
-
42
-
43
-
44
-
45
-
46
-
47
-
48
-
49
-
50
-
51
-
52
-
53
-
54
 |
 |