Pfaff Tiptronic 2020 Owner's Manual - Page 26
frayin, 46044.0.
 |
View all Pfaff Tiptronic 2020 manuals
Add to My Manuals
Save this manual to your list of manuals |
Page 26 highlights
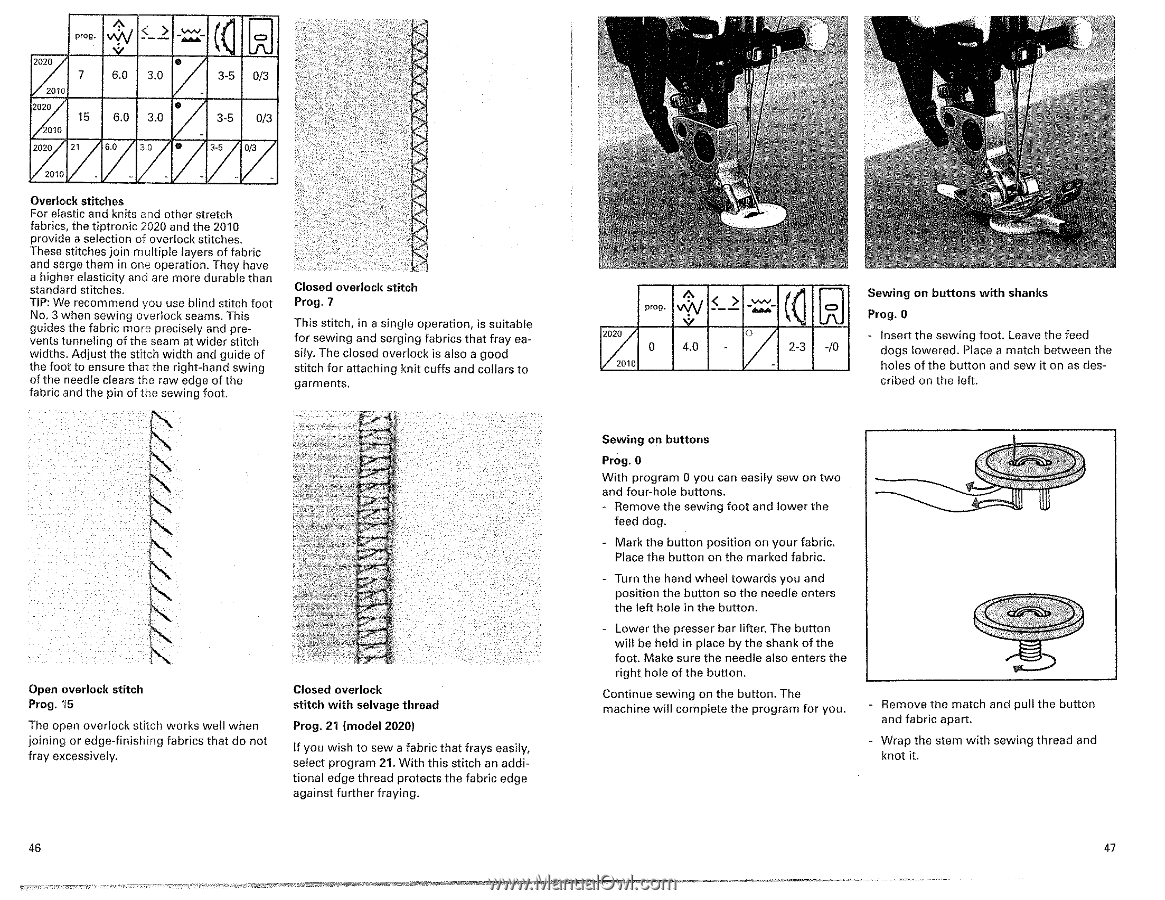
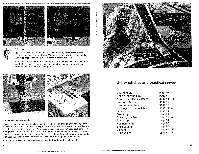
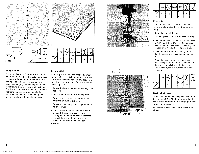
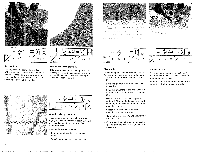
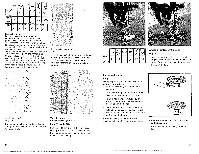
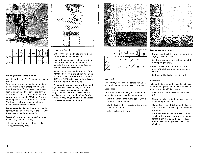
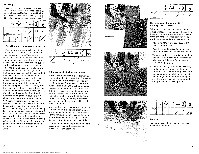
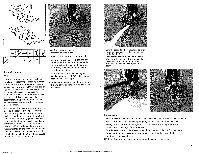
prog. vs:1V 5_2 _v.,..,_ (I . N!, JL 72 1 0 7 6.0 3.0 3-5 0/3 2010 /20e2 1 15 10 • 6.0 3.0 3.5 0/3 2020 /2 7 3.0 /110 /3 10/ Overlock stitches For elastic and knits and other stretch fabrics, the tiptronic 2020 and the 2010 provide a selection of overlock stitches. These stitches join multiple layers of fabric and serge them in one operation. They have a higher elasticity and are more durable than standard stitches. TIP: We recommend you use blind stitch foot No. 3 when sewing overlock seams. This guides the fabric more precisely and prevents tunneling of the seam at wider stitch widths. Adjust the stitch width and guide of the foot to ensure that the right-hand swing of the needle clears the raw edge of the fabric and the pin of the sewing foot. Closed overlock stitch Prog. 7 This stitch, in a single operation, is suitable for sewing and serging fabrics that fray easily. The closed overlock is also a good stitch for attaching knit cuffs and collars to garments. Open overlock stitch Prog. 15 The open overlock stitch works well when joining or edge-finishing fabrics that do not fray excessively. Closed overlock stitch with selvage thread Prog. 21 (model 2020) If you wish to sew a fabric that frays easily, select program 21. With this stitch an additional edge thread protects the fabric edge against further fraying. 46 1 ogr At' "11 %46044..0..-K 2020 0 2010 IN VW NY 4.0 ......... Sewing on buttons with shanks (I a) Prog. 0 0 - Insert the sewing foot. Leave the feed 2-3 -/0 dogs lowered. Place a match between the holes of the button and sew it on as des• cribed on the left. Sewing on buttons Prog. 0 With program 0 you can easily sew on two and four-hole buttons. - Remove the sewing foot and lower the feed dog. - Mark the button position on your fabric. Place the button on the marked fabric. - Turn the hand wheel towards you and position the button so the needle enters the left hole in the button. - Lower the presser bar lifter. The button will be held in place by the shank of the foot. Make sure the needle also enters the right hole of the button. Continue sewing on the button. The machine will complete the program for you. - Remove the match and pull the button and fabric apart. - Wrap the stem with sewing thread and knot it. 47
-
 1
1 -
2
-
3
-
4
-
5
-
6
-
7
-
8
-
9
-
10
-
11
-
12
-
13
-
14
-
15
-
16
-
17
-
18
-
19
-
20
-
 21
21 -
 22
22 -
 23
23 -
 24
24 -
 25
25 -
 26
26 -
 27
27 -
 28
28 -
 29
29 -
 30
30 -
 31
31 -
32
-
33
-
34
-
35
-
36
-
37
-
38
-
39
-
40
-
41
-
42
-
43
-
44
-
45
-
46
-
47
-
48
-
49
-
50
-
51
-
52
-
53
-
54
 |
 |