Pfaff Tiptronic 2020 Owner's Manual - Page 43
Pfaff Tiptronic 2020 Manual
 |
View all Pfaff Tiptronic 2020 manuals
Add to My Manuals
Save this manual to your list of manuals |
Page 43 highlights
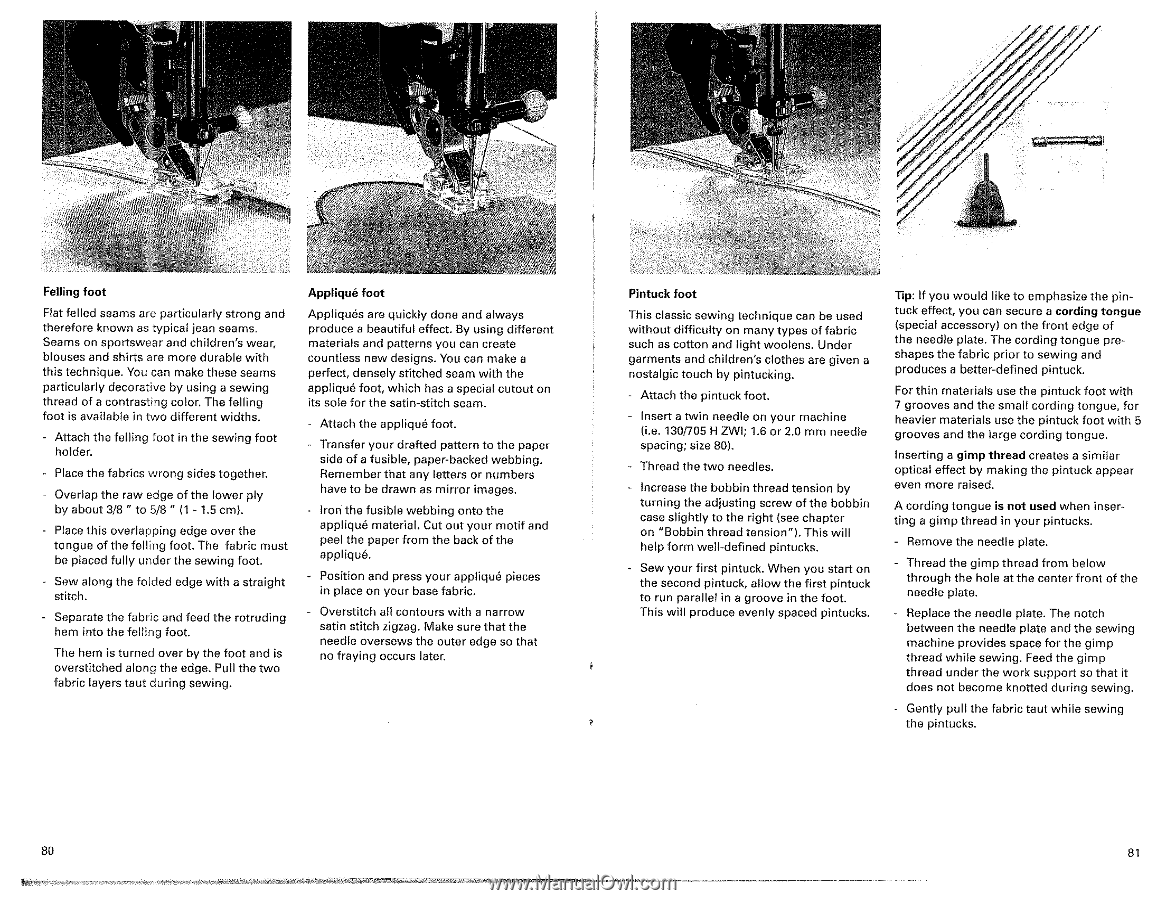
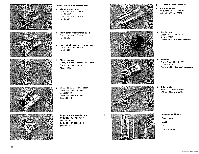
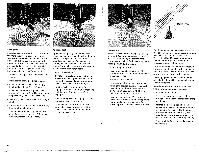
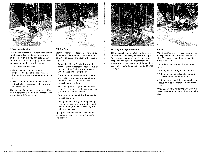
it 101111th tec 19 zit Felling foot Flat felled seams are particularly strong and therefore known as typical jean seams. Seams on sportswear and children's wear, blouses and shirts are more durable with this technique. You can make these seams particularly decorative by using a sewing thread of a contrasting color. The felling foot is available in two different widths. - Attach the felling foot in the sewing foot holder. - Place the fabrics wrong sides together. - Overlap the raw edge of the lower ply by about 3/8 " to 5/8 " (1 - 1.5 cm). - Place this overlapping edge over the tongue of the felling foot. The fabric must be placed fully under the sewing foot. - Sew along the folded edge with a straight stitch. - Separate the fabric and feed the rotruding hem into the felling foot. The hem is turned over by the foot and is overstitched along the edge. Pull the two fabric layers taut during sewing. Appliqué foot Appliqués are quickly done and always produce a beautiful effect. By using different materials and patterns you can create countless new designs. You can make a perfect, densely stitched seam with the appliqué fool:, which has a special cutout on its sole for the satin-stitch seam. - Attach the appliqué foot. - Transfer your drafted pattern to the paper side of a fusible, paper-backed webbing. Remember that any letters or numbers have to be drawn as mirror images. - Iron the fusible webbing onto the appliqué material. Cut out your motif and peel the paper from the back of the appliqué. Position and press your appliqué pieces in place on your base fabric. - Overstitch all contours with a narrow satin stitch zigzag. Make sure that the needle oversews the outer edge so that no fraying occurs later. Pintuck foot This classic sewing technique can be used without difficulty on many types of fabric such as cotton and light woolens. Under garments and children's clothes are given a nostalgic touch by pintucking. - Attach the pintuck foot. - Insert a twin needle on your machine (i.e. 130/785 H ZWI; 1.6 or 2.0 mm needle spacing; size 80). Thread the two needles. Increase the bobbin thread tension by turning the adjusting screw of the bobbin case slightly to the right (see chapter on "Bobbin thread tension"). This will help form well-defined pintucks. Sew your first pintuck. When you start on the second pintuck, allow the first pintuck to run parallel in a groove in the foot. This will produce evenly spaced pintucks. Tip: If you would like to emphasize the pintuck effect, you can secure a cording tongue (special accessory) c n the front edge of the needle plate. The cording tongue preshapes the fabric prior to sewing and produces a better-defined pintuck. For thin materials use the pintuck foot with 7 grooves and the small cording tongue, for heavier materials use the pintuck foot with 5 grooves and the large cording tongue. Inserting a gimp thread creates a similar optical effect by making the pintuck appear even more raised, A cording tongue is not used when inserting a gimp thread in your pintucks. - Remove the needle plate. - Thread the gimp thread from below through the hole at the center front of the needle plate. - Replace the needle plate. The notch between the needle plate and the sewing machine provides space for the gimp thread while sewing. Feed the gimp thread under the work support so that it does not become knotted during sewing. - Gently pull the fabric taut while sewing the pintucks. 80 81
-
 1
1 -
2
-
3
-
4
-
5
-
6
-
7
-
8
-
9
-
10
-
11
-
12
-
13
-
14
-
15
-
16
-
17
-
18
-
19
-
20
-
21
-
22
-
23
-
24
-
25
-
26
-
27
-
28
-
29
-
30
-
31
-
32
-
33
-
34
-
35
-
36
-
37
-
 38
38 -
 39
39 -
 40
40 -
 41
41 -
 42
42 -
 43
43 -
 44
44 -
 45
45 -
 46
46 -
 47
47 -
 48
48 -
49
-
50
-
51
-
52
-
53
-
54
 |
 |