Samsung SC-D366 User Manual (ENGLISH) - Page 68
Audio Dubbing SC-D364/D366 only, Audio Dubbing Post-sonorisation modèles SC-D364/D366 uniquement
 |
View all Samsung SC-D366 manuals
Add to My Manuals
Save this manual to your list of manuals |
Page 68 highlights
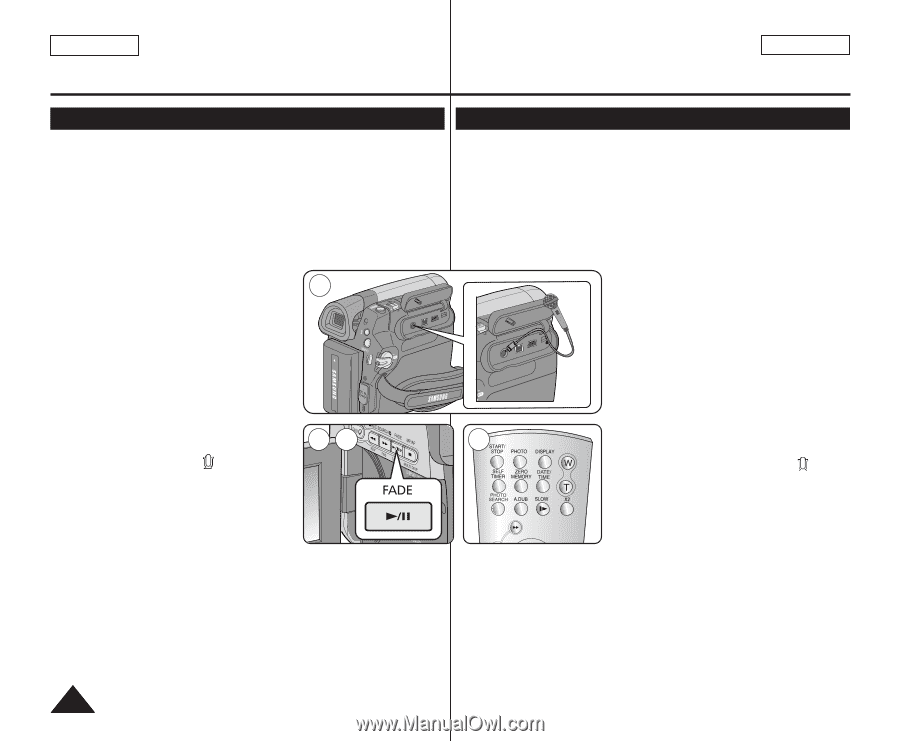
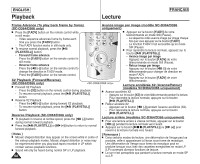
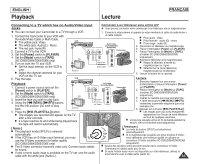
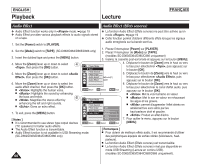
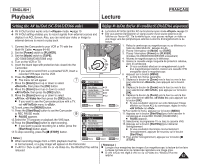
ENGLISH Playback Lecture FRANÇAIS Audio Dubbing (SC-D364/D366 only) ✤ The Audio Dubbing function works only in mode. ➥page 19 ✤ You can not dub sound on a pre-recorded tape in LP or 16 bit mode. ✤ You can add sound to the original sound on a pre-recorded tape recorded in SP mode with 12bit sound. ✤ Use the internal or an external microphone(not supplied) or other audio equipment. ✤ The original sound will not be erased. R ERA 1. Set the [Power] switch to [PLAYER]. I If you want to use an external 1 microphone, connect the microphone to the external MIC input jack on the Camcorder. 2. Set the [Mode] switch to [TAPE]. 3. Press the PLAY/STILL)] button and QMUEINCUK PLAYE find the time frame of the scene to be CAM dubbed. 4. Press the PLAY/STILL)] button to pause the scene. 5. Press the [A.DUB] button on the remote control. 34 I Audio Dubbing icon ( ) is displayed. I The Camcorder is ready for dubbing. 6. Press the PLAY/STILL)] button to start dubbing. I Press the [I (STOP)] button to stop the dubbing. [ Notes ] I You can not use the Audio Dubbing function while playing a write protected video tape. I To utilize an external MIC or sound source, connect a microphone to the MIC jack or use the Multi-AV Cable (or AV JACK; SC-D263/D363 only) to connect external sound source input. I To dub an external sound source, set the function to (SC-D365/D366 only). ➥page 67 62 Audio Dubbing (Post-sonorisation) (modèles SC-D364/D366 uniquement) ✤ La fonction Audio Dubbing (Post-sonorisation) ne peut être activée qu'en mode . ➥page 19 ✤ Vous ne pouvez pas ajouter de bande son sur une cassette préenregistrée en mode LP ou en mode 16 bit (16 bits). ✤ Vous pouvez ajouter une bande son à la bande son originale d'une cassette pré-enregistrée en mode SP avec un son 12 bit (12 bits). ✤ Utilisez le microphone interne, un microphone externe (non fourni) ou tout autre appareil audio. ✤ La bande son originale ne sera pas effacée. AV/ S USB DV MIC 5 √ 1. Placez l'interrupteur [Power] sur [PLAYER]. I Si vous voulez utiliser un microphone externe, reliez ce microphone à la prise d'entrée pour micro externe du caméscope. 2. Placez l'interrupteur de [Mode] sur [TAPE]. 3. Appuyez sur le bouton PLAY/STILL)] pour trouver les codes temps de la scène que vous souhaitez post-sonoriser. 4. Appuyez sur le bouton PLAY/STILL)] pour suspendre la lecture de la scène. 5. Appuyez sur le bouton [A.DUB] de la télécommande. I L'icône de post-sonorisation ( ) s'affiche. I Le caméscope est prêt pour la post-sonorisation. 6. Appuyez sur le bouton PLAY/STILL)] pour démarrer la post-sonorisation. I Appuyez sur le bouton [I (STOP)] pour arrêter l'opération. [ Remarques ] I Vous ne pouvez pas utiliser la fonction Audio Dubbing (Post-sonorisation) lors de la lecture d'une cassette vidéo protégée en écriture. I Pour travailler avec un microphone externe, branchez celui-ci sur la prise MIC. Pour travailler avec une autre source sonore, utilisez le câble multi-AV (ou la prise AV, modèles SC-D263/D363 uniquement). I Pour ajouter une bande son provenant d'une source externe, réglez la fonction sur (modèles SC-D365/D366 uniquement). ➥page 67
-
 1
1 -
2
-
3
-
4
-
5
-
6
-
7
-
8
-
9
-
10
-
11
-
12
-
13
-
14
-
15
-
16
-
17
-
18
-
19
-
20
-
21
-
22
-
23
-
24
-
25
-
26
-
27
-
28
-
29
-
30
-
31
-
32
-
33
-
34
-
35
-
36
-
37
-
38
-
39
-
40
-
41
-
42
-
43
-
44
-
45
-
46
-
47
-
48
-
49
-
50
-
51
-
52
-
53
-
54
-
55
-
56
-
57
-
58
-
59
-
60
-
61
-
62
-
 63
63 -
 64
64 -
 65
65 -
 66
66 -
 67
67 -
 68
68 -
 69
69 -
 70
70 -
 71
71 -
 72
72 -
 73
73 -
74
-
75
-
76
-
77
-
78
-
79
-
80
-
81
-
82
-
83
-
84
-
85
-
86
-
87
-
88
-
89
-
90
-
91
-
92
-
93
-
94
-
95
-
96
-
97
-
98
-
99
-
100
-
101
-
102
-
103
-
104
-
105
-
106
-
107
-
108
-
109
-
110
-
111
-
112
-
113
-
114
 |
 |