Seagate FreeAgent Go for Mac Installation Guide - Page 14
Step 2, Eject, Ejecting Ceedo, Safe to Remove Hardware
 |
View all Seagate FreeAgent Go for Mac manuals
Add to My Manuals
Save this manual to your list of manuals |
Page 14 highlights
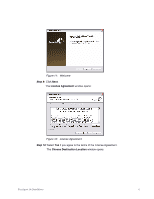
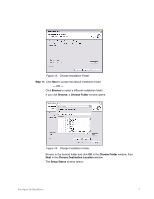
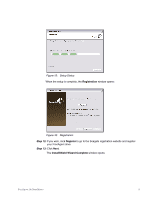
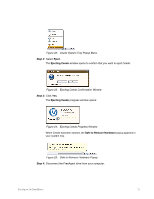
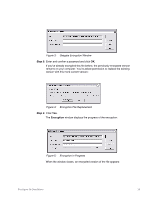
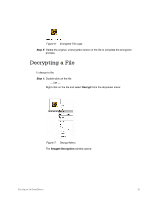
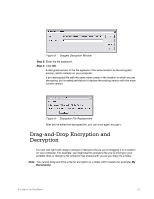
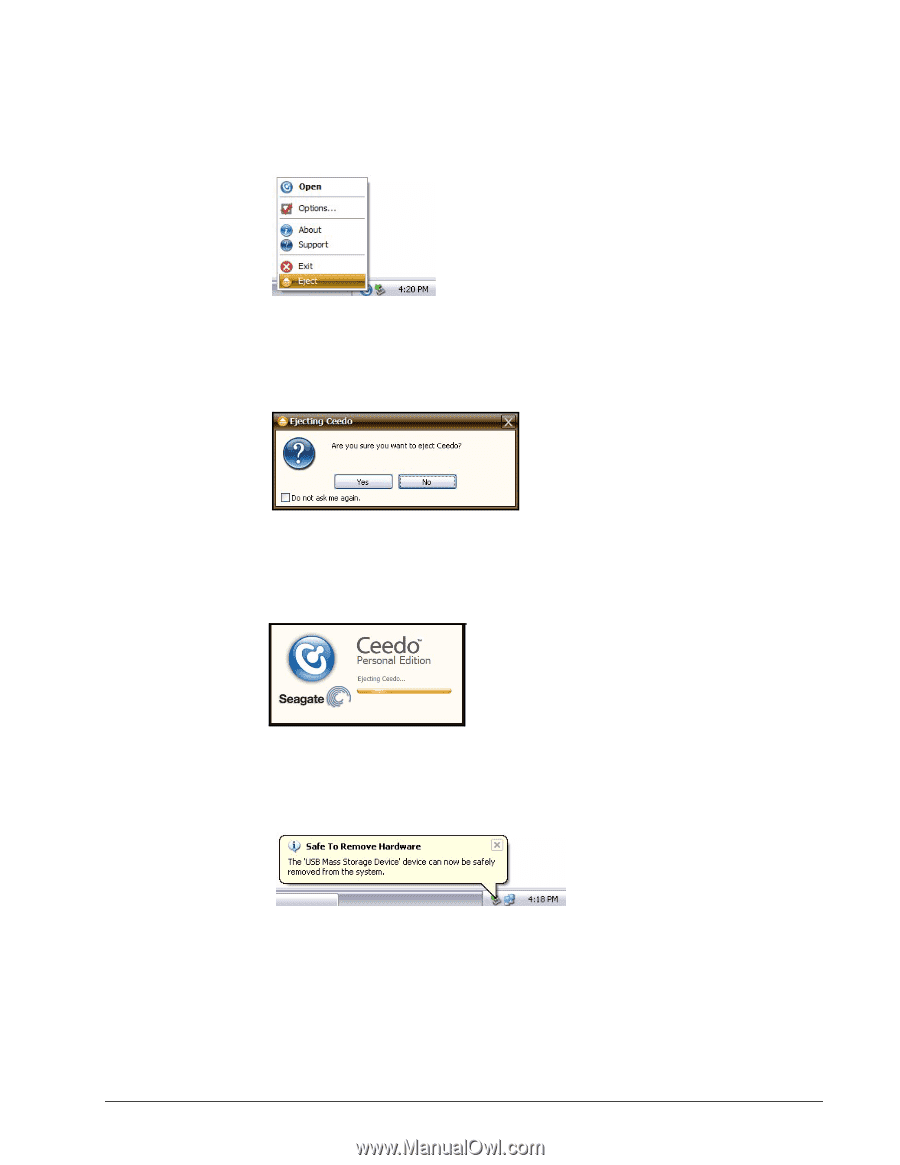
Figure 22: Ceedo System Tray Popup Menu Step 2: Select Eject. The Ejecting Ceedo window opens to confirm that you want to eject Ceedo: Figure 23: Ejecting Ceedo Confirmation Window Step 3: Click Yes. The Ejecting Ceedo progress window opens: Figure 24: Ejecting Ceedo Progress Window When Ceedo has been ejected, the Safe to Remove Hardware popup appears in your system tray. Figure 25: Safe to Remove Hardware Popup Step 4: Disconnect the FreeAgent drive from your computer. FreeAgent Go Data Mover 11
-
 1
1 -
2
-
3
-
4
-
5
-
6
-
7
-
8
-
 9
9 -
 10
10 -
 11
11 -
 12
12 -
 13
13 -
 14
14 -
 15
15 -
 16
16 -
 17
17 -
 18
18 -
 19
19 -
20
-
21
-
22
-
23
-
24
-
25
-
26
-
27
-
28
-
29
-
30
-
31
-
32
-
33
-
34
-
35
-
36
-
37
-
38
-
39
-
40
-
41
-
42
-
43
-
44
-
45
-
46
-
47
-
48
-
49
-
50
-
51
-
52
-
53
 |
 |
FreeAgent Go Data Mover
11
Figure 22:
Ceedo System Tray Popup Menu
Step 2:
Select
Eject
.
The
Ejecting Ceedo
window opens to confirm that you want to eject Ceedo:
Figure 23:
Ejecting Ceedo Confirmation Window
Step 3:
Click
Yes
.
The
Ejecting Ceedo
progress window opens:
Figure 24:
Ejecting Ceedo Progress Window
When Ceedo has been ejected, the
Safe to Remove Hardware
popup appears in
your system tray.
Figure 25:
Safe to Remove Hardware Popup
Step 4:
Disconnect the FreeAgent drive from your computer.