Sharp XG-P10XU XGP10XU Operation Manual - Page 18
INPUT, VOLUME, POWER OFF, Basic Operations - projector lamp
 |
View all Sharp XG-P10XU manuals
Add to My Manuals
Save this manual to your list of manuals |
Page 18 highlights
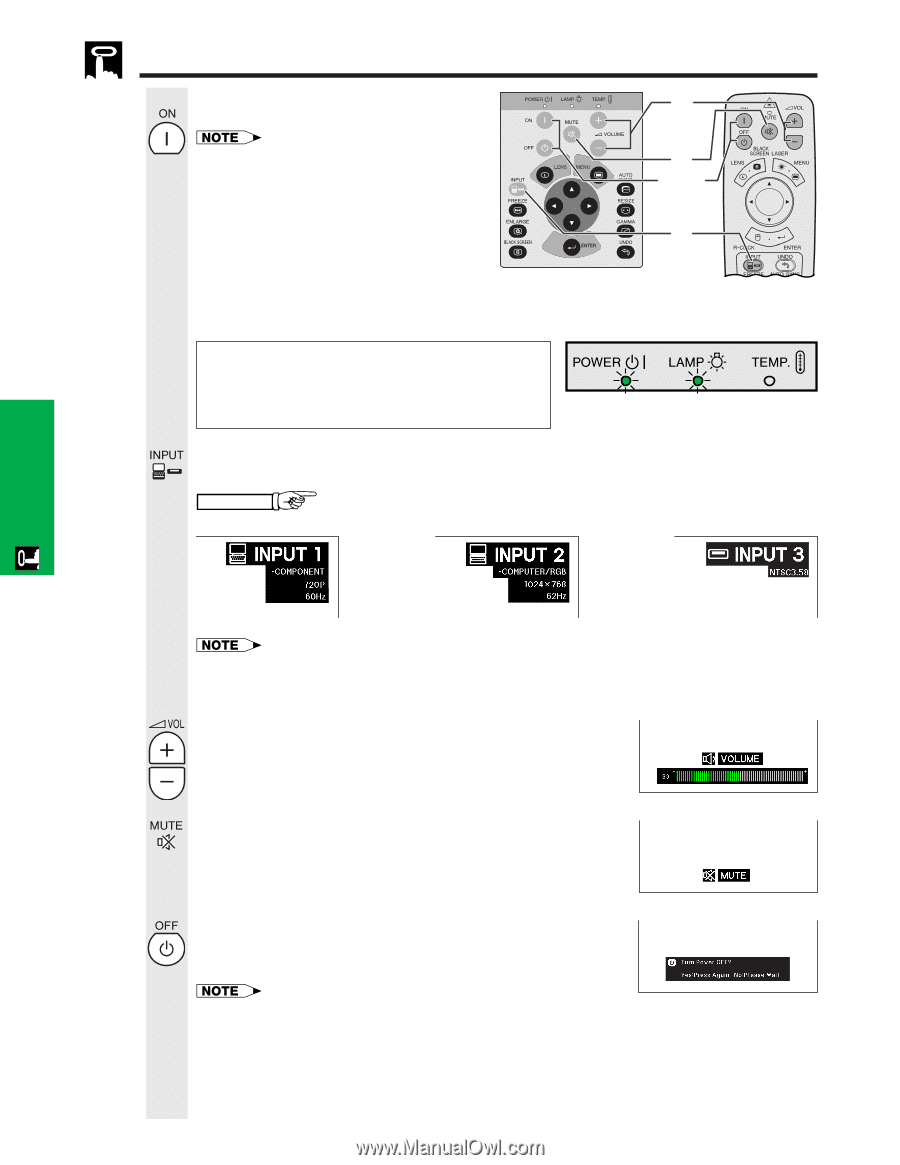
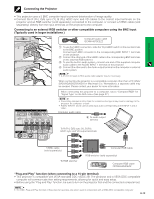
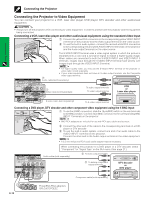
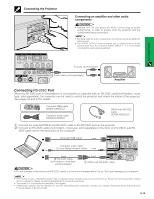
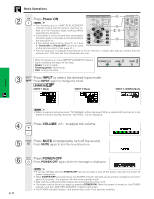
Basic Operations 2 4 Press Power ON. • The flashing green LAMP REPLACEMENT indicator shows that the lamp is warming up. Wait until the indicator stops flashing before 5 2, 6 operating the projector. • If the power is turned off and then immediately turned on again, it may take a short while before 3 the lamp turns on. • If the keylock level is set to "Level A" or "Level B", Power ON and Power OFF can only be used on the remote control. (See page 41.) • After the projector is unpacked and turned on for the first time, a slight odor may be emitted from the exhaust vent. This odor will soon disappear with use. When the power is on, the LAMP REPLACEMENT indicator lights indicating the status of the lamp. Green: Lamp is ready. Flashing green: Warming up. Red: Change the lamp. 3 Press INPUT to select the desired input mode. Press INPUT again to change the mode. EXAMPLE INPUT 1 Mode INPUT 2 Mode INPUT 3 (VIDEO) Mode Operation 4 • When no signal is being received, "NO SIGNAL" will be displayed. When a signal that the projector is not preset to receive is being received, "NOT REG." will be displayed. Press VOLUME to adjust the volume. 5 Press MUTE to temporarily turn off the sound. Press MUTE again to turn the sound back on. 6 E-17 Press POWER OFF. Press POWER OFF again while the message is displayed. • If you accidentally pressed POWER OFF and do not want to turn off the power, wait until the power off screen disappears. • When POWER OFF is pressed twice, the POWER indicator will light up red and the cooling fan will run for about 90 seconds. The projector will then enter standby mode. • Wait until the cooling fan stops before disconnecting the power cord. • The power can be turned on again by pressing POWER ON. When the power is turned on, the POWER indicator and the LAMP REPLACEMENT indicator light green. • The POWER indicator flashes if the bottom filter cover is not securely installed.
-
 1
1 -
2
-
3
-
4
-
5
-
6
-
7
-
8
-
9
-
10
-
11
-
12
-
 13
13 -
 14
14 -
 15
15 -
 16
16 -
 17
17 -
 18
18 -
 19
19 -
 20
20 -
 21
21 -
 22
22 -
 23
23 -
24
-
25
-
26
-
27
-
28
-
29
-
30
-
31
-
32
-
33
-
34
-
35
-
36
-
37
-
38
-
39
-
40
-
41
-
42
-
43
-
44
-
45
-
46
-
47
-
48
-
49
-
50
-
51
-
52
-
53
-
54
-
55
-
56
-
57
-
58
-
59
-
60
-
61
-
62
-
63
-
64
-
65
 |
 |