Singer One Instruction Manual 4 - Page 47
SEWING, PROFESSIONAL, construction, details
 |
View all Singer One manuals
Add to My Manuals
Save this manual to your list of manuals |
Page 47 highlights
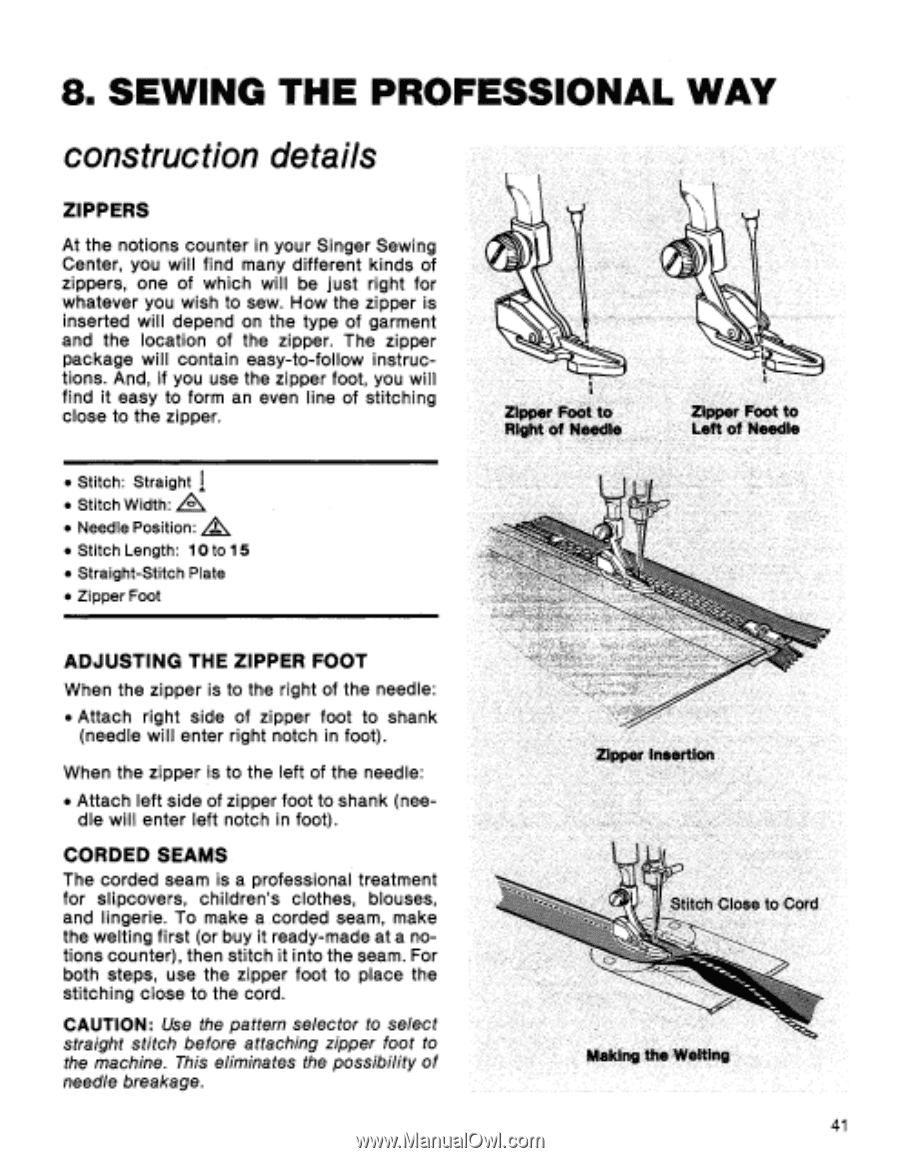
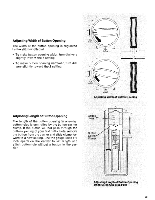
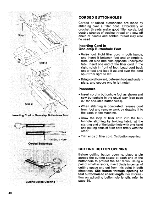
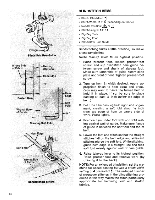
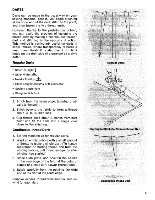
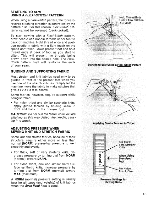
8. SEWING THE PROFESSIONAL WAY construction details ZIPPERS At the notions counter in your Singer Sewing Center, you will find many different kinds of zippers, one of which will be just right for whatever you wish to sew. How the zipper is inserted will depend on the type of garment and the location of the zipper. The zipper package will contain easy-to-follow instructions. And, if you use the zipper foot, you will find it easy to form an even line of stitching close to the zipper. Zipper Foot to Right of Needle Zipper Foot to Left of Needle • Stitch: Straight I • Stitch Width• Needle Position: A • Stitch Length: 10 to 15 • Straight-Stitch Plate • Zipper Foot ADJUSTING THE ZIPPER FOOT When the zipper is to the right of the needle: • Attach right side of zipper foot to shank (needle will enter right notch in foot). When the zipper is to the left of the needle: • Attach left side of zipper foot to shank (needle will enter left notch in foot). CORDED SEAMS The corded seam is a professional treatment for slipcovers, children's clothes, blouses, and lingerie. To make a corded seam, make the welting first (or buy it ready-made at a notions counter), then stitch it into the seam. For both steps, use the zipper foot to place the stitching close to the cord. CAUTION: Use the pattern selector to select straight stitch before attaching zipper foot to the machine. This eliminates the possibility of needle breakage. Zipper Insertion Stitch Close to Cord C) Making the Welting 41
-
 1
1 -
2
-
3
-
4
-
5
-
6
-
7
-
8
-
9
-
10
-
11
-
12
-
13
-
14
-
15
-
16
-
17
-
18
-
19
-
20
-
21
-
22
-
23
-
24
-
25
-
26
-
27
-
28
-
29
-
30
-
31
-
32
-
33
-
34
-
35
-
36
-
37
-
38
-
39
-
40
-
41
-
 42
42 -
 43
43 -
 44
44 -
 45
45 -
 46
46 -
 47
47 -
 48
48 -
 49
49 -
 50
50 -
 51
51 -
 52
52 -
53
-
54
-
55
-
56
-
57
-
58
-
59
-
60
-
61
-
62
-
63
-
64
-
65
-
66
-
67
-
68
-
69
-
70
-
71
-
72
-
73
-
74
-
75
-
76
-
77
 |
 |