Singer One Instruction Manual 4 - Page 62
Singer One Manual
 |
View all Singer One manuals
Add to My Manuals
Save this manual to your list of manuals |
Page 62 highlights
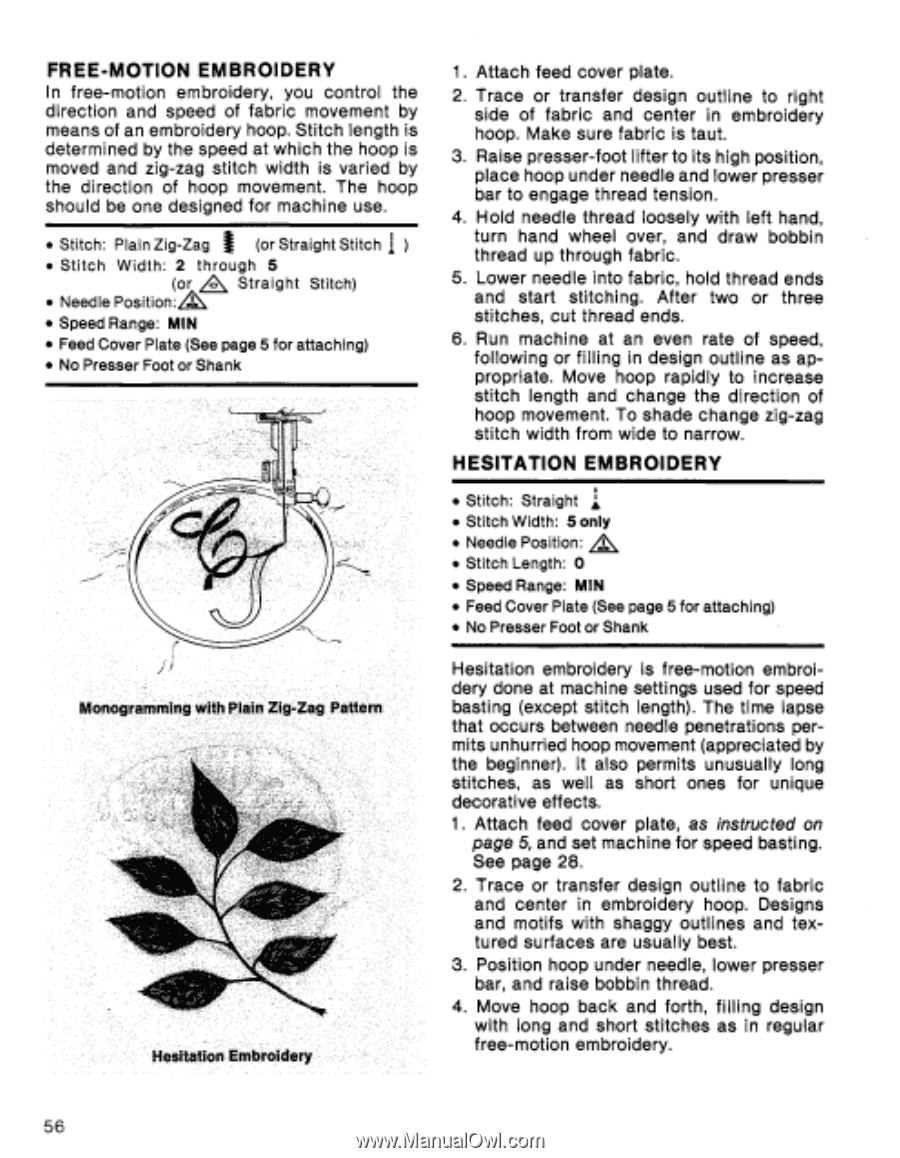
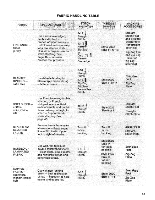
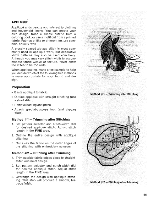
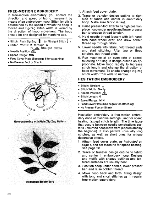
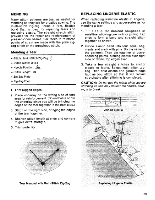
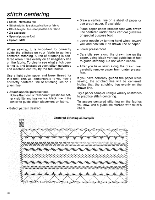
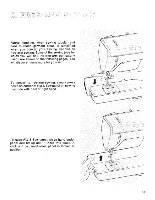
FREE-MOTION EMBROIDERY In free-motion embroidery, you control the direction and speed of fabric movement by means of an embroidery hoop. Stitch length is determined by the speed at which the hoop is moved and zig-zag stitch width is varied by the direction of hoop movement. The hoop should be one designed for machine use. • Stitch: Plain Zig-Zag I (or Straight Stitch I ) • Stitch Width: 2 through 5 (or A Straight Stitch) • Needle Position:/\ • Speed Range: MIN • Feed Cover Plate (See page 5 for attaching) • No Presser Foot or Shank 1. Attach feed cover plate. 2. Trace or transfer design outline to right side of fabric and center in embroidery hoop. Make sure fabric is taut. 3. Raise presser-foot lifter to its high position, place hoop under needle and lower presser bar to engage thread tension. 4. Hold needle thread loosely with left hand, turn hand wheel over, and draw bobbin thread up through fabric. 5. Lower needle into fabric, hold thread ends and start stitching. After two or three stitches, cut thread ends. 6. Run machine at an even rate of speed, following or filling in design outline as appropriate. Move hoop rapidly to increase stitch length and change the direction of hoop movement. To shade change zig-zag stitch width from wide to narrow. HESITATION EMBROIDERY • Stitch: Straight i • Stitch Width: 5 only • Needle Position: A • Stitch Length: 0 • Speed Range: MIN • Feed Cover Plate (See page 5 for attaching) • No Presser Foot or Shank Monogramming withPlain Zig-Zag Pattern Hesitation Embroidery Hesitation embroidery is free-motion embroidery done at machine settings used for speed basting (except stitch length). The time lapse that occurs between needle penetrations permits unhurried hoop movement (appreciated by the beginner). It also permits unusually long stitches, as well as short ones for unique decorative effects. 1. Attach feed cover plate, as instructed on page 5, and set machine for speed basting. See page 28. 2. Trace or transfer design outline to fabric and center in embroidery hoop. Designs and motifs with shaggy outlines and textured surfaces are usually best. 3. Position hoop under needle, lower presser bar, and raise bobbin thread. 4. Move hoop back and forth, filling design with long and short stitches as in regular free-motion embroidery. 56
-
 1
1 -
2
-
3
-
4
-
5
-
6
-
7
-
8
-
9
-
10
-
11
-
12
-
13
-
14
-
15
-
16
-
17
-
18
-
19
-
20
-
21
-
22
-
23
-
24
-
25
-
26
-
27
-
28
-
29
-
30
-
31
-
32
-
33
-
34
-
35
-
36
-
37
-
38
-
39
-
40
-
41
-
42
-
43
-
44
-
45
-
46
-
47
-
48
-
49
-
50
-
51
-
52
-
53
-
54
-
55
-
56
-
 57
57 -
 58
58 -
 59
59 -
 60
60 -
 61
61 -
 62
62 -
 63
63 -
 64
64 -
 65
65 -
 66
66 -
 67
67 -
68
-
69
-
70
-
71
-
72
-
73
-
74
-
75
-
76
-
77
 |
 |