Sony PCWA-C500 Operating Instructions - Page 37
Windows XP, Click the Network List button on the Wireless Panel.
 |
View all Sony PCWA-C500 manuals
Add to My Manuals
Save this manual to your list of manuals |
Page 37 highlights
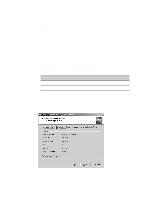
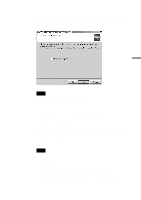
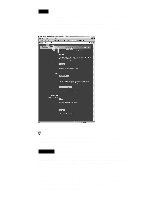
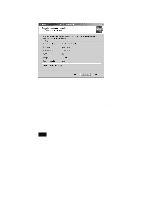
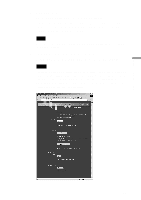
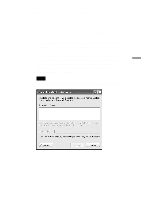
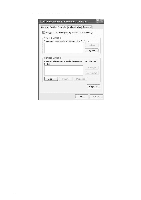
Wireless LAN connection Windows XP Note Before configuring the Wireless LAN PC Card Perform the following steps to confirm that the Use Windows to configure my wireless network settings check box is selected. This option is selected as the default setting. 1 From the Start menu, select Control Panel, then double-click Network Connections. 2 Right-click Wireless Network Connection, and click Properties. 3 Click the Wireless Network tab. 4 Confirm that the Use Windows to configure my wireless network settings check box is selected. If it is not selected, select the checkbox. Setting up the Wireless LAN PC Card in Access Point Network connection mode 1 After installing Wireless Panel, double-click the Wireless Panel icon (Received Signal Level indicator) on the task bar. The Wireless Panel main screen appears. z Hint For details on the Received Signal Level indicator, see "Viewing communication status" on page 45. 2 Click the Network List button on the Wireless Panel. The Network Connections window appears. 3 When the computer is connected to a wireless network: Right-click "Wireless Connection *" (where the asterisk represents a number. This number varies according to conditions) and select View Available Wireless Networks from the shortcut menu to display the Connect to Wireless Network dialog box. When the computer is not connected to a wireless network: (In this case, "Wireless Network connection *" in the Network Connections window is indicated with an "X".) Double-click "Wireless Connection *" (where the asterisk represents a number. This number varies according to conditions) to display the Connect to Wireless Network dialog box. 37
-
 1
1 -
2
-
3
-
4
-
5
-
6
-
7
-
8
-
9
-
10
-
11
-
12
-
13
-
14
-
15
-
16
-
17
-
18
-
19
-
20
-
21
-
22
-
23
-
24
-
25
-
26
-
27
-
28
-
29
-
30
-
31
-
 32
32 -
 33
33 -
 34
34 -
 35
35 -
 36
36 -
 37
37 -
 38
38 -
 39
39 -
 40
40 -
 41
41 -
 42
42 -
43
-
44
-
45
-
46
-
47
-
48
-
49
-
50
-
51
-
52
-
53
-
54
-
55
-
56
-
57
-
58
-
59
-
60
-
61
-
62
-
63
-
64
 |
 |