Yamaha CVP-94 Owner's Manual - Page 125
Song Delete (SONG DELETE) Display — Set up the disk., Select the song to be deleted.
 |
View all Yamaha CVP-94 manuals
Add to My Manuals
Save this manual to your list of manuals |
Page 125 highlights
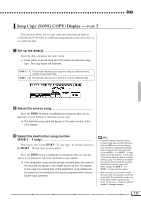
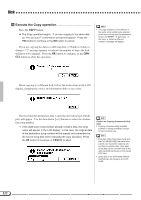
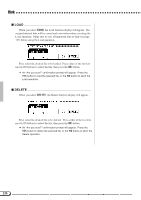
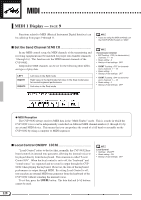
Disk G Copying Data Recorded Without a Disk If you've recorded a song without inserting a disk, the song data is automatically recorded to the CVP-94/92's internal RAM. To copy the data to the disk, first select the Song Copy display and insert a formatted disk. ➾ Select the destination song number, then copy to disk in the normal way. The CVP - DISK parameter is automatically selected, with the internal RAM data as the source data for copying. Song Delete (SONG DELETE) Display - PAGE 6 You can delete unneeded song data from the disk in this display. Be careful not to delete any important data on the disk; once the Delete operation is performed, it cannot be undone. ZSet up the disk...Insert the disk containing the song data to be deleted into the disk drive. XSelect the song to be deleted Use the data dial or [-/+] buttons to select the song to be deleted. The song data in the CVP-94/92's internal RAM can be also deleted with this operation. To do this, select the CVP MEMORY parameter instead of the song number (CVP MEMORY appears only when the internal RAM contains song data). CExecute the Delete operation Press the DELETE button. ➔ An "Are you sure?" confirmation prompt will appear. Press the YES button to delete the selected song, or press the NO button to cancel the operation. 123
-
 1
1 -
2
-
3
-
4
-
5
-
6
-
7
-
8
-
9
-
10
-
11
-
12
-
13
-
14
-
15
-
16
-
17
-
18
-
19
-
20
-
21
-
22
-
23
-
24
-
25
-
26
-
27
-
28
-
29
-
30
-
31
-
32
-
33
-
34
-
35
-
36
-
37
-
38
-
39
-
40
-
41
-
42
-
43
-
44
-
45
-
46
-
47
-
48
-
49
-
50
-
51
-
52
-
53
-
54
-
55
-
56
-
57
-
58
-
59
-
60
-
61
-
62
-
63
-
64
-
65
-
66
-
67
-
68
-
69
-
70
-
71
-
72
-
73
-
74
-
75
-
76
-
77
-
78
-
79
-
80
-
81
-
82
-
83
-
84
-
85
-
86
-
87
-
88
-
89
-
90
-
91
-
92
-
93
-
94
-
95
-
96
-
97
-
98
-
99
-
100
-
101
-
102
-
103
-
104
-
105
-
106
-
107
-
108
-
109
-
110
-
111
-
112
-
113
-
114
-
115
-
116
-
117
-
118
-
119
-
 120
120 -
 121
121 -
 122
122 -
 123
123 -
 124
124 -
 125
125 -
 126
126 -
 127
127 -
 128
128 -
 129
129 -
 130
130 -
131
-
132
-
133
-
134
-
135
-
136
-
137
-
138
-
139
-
140
-
141
-
142
-
143
-
144
-
145
-
146
-
147
-
148
 |
 |
