Alpine CDA-9887 Owners Manual - Page 18
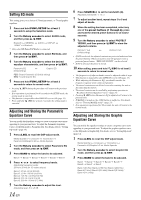
Adjusting and Storing the Crossover, Settings - owners manual
 |
UPC - 793276711373
View all Alpine CDA-9887 manuals
Add to My Manuals
Save this manual to your list of manuals |
Page 18 highlights
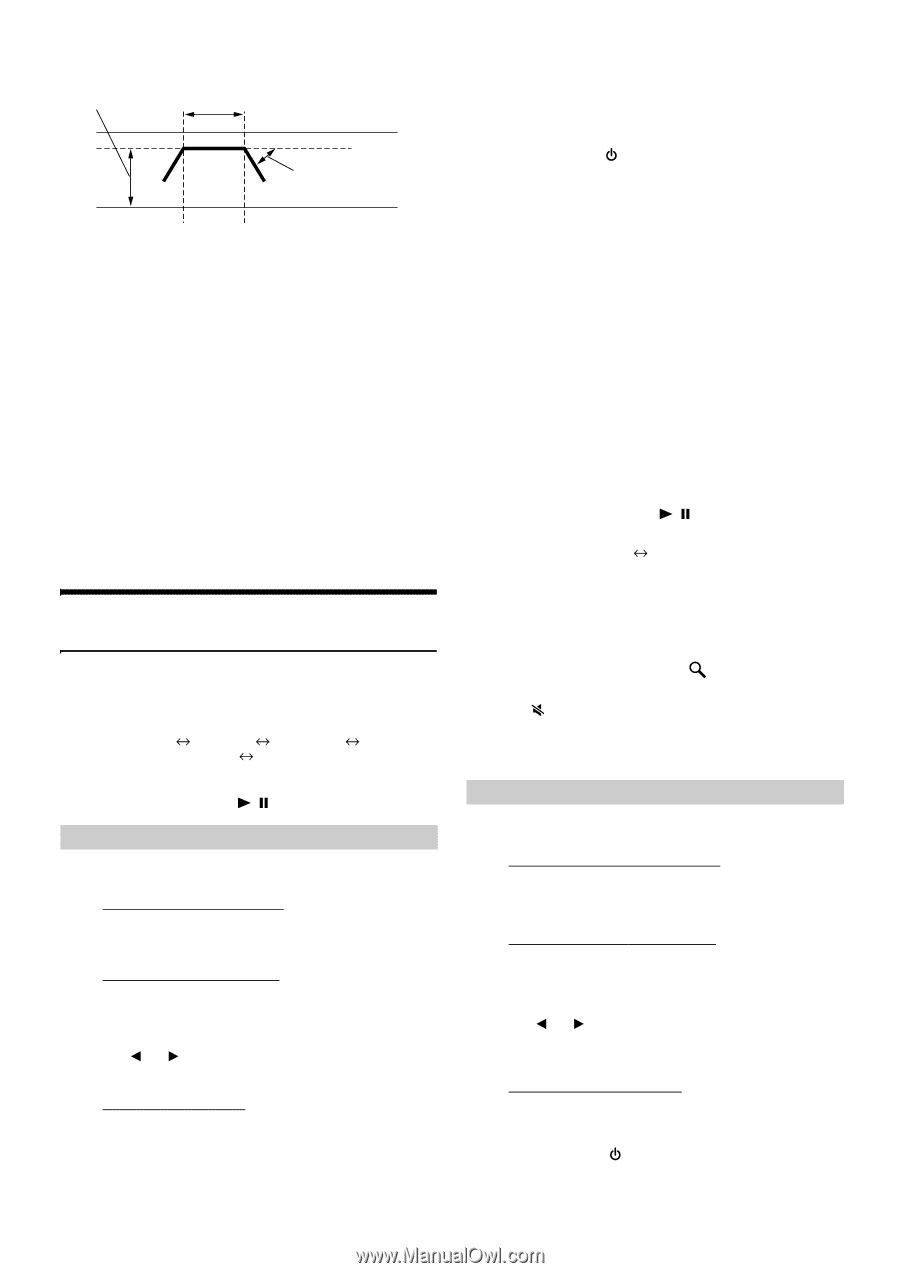
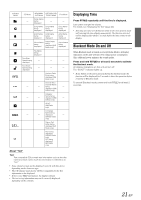
Level adjusting (0 to -12 dB) Output frequency range Slope FLAT Slope adjusting 20 Hz (Different from actual display) HPF cut-off LPF cut-off frequency frequency • HPF (high pass filter): Cuts the lower frequencies and allows the higher frequencies to pass. • LPF (low pass filter): Cuts the higher frequencies and allows the lower frequencies to pass. • Slope: The level change (in dB) for a frequency change of one octave. • The higher the slope value, the steeper the slope becomes. • Adjust the slope to FLAT to bypass the HP or LP filters. • Do not use a tweeter without the HPF on or set to a low frequency, as it may cause damage to the speaker due to the low frequency content. • You cannot adjust the crossover frequency higher than the HPF or lower than the LPF. • Adjustment should be made according to the recommended crossover frequency of the connected speakers. Determine the recommended crossover frequency of the speakers. Adjusting to a frequency range outside that recommended may cause damage to the speakers. For the recommended crossover frequencies of Alpine speakers, refer to the respective Owner's Manual. We are not responsible for damage or malfunction of speakers caused by using the crossover outside the recommended value. Adjusting and Storing the Crossover Settings Before performing the following procedures, refer to "About the Crossover" (page 15). 1 Press A.SEL to recall the DSP adjust mode. Media Xpander Crossover T.Correction Parametric EQ/Graphic EQ Media Xpander 2 Turn the Rotary encoder to select the Crossover mode, and then press / /ENT. 2.2ch (3WAY) System 3 Press BAND to select the band to be adjusted. 2.2ch (3WAY) System / L=R Setting items: LOW / MID-L / MID-H / HIGH 2.2ch (3WAY) System / L/R Setting items: LOW-L / LOW-R / MID-L-L / MID-L-R / MID-H-L / MID-H-R / HIGH-L / HIGH-R 4 Press or to select the desired cut-off frequency (Crossover Point). 2.2ch (3WAY) System Setting items: LOW / MID-L 20 Hz~200 Hz MID-H HIGH 20 Hz~20 kHz (1 kHz~20 kHz)*1/(20 Hz~20 kHz)*2 16-EN *1 When Maker's is selected, refer to "Setting the Response Slope for the High Range Speaker (TW Setup)" (page 24). *2 When User's is selected, refer to"Setting the Response Slope for the High Range Speaker (TW Setup)" (page 24). 5 Press SOURCE/ to adjust the slope. Adjustable slope: FLAT*, 6 dB/oct., 12 dB/oct., 18 dB/oct., 24 dB/oct. * FLAT can be set for the HIGH slope only when User's is selected in "Setting the Response Slope for the High Range Speaker (TW Setup)" (page 24). Depending on the response characteristics of the speaker, care should be taken when setting the response slope to FLAT, as speaker damage may result. With this unit, a message is displayed when the response slope for the high range speaker is set to FLAT. 6 Turn the Rotary encoder to adjust the output level. Adjustable output level: -12 to 0 dB. 7 Repeat steps 3 to 6 to make adjustment to the other bands. 8 When the setting is complete, store into any one of the preset buttons (1 through 6) by pressing and holding the desired button for at least 2 seconds. 9 Turn the Rotary encoder to select PROTECT YES/NO, and then press / /ENT to store the adjusted contents. PROTECT YES (Initial setting) PROTECT NO • If YES is selected, the adjusted contents are protected and stored into the preset buttons. When you want to store the parameter into a protected preset button, "REPLACE NO/YES" can be selected. • If NO is selected, the preset is stored. 10 After setting, press and hold /ESC for at least 2 seconds to return to normal mode. • Pressing /RTN during the procedure will return to the previous mode. • If no operation is performed for 60 seconds, the unit will return to the normal mode. 4.2ch (F/R/Sub-W) System 3 Press BAND to select the band to be adjusted. 4.2ch (F/R/Sub-W) System / L=R setting items: LOW (SUB-W) / MID (REAR) / HIGH (FRONT) 4.2ch (F/R/Sub-W) System / L/R setting items: LOW (SUB-W)-L / LOW (SUB-W)-R / MID (REAR)-L / MID (REAR)-R / HIGH (FRONT)-L / HIGH (FRONT)-R 4 Press or to select the desired cut-off frequency (Crossover Point). Adjustable frequency bands: 4.2ch (F/R/Sub-W) System Setting items: 20 Hz~200 Hz 5 Press SOURCE/ to adjust the slope. Adjustable slope: FLAT, 6 dB/oct., 12 dB/oct., 18 dB/oct., 24 dB/oct.
-
 1
1 -
2
-
3
-
4
-
5
-
6
-
7
-
8
-
9
-
10
-
11
-
12
-
 13
13 -
 14
14 -
 15
15 -
 16
16 -
 17
17 -
 18
18 -
 19
19 -
 20
20 -
 21
21 -
 22
22 -
 23
23 -
24
-
25
-
26
-
27
-
28
-
29
-
30
-
31
-
32
-
33
-
34
-
35
-
36
-
37
-
38
-
39
-
40
-
41
-
42
-
43
-
44
-
45
-
46
-
47
-
48
-
49
-
50
-
51
-
52
-
53
-
54
-
55
-
56
-
57
-
58
-
59
-
60
-
61
-
62
-
63
-
64
-
65
-
66
-
67
-
68
-
69
-
70
-
71
-
72
-
73
-
74
-
75
-
76
-
77
-
78
-
79
-
80
-
81
-
82
-
83
-
84
-
85
-
86
-
87
-
88
-
89
-
90
-
91
-
92
-
93
-
94
-
95
-
96
-
97
-
98
-
99
-
100
-
101
-
102
-
103
-
104
-
105
-
106
-
107
-
108
-
109
-
110
-
111
-
112
-
113
-
114
-
115
-
116
-
117
-
118
-
119
-
120
-
121
-
122
-
123
-
124
-
125
-
126
-
127
-
128
-
129
-
130
-
131
-
132
 |
 |