Canon DC420 DC410/DC420 Instruction Manual - Page 29
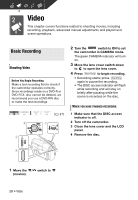
About the mode switch and recording programs
 |
View all Canon DC420 manuals
Add to My Manuals
Save this manual to your list of manuals |
Page 29 highlights
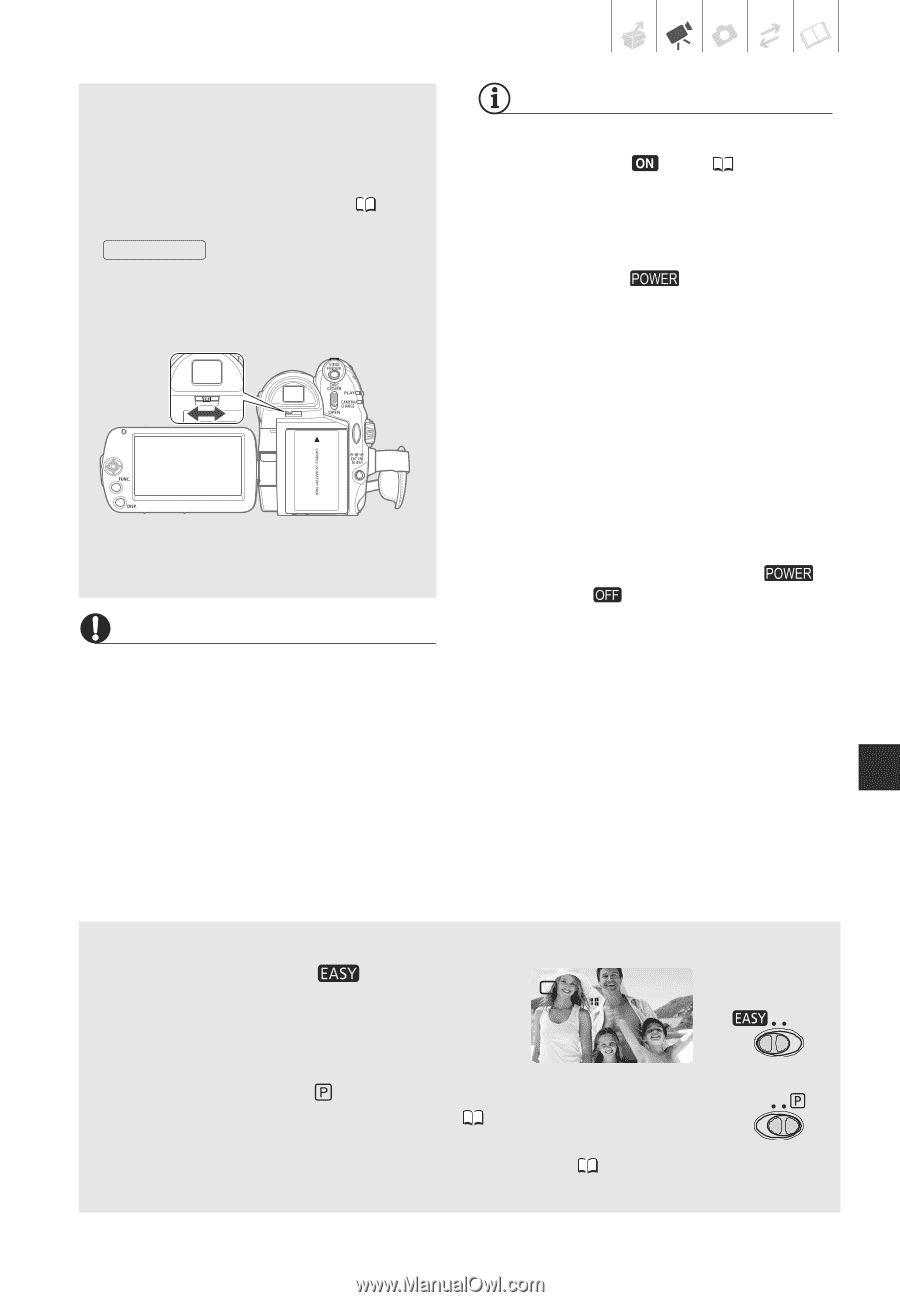
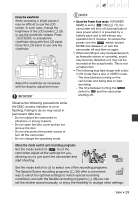
Using the viewfinder When recording in bright places it may be difficult to use the LCD screen. In such case, change the brightness of the LCD screen ( 25) or use the viewfinder instead. Press VIEWFINDER to activate the viewfinder along with the LCD panel. Close the LCD panel to use only the viewfinder. Adjust the viewfinder as necessary with the dioptric adjustment lever. IMPORTANT NOTES • About the Power Save mode: If [POWER SAVE] is set to [ ON] ( 71), the camcorder will shut off automatically to save power when it is powered by a battery pack and is left without any operation for 5 minutes. To restore the power, turn the switch toward MODE and release it, or turn the camcorder off and then on again. • When recording in very loud places (such as fireworks shows or concerts), sound may become distorted or it may not be recorded at the actual levels. This is not a malfunction. • The following may take longer with a disc in VR mode than a disc in VIDEO mode. - The time between turning on the camcorder and being able to start recording. - The time between turning the switch to and the camcorder shutting off. Observe the following precautions while the DISC access indicator is on or flashing. Failing to do so may result in permanent data loss. - Do not subject the camcorder to vibrations or strong impacts. - Do not open the disc cover and do not remove the disc. - Do not disconnect the power source or turn off the camcorder. - Do not change the operating mode. About the mode switch and recording programs Set the mode switch to to let the camcorder adjust all the settings for you, allowing you to just point the camcorder and start shooting. Set the mode switch to to select one of the recording programs. The Special Scene recording programs ( 36) offer a convenient way to select the optimal settings to match special recording conditions; and with the flexible recording programs ( 38) you can set the shutter speed manually, or enjoy the flexibility to change other settings. Video • 29
-
 1
1 -
2
-
3
-
4
-
5
-
6
-
7
-
8
-
9
-
10
-
11
-
12
-
13
-
14
-
15
-
16
-
17
-
18
-
19
-
20
-
21
-
22
-
23
-
 24
24 -
 25
25 -
 26
26 -
 27
27 -
 28
28 -
 29
29 -
 30
30 -
 31
31 -
 32
32 -
 33
33 -
 34
34 -
35
-
36
-
37
-
38
-
39
-
40
-
41
-
42
-
43
-
44
-
45
-
46
-
47
-
48
-
49
-
50
-
51
-
52
-
53
-
54
-
55
-
56
-
57
-
58
-
59
-
60
-
61
-
62
-
63
-
64
-
65
-
66
-
67
-
68
-
69
-
70
-
71
-
72
-
73
-
74
-
75
-
76
-
77
-
78
-
79
-
80
-
81
-
82
-
83
-
84
-
85
-
86
-
87
-
88
-
89
-
90
-
91
-
92
-
93
-
94
-
95
-
96
-
97
-
98
 |
 |