Canon PowerShot ELPH 320 HS Getting Started Guide - Page 64
Adding a Camera, Access the wireless LAN, screen., Choose a camera., Choose [Add a Device].
 |
View all Canon PowerShot ELPH 320 HS manuals
Add to My Manuals
Save this manual to your list of manuals |
Page 64 highlights
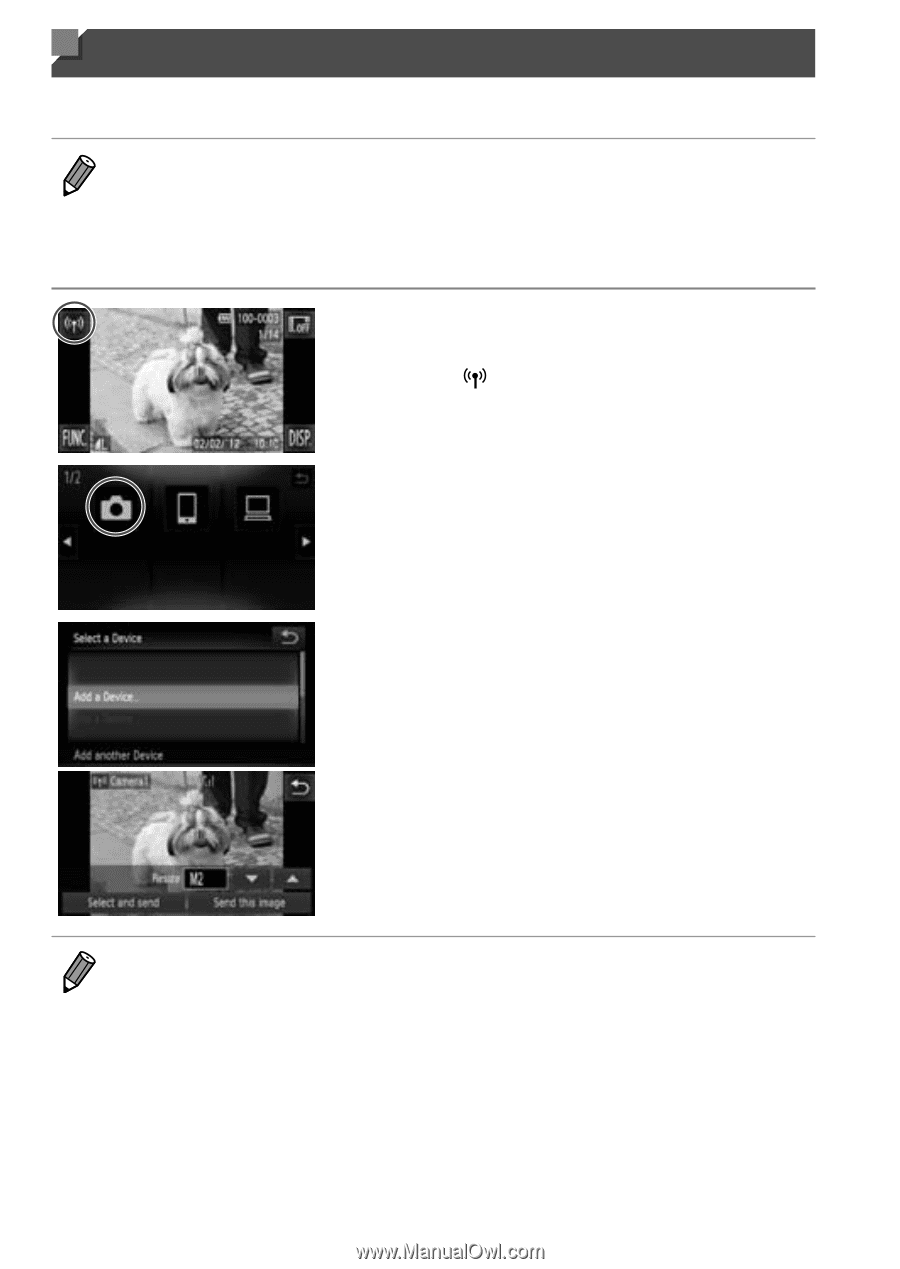
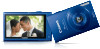
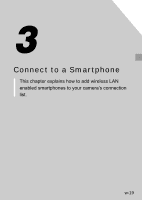
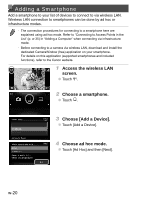
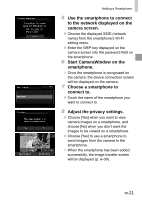
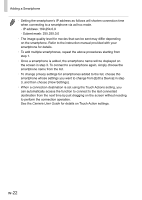
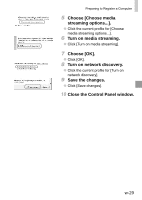
Adding a Camera Add a camera to your list of devices to connect to via wireless LAN. Wireless LAN connection to other cameras is done in ad hoc mode. • Only Canon-brand cameras equipped with a wireless LAN function can be connected to wirelessly. Even Canon-brand cameras that support Eye-Fi cards cannot be connected to if they do not have a wireless LAN function. You cannot connect to PowerShot SD430 DIGITAL ELPH WIRELESS/ DIGITAL IXUS WIRELESS cameras with this camera. 1 Access the wireless LAN screen. ●● Touch . 2 Choose a camera. ●● Touch 4. 3 Choose [Add a Device]. ●● Touch [Add a Device]. ●● Follow steps 1 - 3 on the target camera. ▶▶ Camera connection information will be added when [Start connection on target camera] is displayed on both camera screens. ▶▶ When the target camera has been added successfully, the image transfer screen will be displayed (p. w-39). • To add multiple cameras, repeat the above procedures starting from step 1. • Once a camera is added, the camera name will be displayed on the screen in step 3. To connect to a camera again, simply choose the camera name from the list. • When a connection destination is set using the Touch Actions setting, you can automatically access the function to connect to the last connected destination from the next time by just dragging on the screen without needing to perform the connection operation. See the Camera User Guide for details on Touch Action settings. w-24
-
 1
1 -
2
-
3
-
4
-
5
-
6
-
7
-
8
-
9
-
10
-
11
-
12
-
13
-
14
-
15
-
16
-
17
-
18
-
19
-
20
-
21
-
22
-
23
-
24
-
25
-
26
-
27
-
28
-
29
-
30
-
31
-
32
-
33
-
34
-
35
-
36
-
37
-
38
-
39
-
40
-
41
-
42
-
43
-
44
-
45
-
46
-
47
-
48
-
49
-
50
-
51
-
52
-
53
-
54
-
55
-
56
-
57
-
58
-
 59
59 -
 60
60 -
 61
61 -
 62
62 -
 63
63 -
 64
64 -
 65
65 -
 66
66 -
 67
67 -
 68
68 -
 69
69 -
70
-
71
-
72
-
73
-
74
-
75
-
76
-
77
-
78
-
79
-
80
-
81
-
82
-
83
-
84
-
85
-
86
-
87
-
88
-
89
-
90
-
91
-
92
-
93
-
94
-
95
-
96
-
97
-
98
-
99
-
100
 |
 |