Canon imageCLASS MF4770n Operation Guide - Page 85
Cleaning the Fixing Unit, to highlight <Clean Fixing Unit>, and then press [OK].
 |
View all Canon imageCLASS MF4770n manuals
Add to My Manuals
Save this manual to your list of manuals |
Page 85 highlights
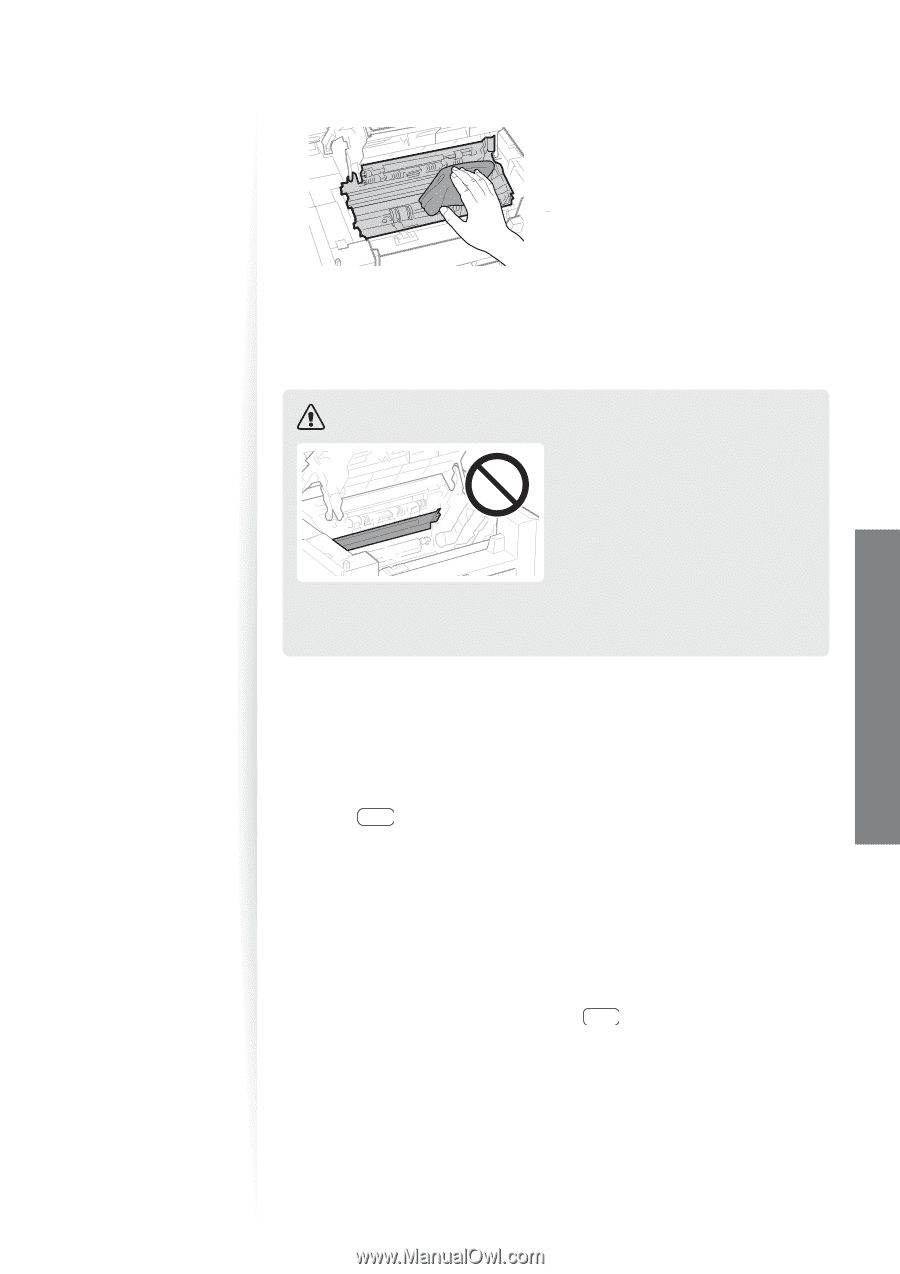
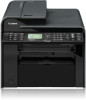
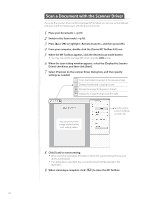
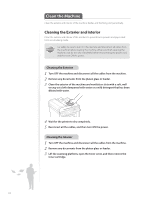
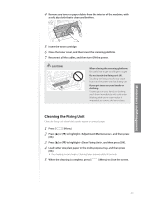
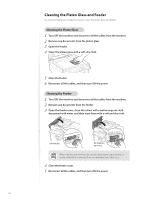
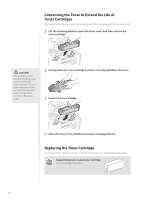
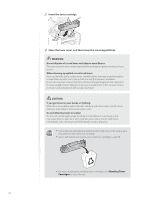
Maintenance and Management 4 Remove any toner or paper debris from the interior of the machine, with a soft, dry cloth that is clean and lint-free. 5 Insert the toner cartridge. 6 Close the toner cover, and then lower the scanning platform. 7 Reconnect all the cables, and then turn ON the power. CAUTION ʢ"ʣ When closing the scanning platform: Be careful not to get your fingers caught. Do not touch the fixing unit (A). Touching the fixing unit (A) may cause burns as it becomes very hot during use. If you get toner on your hands or clothing: If toner gets on your hands or clothing, wash them immediately with cold water. Washing with warm water makes it impossible to remove the toner stains. Cleaning the Fixing Unit Clean the fixing unit when black streaks appear on printed pages. 1 Press [ ] (Menu). 2 Press [▲] or [▼] to highlight , and then press [OK]. 3 Press [▲] or [▼] to highlight , and then press [OK]. 4 Load Letter size plain paper in the multi-purpose tray, and then press [OK]. • The cleaning process begins. Cleaning takes approximately 90 seconds. 5 When the cleaning is complete, press [ ] (Menu) to close the screen. 85
-
 1
1 -
2
-
3
-
4
-
5
-
6
-
7
-
8
-
9
-
10
-
11
-
12
-
13
-
14
-
15
-
16
-
17
-
18
-
19
-
20
-
21
-
22
-
23
-
24
-
25
-
26
-
27
-
28
-
29
-
30
-
31
-
32
-
33
-
34
-
35
-
36
-
37
-
38
-
39
-
40
-
41
-
42
-
43
-
44
-
45
-
46
-
47
-
48
-
49
-
50
-
51
-
52
-
53
-
54
-
55
-
56
-
57
-
58
-
59
-
60
-
61
-
62
-
63
-
64
-
65
-
66
-
67
-
68
-
69
-
70
-
71
-
72
-
73
-
74
-
75
-
76
-
77
-
78
-
79
-
 80
80 -
 81
81 -
 82
82 -
 83
83 -
 84
84 -
 85
85 -
 86
86 -
 87
87 -
 88
88 -
 89
89 -
 90
90 -
91
-
92
-
93
-
94
-
95
-
96
-
97
-
98
-
99
-
100
-
101
-
102
-
103
-
104
-
105
-
106
-
107
-
108
-
109
-
110
-
111
-
112
-
113
-
114
-
115
-
116
 |
 |