Dell 1815dn Service Manual - Page 109
Digital, Digital Pri, Stains on back of the Blank Print out 1
 |
UPC - 000061100008
View all Dell 1815dn manuals
Add to My Manuals
Save this manual to your list of manuals |
Page 109 highlights
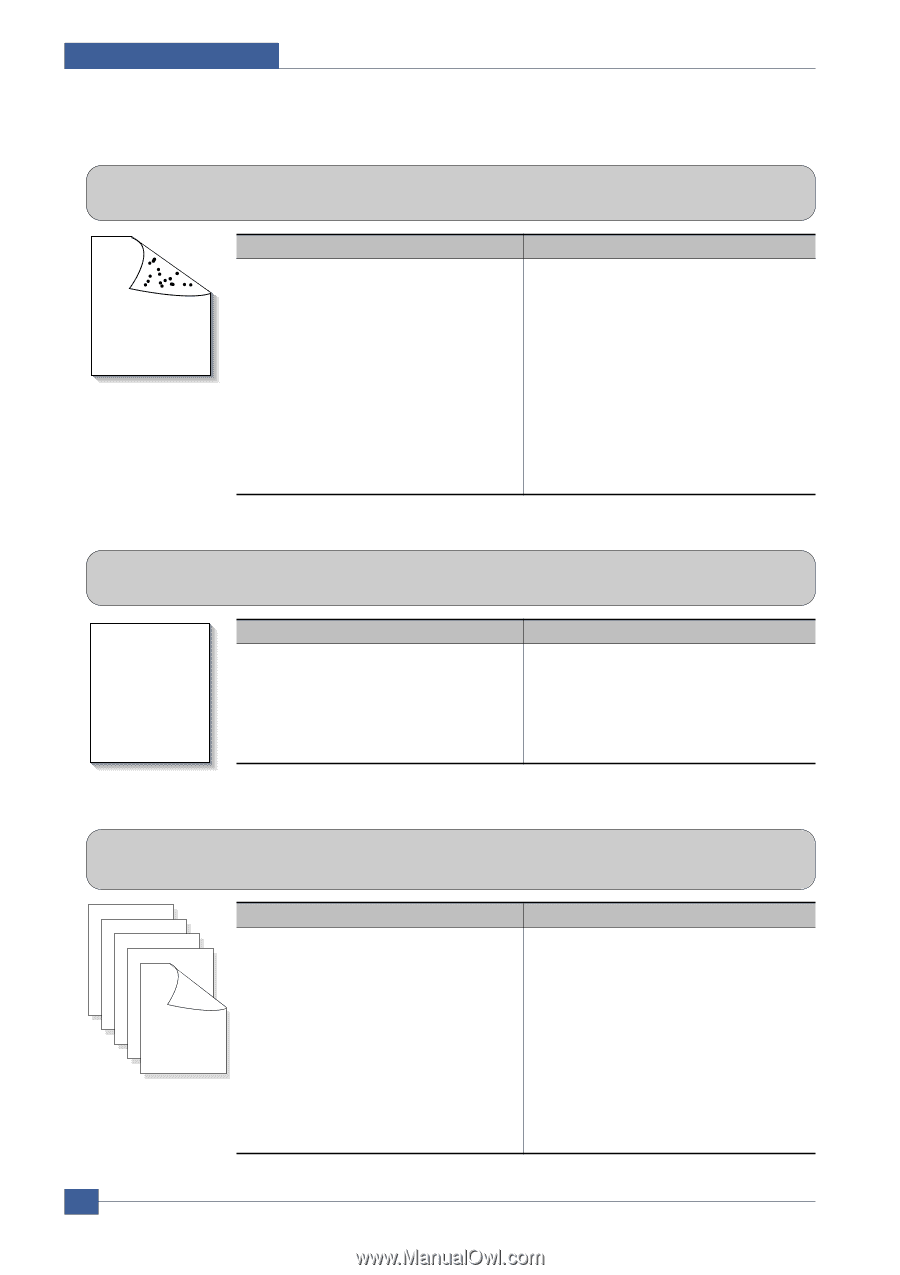
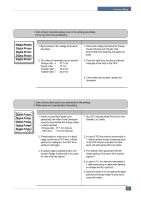
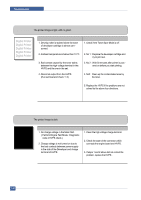
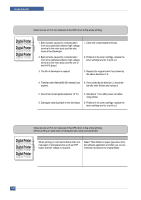
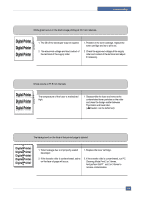
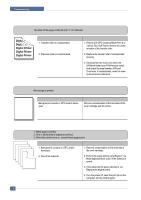
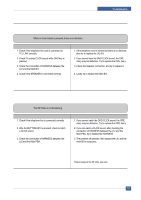
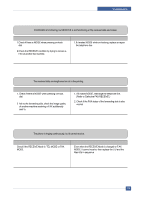
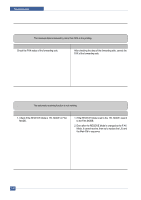
Troubleshooting 7.3.14 Stains on back of the page • Description The back of the page is stained at 47.1 mm intervals. Digital Digital Pri Digital Printer Digital Printer Digital Printer Check and Cause 1. Transfer roller is contaminated. 2. Pressure roller is contaminated. 7.3.15 Blank Page Print out (1) Solution 1. Perform the OPC Cleaning Mode Print 2 or 3 times. Run Self-Test to remove the contamination of the transfer roller. 2. Replace the transfer roller if contaminated severely. 3. Disassemble the fuser and clean the H/R(Heat Roller) and P/R(Pressure roller). And check the area between H/R and Thermistor. If contaminated, clean the area is should not be deformed. • Description Blank page is printed. Digital Printer Digital Printer Digital Printer Digital Printer Digital Printer Check and Cause Bad ground contacts in OPC and/or devel oper. Solution Remove contamination of the terminals of the toner cartridge and the printer. 7.3.16 Blank Page Print out (2) • Description 1. Blank page is printed. 2. One or several blank pages are printed. 3. When the printer turns on, several blank pages print. Check and Cause 1. Bad ground contacts in OPC and/or developer. Solution 1. Remove contamination of the terminals of the toner cartridge. 2. Abnormal solenoid. 2. Perform the engine self test using Engine T est Mode diagnostic Mode code 0 if the Solenoid is normal. 3. If not solved by the above directions 1-2, Replace the engine board. 4. Turn the power off, clear the print job on the computer, and try printing again. 7-16 Service Manual
-
 1
1 -
2
-
3
-
4
-
5
-
6
-
7
-
8
-
9
-
10
-
11
-
12
-
13
-
14
-
15
-
16
-
17
-
18
-
19
-
20
-
21
-
22
-
23
-
24
-
25
-
26
-
27
-
28
-
29
-
30
-
31
-
32
-
33
-
34
-
35
-
36
-
37
-
38
-
39
-
40
-
41
-
42
-
43
-
44
-
45
-
46
-
47
-
48
-
49
-
50
-
51
-
52
-
53
-
54
-
55
-
56
-
57
-
58
-
59
-
60
-
61
-
62
-
63
-
64
-
65
-
66
-
67
-
68
-
69
-
70
-
71
-
72
-
73
-
74
-
75
-
76
-
77
-
78
-
79
-
80
-
81
-
82
-
83
-
84
-
85
-
86
-
87
-
88
-
89
-
90
-
91
-
92
-
93
-
94
-
95
-
96
-
97
-
98
-
99
-
100
-
101
-
102
-
103
-
 104
104 -
 105
105 -
 106
106 -
 107
107 -
 108
108 -
 109
109 -
 110
110 -
 111
111 -
 112
112 -
 113
113 -
 114
114 -
115
-
116
-
117
-
118
-
119
-
120
-
121
-
122
-
123
-
124
-
125
-
126
-
127
-
128
-
129
-
130
-
131
-
132
-
133
-
134
-
135
-
136
-
137
-
138
-
139
-
140
-
141
-
142
-
143
-
144
-
145
-
146
-
147
-
148
-
149
-
150
-
151
-
152
 |
 |