Dell PowerEdge 1655MC Information and Firmware Update - Page 12
Configuring the Network Switch Module, On the switch module
 |
View all Dell PowerEdge 1655MC manuals
Add to My Manuals
Save this manual to your list of manuals |
Page 12 highlights
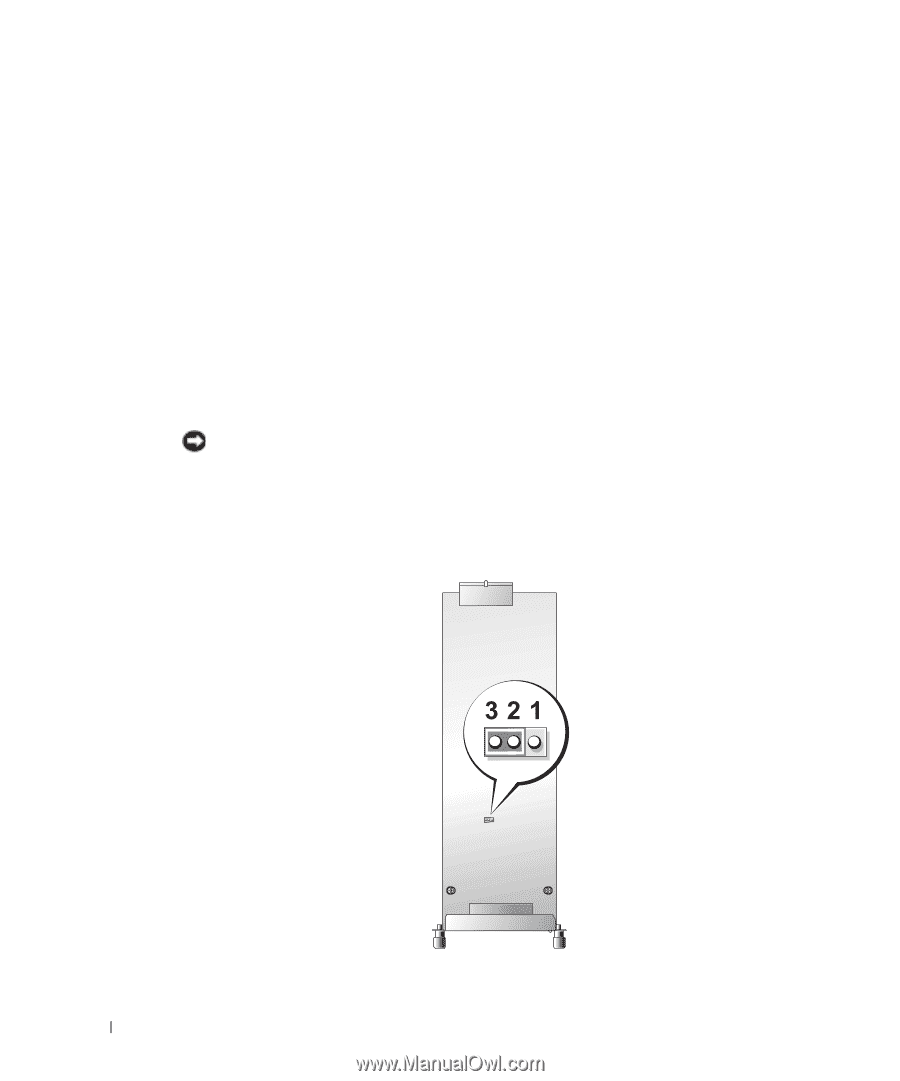
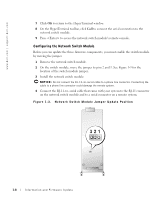
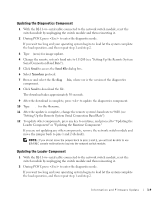
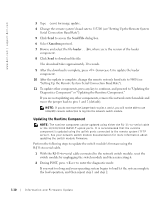
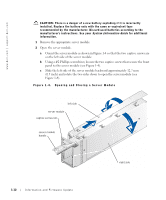
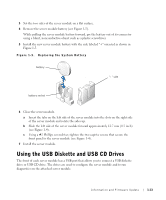
www.dell.com | support.dell.com 7 Click OK to return to the HyperTerminal window. 8 On the HyperTerminal toolbar, click Call to connect the serial connection to the network switch module. 9 Press to access the network switch module's remote console. Configuring the Network Switch Module Before you can update the three firmware components, you must enable the switch module by moving the jumper. 1 Remove the network switch module. 2 On the switch module, move the jumper to pins 2 and 3. See Figure 1-3 for the location of the switch module jumper. 3 Install the network switch module. NOTICE: Do not connect the RJ-11-to-serial cable to a phone line connector. Connecting the cable to a phone line connector could damage the remote system. 4 Connect the RJ-11-to-serial cable that came with your system to the RJ-11 connector on the network switch module and to a serial connector on a remote system. Figure 1-3. Network Switch Module Jumper Update Position 1-8 Information and Firmware Update
-
 1
1 -
2
-
3
-
4
-
5
-
6
-
 7
7 -
 8
8 -
 9
9 -
 10
10 -
 11
11 -
 12
12 -
 13
13 -
 14
14 -
 15
15 -
 16
16 -
 17
17 -
18
-
19
-
20
-
21
-
22
-
23
-
24
-
25
-
26
-
27
-
28
-
29
-
30
-
31
-
32
-
33
-
34
-
35
-
36
-
37
-
38
-
39
-
40
-
41
-
42
-
43
-
44
-
45
-
46
-
47
-
48
-
49
-
50
-
51
-
52
-
53
-
54
-
55
-
56
-
57
-
58
-
59
-
60
-
61
-
62
-
63
-
64
-
65
-
66
-
67
-
68
-
69
-
70
-
71
-
72
-
73
-
74
-
75
-
76
-
77
-
78
-
79
-
80
-
81
-
82
-
83
-
84
-
85
-
86
-
87
-
88
-
89
-
90
-
91
-
92
-
93
-
94
-
95
-
96
-
97
-
98
-
99
-
100
-
101
-
102
-
103
-
104
-
105
-
106
-
107
-
108
-
109
-
110
-
111
-
112
-
113
-
114
-
115
-
116
-
117
-
118
-
119
-
120
-
121
-
122
-
123
-
124
-
125
-
126
-
127
-
128
-
129
-
130
-
131
-
132
-
133
-
134
-
135
-
136
-
137
-
138
-
139
-
140
-
141
-
142
-
143
-
144
-
145
-
146
-
147
-
148
-
149
-
150
-
151
-
152
-
153
-
154
-
155
-
156
-
157
-
158
-
159
-
160
-
161
-
162
-
163
-
164
-
165
-
166
-
167
-
168
-
169
-
170
 |
 |