Epson WorkForce WF-2650 User Manual - Page 88
Checking and Cleaning the Print Head - Windows, Aligning the Print Head
 |
View all Epson WorkForce WF-2650 manuals
Add to My Manuals
Save this manual to your list of manuals |
Page 88 highlights
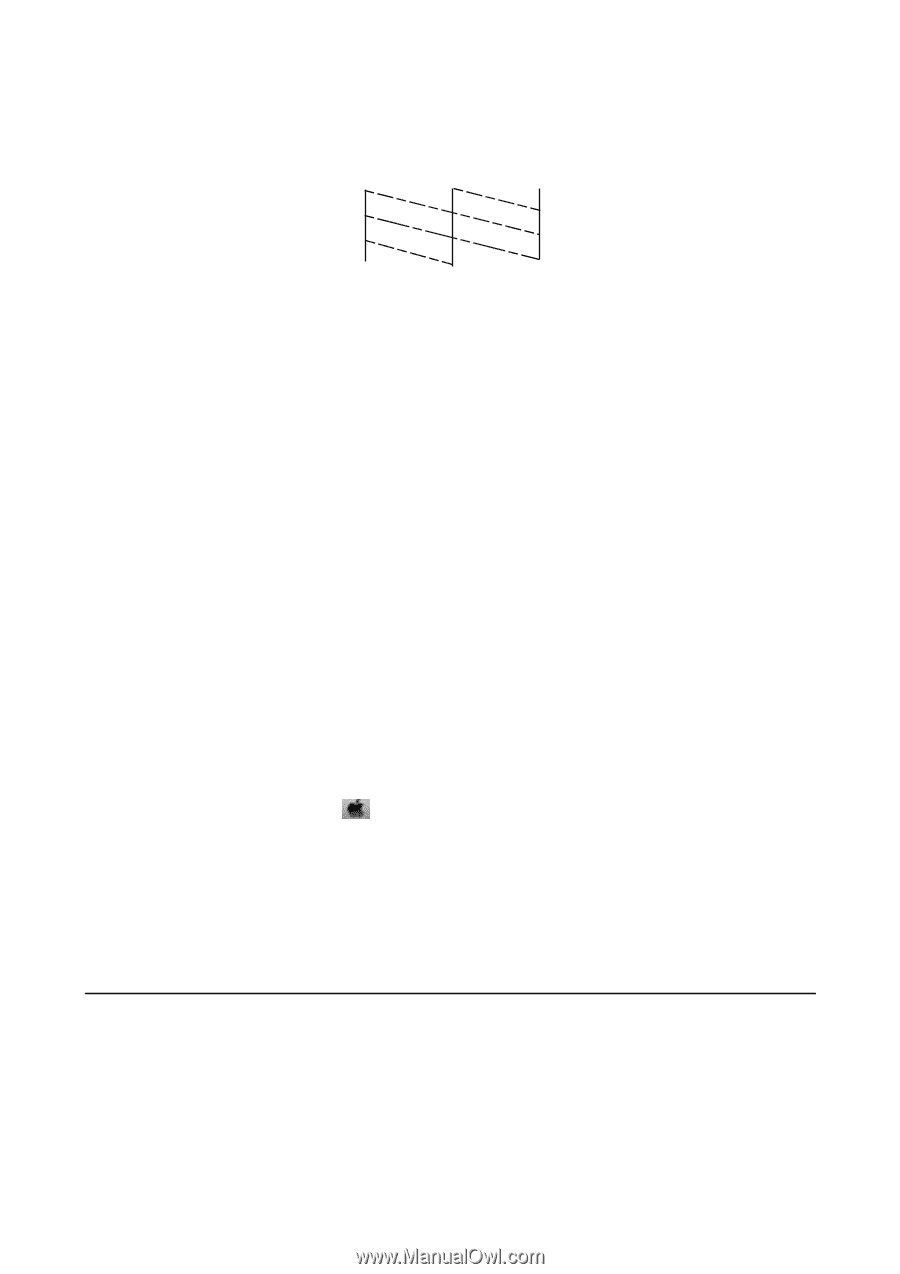
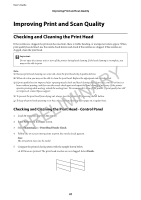
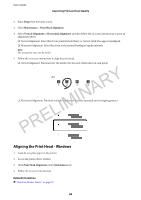
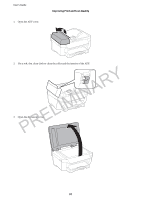
User's Guide Improving Print and Scan Quality ❏ There are broken lines or missing segments: The print head nozzles may be clogged. Go to the next step. 6. Select Clean the print head. 7. When cleaning is finished, select Print Nozzle Check Pattern to print the nozzle check pattern again. Repeat cleaning and printing the pattern until all lines are printed completely. PRELIMINARY Checking and Cleaning the Print Head - Windows 1. Load A4-size plain paper in the printer. 2. Access the printer driver window. 3. Click Nozzle Check on the Maintenance tab. 4. Follow the on-screen instructions. Related Information & "Windows Printer Driver" on page 95 Checking and Cleaning the Print Head - Mac OS X 1. Load A4-size plain paper in the printer. 2. Select System Preferences from the then select the printer. menu > Printers & Scanners (or Print & Scan, Print & Fax), and 3. Click Options & Supplies > Utility > Open Printer Utility. 4. Click Nozzle Check. 5. Follow the on-screen instructions. Aligning the Print Head If you notice a misalignment of vertical lines or blurred images, align the print head. Aligning the Print Head - Control Panel 1. Load A4-size plain paper in the printer. 88
-
 1
1 -
2
-
3
-
4
-
5
-
6
-
7
-
8
-
9
-
10
-
11
-
12
-
13
-
14
-
15
-
16
-
17
-
18
-
19
-
20
-
21
-
22
-
23
-
24
-
25
-
26
-
27
-
28
-
29
-
30
-
31
-
32
-
33
-
34
-
35
-
36
-
37
-
38
-
39
-
40
-
41
-
42
-
43
-
44
-
45
-
46
-
47
-
48
-
49
-
50
-
51
-
52
-
53
-
54
-
55
-
56
-
57
-
58
-
59
-
60
-
61
-
62
-
63
-
64
-
65
-
66
-
67
-
68
-
69
-
70
-
71
-
72
-
73
-
74
-
75
-
76
-
77
-
78
-
79
-
80
-
81
-
82
-
 83
83 -
 84
84 -
 85
85 -
 86
86 -
 87
87 -
 88
88 -
 89
89 -
 90
90 -
 91
91 -
 92
92 -
 93
93 -
94
-
95
-
96
-
97
-
98
-
99
-
100
-
101
-
102
-
103
-
104
-
105
-
106
-
107
-
108
-
109
-
110
-
111
-
112
-
113
-
114
-
115
-
116
-
117
-
118
-
119
-
120
-
121
-
122
-
123
-
124
-
125
-
126
-
127
-
128
-
129
-
130
-
131
-
132
-
133
-
134
-
135
-
136
-
137
 |
 |