HP 8550 HP Color LaserJet 8550, 8550N, 8550DN, 8550GN, 8550MFP Printer - Getti - Page 9
Step 2: Unpacking the Printer - drum
 |
View all HP 8550 manuals
Add to My Manuals
Save this manual to your list of manuals |
Page 9 highlights
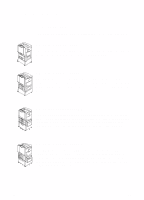
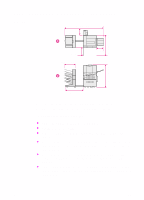
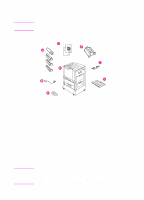
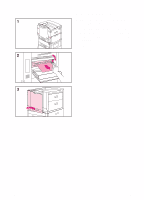
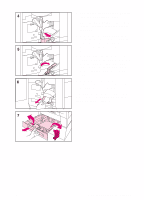
Step 2: Unpacking the Printer CAUTION Do not plug the printer into a power source until all shipping material is removed. This may cause damage to the printer. Figure 2 Note EN The following items are included with the printer: A Toner cartridges: black, cyan, magenta, and yellow B Power cord C Software on CD-ROM D Manuals: getting started guide (this guide) and quick reference guide; the online user guide is on a CD-ROM E Printer-shown with standard printer stand; some printer models include a 2,000-sheet input tray (tray 4) that replaces the printer stand; a tray 2 is also included with some printer models F Imaging drum G Control panel overlay (if applicable) H Left (face-up) output bin If the printer model you ordered includes a 2,000-sheet input tray (tray 4), a power pack (containing power connections for the printer and tray 4), a preinstalled interface cable (connecting tray 4 to the printer), and five stabilizing legs are also included. Step 2: Unpacking the Printer 5
-
 1
1 -
2
-
3
-
 4
4 -
 5
5 -
 6
6 -
 7
7 -
 8
8 -
 9
9 -
 10
10 -
 11
11 -
 12
12 -
 13
13 -
 14
14 -
15
-
16
-
17
-
18
-
19
-
20
-
21
-
22
-
23
-
24
-
25
-
26
-
27
-
28
-
29
-
30
-
31
-
32
-
33
-
34
-
35
-
36
-
37
-
38
-
39
-
40
-
41
-
42
-
43
-
44
-
45
-
46
-
47
-
48
-
49
-
50
-
51
-
52
-
53
-
54
-
55
-
56
-
57
-
58
-
59
-
60
-
61
-
62
-
63
-
64
 |
 |
