HP Pavilion Media Center m7600 HP Media Center PC - Software Guide - Page 89
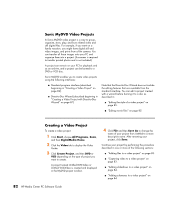
Adding files to a video project
 |
View all HP Pavilion Media Center m7600 manuals
Add to My Manuals
Save this manual to your list of manuals |
Page 89 highlights
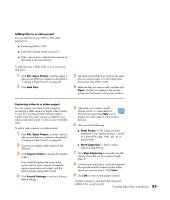
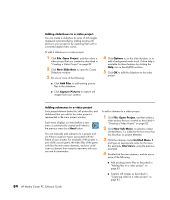
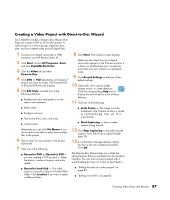
Adding files to a video project You can add files to your DVD or VCD video project from: ■ An existing DVD or VCD. ■ Video files already stored on your PC. ■ Video capture from a digital video camera (as described in the next section). To add files from a DVD, VCD, or from your hard disk drive: 1 Click File, Open Project, and then select a video project that you created as described in "Creating a Video Project" on page 82. 2 Click Add Files. 3 Navigate to the folder that contains the video files you want to add, or to the media drive that contains the DVD or VCD. 4 Select the files you want to add, and then click Open. The files are added to the current project and displayed in the project window. Capturing video to a video project You can capture live video or still images by connecting a Web camera or digital video camera to your PC's front-panel USB connector (select models only). The video capture is added to your video project and stored in a file on your hard disk drive. To add a video capture to a video project: 1 Click File, Open Project, and then select a video project that you created as described in "Creating a Video Project" on page 82. 2 Connect your digital video camera to the USB port. 3 Click Capture Video to display the Capture screen. Sonic MyDVD displays the name of the capture device (your camera), the default capture type (audio and video), and the default Quality setting (DV format). 4 Click Record Settings to edit any of these default settings. 5 Optionally, set a capture length, chapter points, or scene detection. Click the corresponding Help icon to display the online help for each of these features. 6 Click one of the following: ■ Grab Frame - The image currently displayed in the Capture window is stored as a picture file (.jpg, .bmp, .gif, .tif, or .png format). ■ Start Capturing - Starts a video capture (.mpg format). 7 Click Stop Capturing to manually stop the capture if you did not set a capture length (step 5). 8 In the Save As dialog box, name the captured file and select the file format and the folder where you want to save it. Click Save. 9 Click OK to return to the project window. The file is stored on your hard disk drive and added to the current project. Creating Video Discs and Movies 83
-
 1
1 -
2
-
3
-
4
-
5
-
6
-
7
-
8
-
9
-
10
-
11
-
12
-
13
-
14
-
15
-
16
-
17
-
18
-
19
-
20
-
21
-
22
-
23
-
24
-
25
-
26
-
27
-
28
-
29
-
30
-
31
-
32
-
33
-
34
-
35
-
36
-
37
-
38
-
39
-
40
-
41
-
42
-
43
-
44
-
45
-
46
-
47
-
48
-
49
-
50
-
51
-
52
-
53
-
54
-
55
-
56
-
57
-
58
-
59
-
60
-
61
-
62
-
63
-
64
-
65
-
66
-
67
-
68
-
69
-
70
-
71
-
72
-
73
-
74
-
75
-
76
-
77
-
78
-
79
-
80
-
81
-
82
-
83
-
 84
84 -
 85
85 -
 86
86 -
 87
87 -
 88
88 -
 89
89 -
 90
90 -
 91
91 -
 92
92 -
 93
93 -
 94
94 -
95
-
96
-
97
-
98
-
99
-
100
-
101
-
102
-
103
-
104
-
105
-
106
-
107
-
108
-
109
-
110
-
111
-
112
-
113
-
114
-
115
-
116
-
117
-
118
-
119
-
120
-
121
-
122
-
123
-
124
-
125
-
126
-
127
-
128
 |
 |
