HP Photosmart 720 HP Photosmart 720 series digital camera - (English) User Gui - Page 48
Printing images
 |
View all HP Photosmart 720 manuals
Add to My Manuals
Save this manual to your list of manuals |
Page 48 highlights
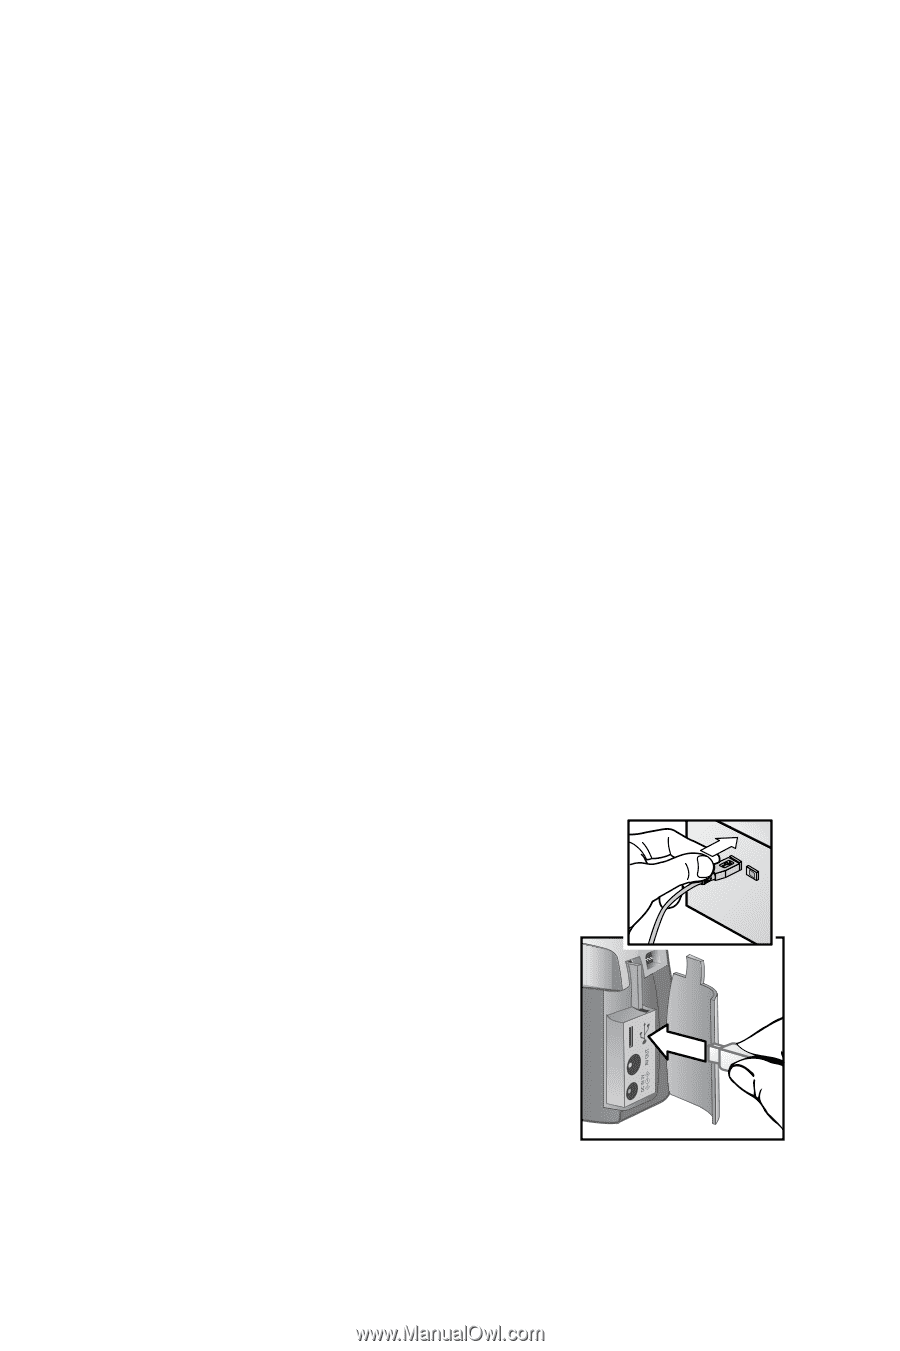
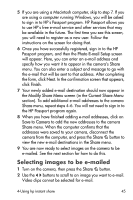
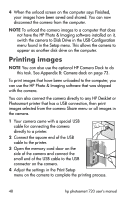
4 When the unload screen on the computer says Finished, your images have been saved and shared. You can now disconnect the camera from the computer. NOTE To unload the camera images to a computer that does not have the HP Photo & Imaging software installed on it, switch the camera to Disk Drive in the USB Configuration menu found in the Setup menu. This allows the camera to appear as another disk drive on the computer. Printing images NOTE You can also use the optional HP Camera Dock to do this task. See Appendix B: Camera dock on page 73. To print images that have been unloaded to the computer, you can use the HP Photo & Imaging software that was shipped with the camera. You can also connect the camera directly to any HP DeskJet or Photosmart printer that has a USB connection, then print images selected from the camera Share menu or all images in the camera. 1 Your camera came with a special USB cable for connecting the camera directly to a printer. 2 Connect the square end of the USB cable to the printer. 3 Open the memory card door on the side of the camera and connect the small end of the USB cable to the USB connector on the camera. 4 Adjust the settings in the Print Setup menu on the camera to complete the printing process. 48 hp photosmart 720 user's manual
-
 1
1 -
2
-
3
-
4
-
5
-
6
-
7
-
8
-
9
-
10
-
11
-
12
-
13
-
14
-
15
-
16
-
17
-
18
-
19
-
20
-
21
-
22
-
23
-
24
-
25
-
26
-
27
-
28
-
29
-
30
-
31
-
32
-
33
-
34
-
35
-
36
-
37
-
38
-
39
-
40
-
41
-
42
-
 43
43 -
 44
44 -
 45
45 -
 46
46 -
 47
47 -
 48
48 -
 49
49 -
 50
50 -
 51
51 -
 52
52 -
 53
53 -
54
-
55
-
56
-
57
-
58
-
59
-
60
-
61
-
62
-
63
-
64
-
65
-
66
-
67
-
68
-
69
-
70
-
71
-
72
-
73
-
74
-
75
-
76
-
77
-
78
-
79
-
80
-
81
-
82
-
83
-
84
-
85
-
86
-
87
-
88
 |
 |