HP Photosmart C6300 Basic Guide - Page 16
Advanced firewall information, Manage your network settings, Print network settings - scanning
 |
View all HP Photosmart C6300 manuals
Add to My Manuals
Save this manual to your list of manuals |
Page 16 highlights
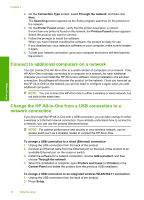
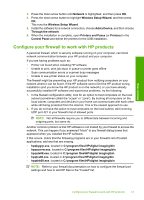
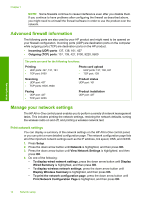
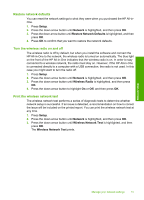
Network setup Chapter 1 NOTE: Some firewalls continue to cause interference even after you disable them. If you continue to have problems after configuring the firewall as described above, you might need to uninstall the firewall software in order to use the product over the network. Advanced firewall information The following ports are also used by your HP product and might need to be opened on your firewall configuration. Incoming ports (UDP) are destination ports on the computer while outgoing ports (TCP) are destination ports on the HP product. • Incoming (UDP) ports: 137, 138, 161, 427 • Outgoing (TCP) ports: 137, 139, 427, 9100, 9220, 9500 The ports are used for the following functions: Printing • UDP ports: 427, 137, 161 • TCP port: 9100 Photo card upload • UDP ports: 137, 138, 427 • TCP port: 139 Scanning • UDP port: 427 • TCP ports: 9220, 9500 Product status UDP port: 161 Faxing • UDP port: 427 • TCP port: 9220 Product installation UDP port: 427 Manage your network settings The HP All-in-One control panel enables you to perform a variety of network management tasks. This includes printing the network settings, restoring the network defaults, turning the wireless radio on and off, and printing a wireless network test. Print network settings You can display a summary of the network settings on the HP All-in-One control panel, or you can print a more detailed configuration page. The network configuration page lists all of the important network settings such as the IP address, link speed, DNS, and mDNS. 1. Press Setup. 2. Press the down arrow button until Network is highlighted, and then press OK. 3. Press the down arrow button until View Network Settings is highlighted, and then press OK. 4. Do one of the following: • To display wired network settings, press the down arrow button until Display Wired Summary is highlighted, and then press OK. • To display wireless network settings, press the down arrow button until Display Wireless Summary is highlighted, and then press OK. • To print the network configuration page, press the down arrow button until Print Network Configuration Page is highlighted, and then press OK. 14 Network setup
-
 1
1 -
2
-
3
-
4
-
5
-
6
-
7
-
8
-
9
-
10
-
 11
11 -
 12
12 -
 13
13 -
 14
14 -
 15
15 -
 16
16 -
 17
17 -
 18
18 -
 19
19 -
 20
20 -
 21
21 -
22
-
23
-
24
-
25
-
26
-
27
-
28
-
29
-
30
-
31
-
32
-
33
-
34
-
35
-
36
-
37
-
38
-
39
 |
 |
