HP VS80 DLT VS80 Tape Drive User's Guide - Page 12
loading and unloading, to load a cartridge, to write-protect a cartridge - dlt tapes
 |
UPC - 613326404355
View all HP VS80 manuals
Add to My Manuals
Save this manual to your list of manuals |
Page 12 highlights
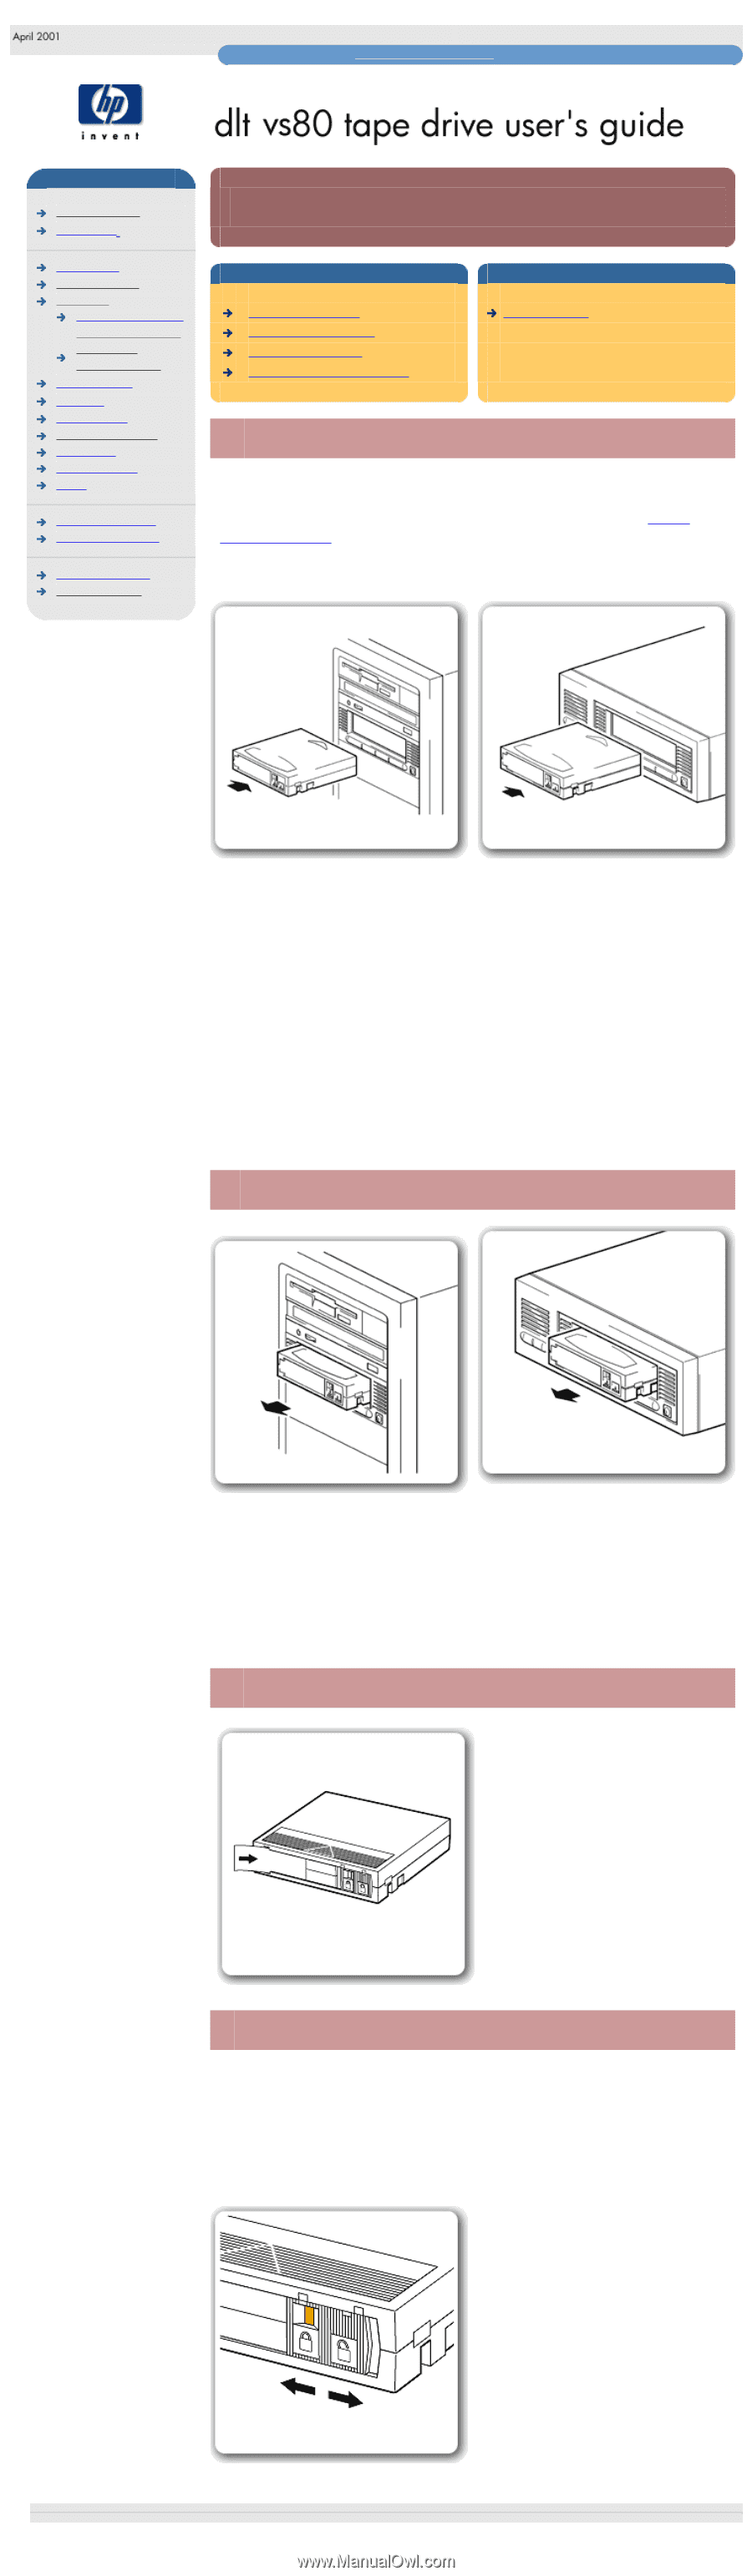
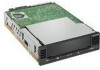
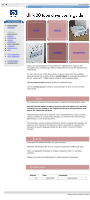
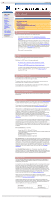
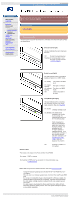
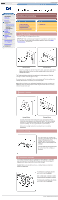
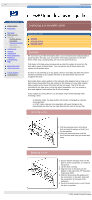
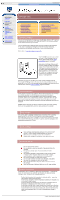
loading and unloading http://www.hp.com/support/tape may have a later version hp learning products data protection index of topics contact hp home page before you start operation the front panel lights loading & unloading replacing a removable drive cartridge care cleaning specifications media compatibility diagnostics troubleshooting FAQs SCSI configuration UNIX configuration ordering supplies installing drivers loading and unloading contents of this section to load a cartridge to unload a cartridge to label a cartridge to write protect a cartridge related topics cartridge care to load a cartridge Use only DLTtape IV cartridges with your drive. IMPORTANT: If the cartridge has previously been used with an earlier generation DLT tape drive, this may restrict full read/write capability. Refer to the media compatibility page for full details. Internal drives External drives 1. Insert the cartridge into the slot in front of the drive, oriented as shown above. 2. Apply gentle pressure on the rear of the cartridge until the drive takes the cartridge and loads it. The Ready light flashes while the drive performs its load sequence. When the cartridge is loaded, the Ready light is steady. Do not try to force the cartridge if it does not load properly. The drive will eject the cartridge after about 10 seconds so you can load it again. Note: When you insert a new, unformatted cartridge into your HP Surestore DLT VS80 tape drive, the loading sequence takes longer because the drive is writing reference tracks on the tape. to unload a cartridge Internal drives External drives 1. Press the Eject button on the front panel or use your backup software. During the unload sequence the Ready light flashes. The drive completes any task it is currently performing, winds the tape to the beginning, and ejects the cartridge. The eject cycle will take up to two minutes. 2. Remove the cartridge and store it in its plastic case in a cool, dry atmosphere. to label a cartridge Use only DLTtape IV cartridges with your drive. Ensure that only one label is located in the label area of the cartridge. Never use non-standard labels, and never stick anything to the cartridge. The label area and write-protect switch are on the front of the cartridge, as illustrated. to write-protect a cartridge If you want to protect the data on a cartridge from being altered or overwritten, you can write-protect the cartridge. Do this before you insert the cartridge by sliding the write-protect switch on the front of the cartridge. Caution: Write-protection will not prevent a cartridge being erased by bulkerasure or degaussing. To write-protect a cartridge, slide the write-protect switch to the left. Note a small orange rectangle is visible indicating that the cartridge is protected. To write-enable a cartridge, slide the the write-protect switch to the right. © 2001, Hewlett-Packard Company file:///C|/Documents%20and%20Settings/topher.COL-SPRINGS/Desktop/dltvs80%20manual/document/dltvs80/user/reseller/eng/load.htm [11/29/2001 8:33:53 AM]
-
 1
1 -
2
-
3
-
4
-
5
-
6
-
 7
7 -
 8
8 -
 9
9 -
 10
10 -
 11
11 -
 12
12 -
 13
13 -
 14
14 -
 15
15 -
 16
16 -
 17
17 -
18
-
19
-
20
-
21
-
22
-
23
-
24
-
25
-
26
-
27
-
28
-
29
-
30
-
31
-
32
-
33
-
34
-
35
-
36
-
37
-
38
-
39
-
40
-
41
-
42
-
43
-
44
-
45
-
46
-
47
-
48
-
49
-
50
-
51
-
52
-
53
-
54
-
55
-
56
-
57
-
58
-
59
-
60
-
61
-
62
-
63
-
64
-
65
-
66
-
67
-
68
-
69
-
70
-
71
-
72
-
73
-
74
-
75
-
76
-
77
-
78
-
79
 |
 |