Konica Minolta bizhub C654 bizhub C654/C754 Fax Operations User Guide - Page 113
[Date/Time], [ Number]
 |
View all Konica Minolta bizhub C654 manuals
Add to My Manuals
Save this manual to your list of manuals |
Page 113 highlights
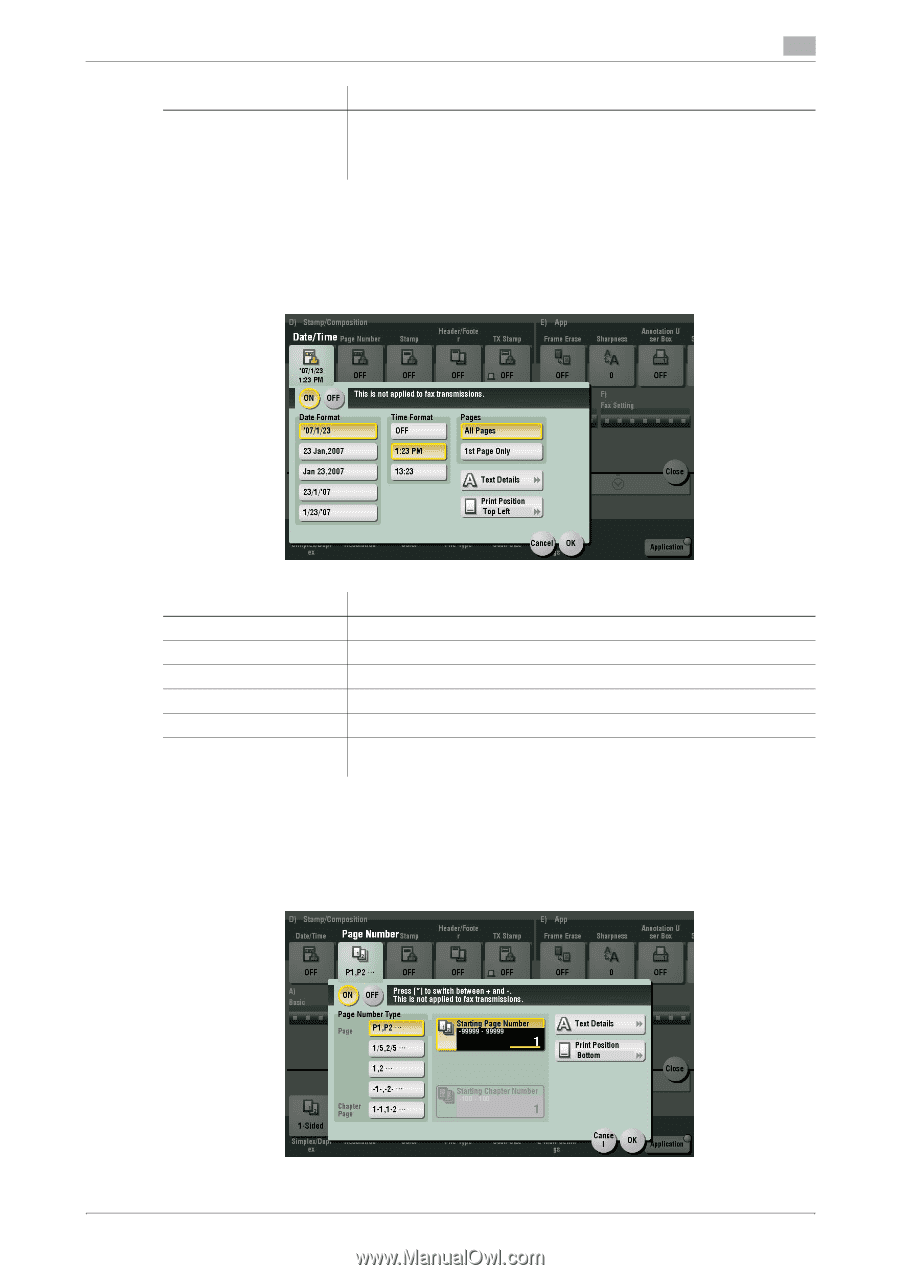
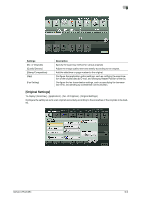
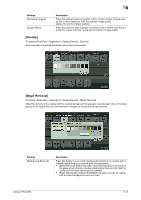
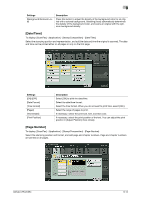
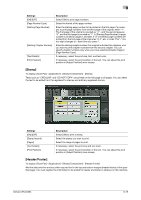
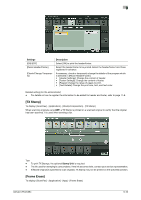
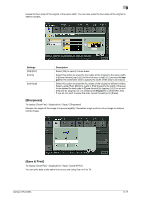
9 Settings [Background Removal Level] Description Press this button to adjust the density of the background color for an original with a colored background. Selecting [Auto] automatically determines the density of the background color, and scans an original with the optimum background density. [Date/Time] To display: [Scan/Fax] - [Application] - [Stamp/Composition] - [Date/Time] Select the stamping position and representation, and add the date and time the original is scanned. The date and time can be printed either on all pages or only on the first page. Settings [ON]/[OFF] [Date Format] [Time Format] [Pages] [Text Details] [Print Position] Description Select [ON] to print the date/time. Select the date/time format. Select the time format. When you do not want to print time, select [OFF]. Select the range of pages to print. If necessary, select the print size, font, and text color. If necessary, select the print position of the text. You can adjust the print position in [Adjust Position] more closely. [Page Number] To display: [Scan/Fax] - [Application] - [Stamp/Composition] - [Page Number] Select the stamping position and format, and add page and chapter numbers. Page and chapter numbers are printed on all pages. bizhub C754/C654 9-14
-
 1
1 -
2
-
3
-
4
-
5
-
6
-
7
-
8
-
9
-
10
-
11
-
12
-
13
-
14
-
15
-
16
-
17
-
18
-
19
-
20
-
21
-
22
-
23
-
24
-
25
-
26
-
27
-
28
-
29
-
30
-
31
-
32
-
33
-
34
-
35
-
36
-
37
-
38
-
39
-
40
-
41
-
42
-
43
-
44
-
45
-
46
-
47
-
48
-
49
-
50
-
51
-
52
-
53
-
54
-
55
-
56
-
57
-
58
-
59
-
60
-
61
-
62
-
63
-
64
-
65
-
66
-
67
-
68
-
69
-
70
-
71
-
72
-
73
-
74
-
75
-
76
-
77
-
78
-
79
-
80
-
81
-
82
-
83
-
84
-
85
-
86
-
87
-
88
-
89
-
90
-
91
-
92
-
93
-
94
-
95
-
96
-
97
-
98
-
99
-
100
-
101
-
102
-
103
-
104
-
105
-
106
-
107
-
 108
108 -
 109
109 -
 110
110 -
 111
111 -
 112
112 -
 113
113 -
 114
114 -
 115
115 -
 116
116 -
 117
117 -
 118
118 -
119
-
120
-
121
-
122
-
123
-
124
-
125
-
126
-
127
-
128
-
129
-
130
-
131
-
132
-
133
-
134
-
135
-
136
-
137
-
138
-
139
-
140
-
141
-
142
-
143
-
144
-
145
-
146
-
147
-
148
-
149
-
150
-
151
-
152
-
153
-
154
-
155
-
156
-
157
-
158
-
159
-
160
-
161
-
162
-
163
 |
 |