Kyocera ECOSYS FS-1370DN FS-1370DN Operation Guide (Advanced) - Page 34
USB Memory (USB flash memory selection), Print File (Printing a file)
 |
View all Kyocera ECOSYS FS-1370DN manuals
Add to My Manuals
Save this manual to your list of manuals |
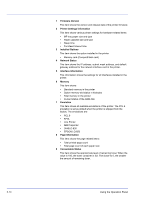
Page 34 highlights
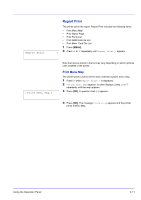
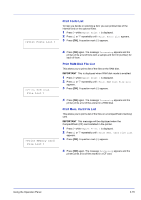
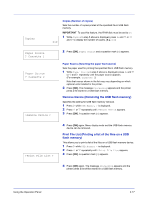
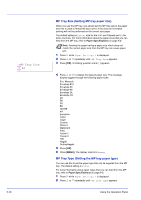
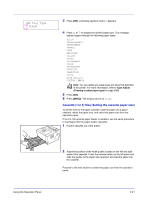
USB Memory USB Memory (USB flash memory selection) This specifies the settings for removing the USB flash memory and printing USB flash memory content. The USB Memory menu automatically appears when you install the USB memory. IMPORTANT This message is displayed only when the USB host block is set to Unblock. For more information, refer to Interface Block (Interface (external device) block setting) on page 2-58. The options available in USB flash memory are as follows: • Print File (Printing a file) • Copies (Number of copies) • Paper Source (Selecting the paper feed source) • Remove Device (Removing the USB flash memory) • Print File List (Printing a list of the files on a USB flash memory) 1 Press [MENU]. > 2 Press U or V repeatedly until USB Memory > appears. Note that menus shown in the list may vary depending on which optional units installed in the printer. / /00:Folder 1 /00:Folder 1 /01:Folder 2 /.../01:Folder 2 02:File 3 /.../01:Folder 2 ? 02:File 3 Print File (Printing a file) You can use this to specify printing for files in the USB flash memory. 1 Press Z while USB Memory > is displayed. 2 >Print File appears. In other displays, press U or V repeatedly until the map appears. 3 Press [OK]. A question mark (?) appears. 4 Press [OK] again. The folder or file appears. (For example : Folder 1) Each time you press U or V, the next folder or file appears in succession. To view lower-level folders or files, press Z. (For example : Folder 2) To view folders or files on still lower levels, press Z. (For example : File 3) IMPORTANT The Print File menu option is only displayed when there is a PDF, TIFF or XPS file in the USB flash memory. Note also that up to 3 levels of folders or files are displayed. It might take some time before the folder or file name appears, depending on the size of the USB flash memory or the number of files. You can move between the folder levels by pressing U and V or Y and Z. 5 Press [OK]. A question mark (?) appears. (For example : File 3) Copies 001 6 Press [OK] again. Copies appears. 2-16 Using the Operation Panel
-
 1
1 -
2
-
3
-
4
-
5
-
6
-
7
-
8
-
9
-
10
-
11
-
12
-
13
-
14
-
15
-
16
-
17
-
18
-
19
-
20
-
21
-
22
-
23
-
24
-
25
-
26
-
27
-
28
-
 29
29 -
 30
30 -
 31
31 -
 32
32 -
 33
33 -
 34
34 -
 35
35 -
 36
36 -
 37
37 -
 38
38 -
 39
39 -
40
-
41
-
42
-
43
-
44
-
45
-
46
-
47
-
48
-
49
-
50
-
51
-
52
-
53
-
54
-
55
-
56
-
57
-
58
-
59
-
60
-
61
-
62
-
63
-
64
-
65
-
66
-
67
-
68
-
69
-
70
-
71
-
72
-
73
-
74
-
75
-
76
-
77
-
78
-
79
-
80
-
81
-
82
-
83
-
84
-
85
-
86
-
87
-
88
-
89
-
90
-
91
-
92
-
93
-
94
-
95
-
96
-
97
-
98
-
99
-
100
-
101
-
102
-
103
-
104
-
105
-
106
-
107
-
108
-
109
-
110
 |
 |