Lenovo ThinkStation D20 Hardware Maintenance Manual - Page 119
Locations, The following illustration will help you locate the major FRUs in the computer.
 |
View all Lenovo ThinkStation D20 manuals
Add to My Manuals
Save this manual to your list of manuals |
Page 119 highlights
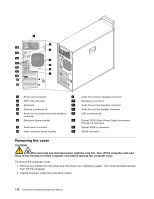
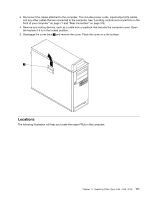
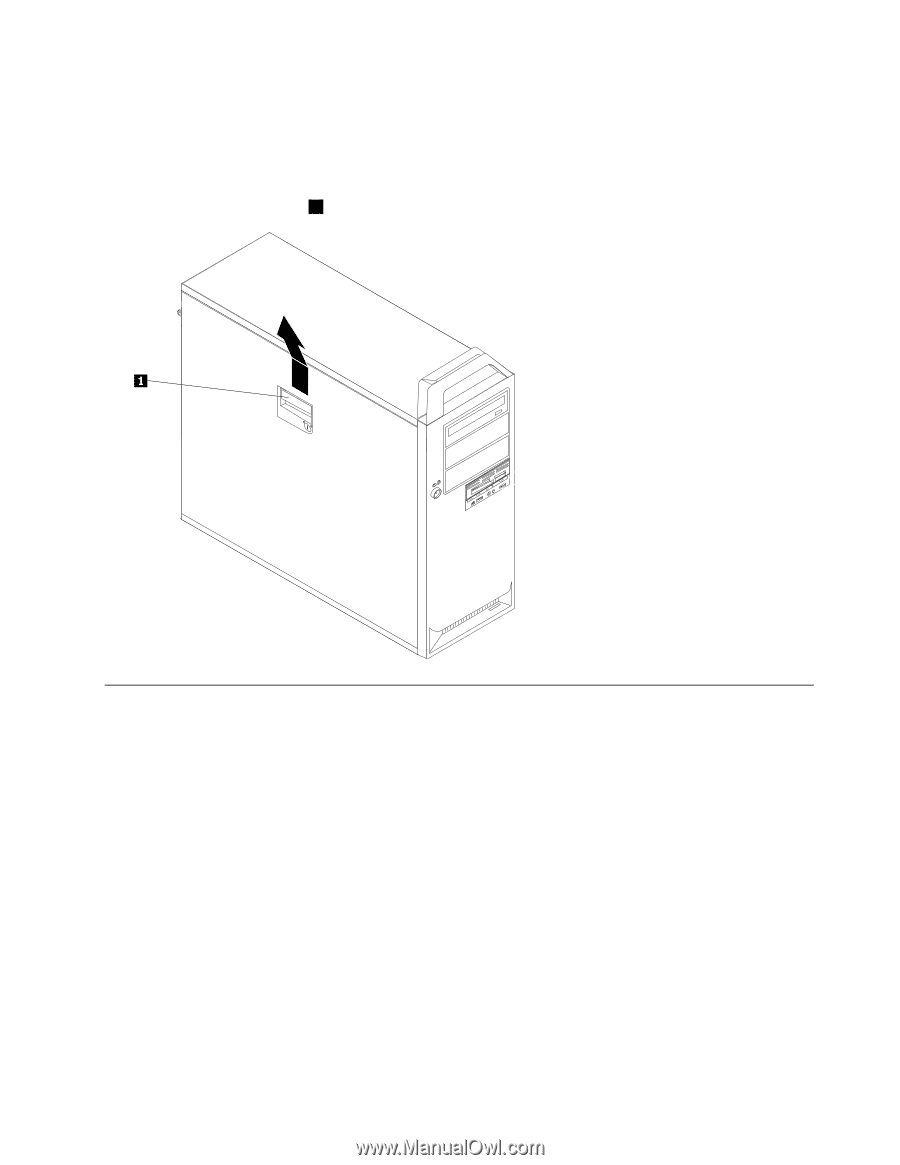
3. Disconnect the cables attached to the computer. This includes power cords, input/output (I/O) cables, and any other cables that are connected to the computer. See "Locating controls and connectors on the front of your computer" on page 77 and "Rear connectors" on page 109. 4. Remove any locking devices, such as a cable lock or padlock that secures the computer cover. Open the keylock if it is in the locked position. 5. Disengage the cover latch 1 and remove the cover. Place the cover on a flat surface. Locations The following illustration will help you locate the major FRUs in the computer. Chapter 11. Replacing FRUs (Type 4155, 4158, 4218) 111
-
 1
1 -
2
-
3
-
4
-
5
-
6
-
7
-
8
-
9
-
10
-
11
-
12
-
13
-
14
-
15
-
16
-
17
-
18
-
19
-
20
-
21
-
22
-
23
-
24
-
25
-
26
-
27
-
28
-
29
-
30
-
31
-
32
-
33
-
34
-
35
-
36
-
37
-
38
-
39
-
40
-
41
-
42
-
43
-
44
-
45
-
46
-
47
-
48
-
49
-
50
-
51
-
52
-
53
-
54
-
55
-
56
-
57
-
58
-
59
-
60
-
61
-
62
-
63
-
64
-
65
-
66
-
67
-
68
-
69
-
70
-
71
-
72
-
73
-
74
-
75
-
76
-
77
-
78
-
79
-
80
-
81
-
82
-
83
-
84
-
85
-
86
-
87
-
88
-
89
-
90
-
91
-
92
-
93
-
94
-
95
-
96
-
97
-
98
-
99
-
100
-
101
-
102
-
103
-
104
-
105
-
106
-
107
-
108
-
109
-
110
-
111
-
112
-
113
-
 114
114 -
 115
115 -
 116
116 -
 117
117 -
 118
118 -
 119
119 -
 120
120 -
 121
121 -
 122
122 -
 123
123 -
 124
124 -
125
-
126
-
127
-
128
-
129
-
130
-
131
-
132
-
133
-
134
-
135
-
136
-
137
-
138
-
139
-
140
-
141
-
142
-
143
-
144
-
145
-
146
-
147
-
148
-
149
-
150
-
151
-
152
-
153
-
154
-
155
-
156
-
157
-
158
-
159
-
160
-
161
-
162
-
163
-
164
-
165
-
166
-
167
-
168
-
169
-
170
-
171
-
172
-
173
-
174
-
175
-
176
-
177
-
178
-
179
-
180
-
181
-
182
-
183
-
184
-
185
-
186
-
187
-
188
-
189
-
190
-
191
-
192
-
193
-
194
-
195
-
196
-
197
-
198
-
199
-
200
-
201
-
202
-
203
-
204
-
205
-
206
-
207
-
208
-
209
-
210
-
211
-
212
-
213
-
214
-
215
-
216
-
217
-
218
-
219
-
220
-
221
-
222
-
223
-
224
-
225
-
226
-
227
-
228
-
229
-
230
-
231
-
232
-
233
-
234
-
235
-
236
-
237
-
238
-
239
-
240
-
241
-
242
-
243
-
244
-
245
-
246
-
247
-
248
-
249
-
250
-
251
-
252
-
253
-
254
-
255
-
256
-
257
-
258
-
259
-
260
-
261
-
262
-
263
-
264
-
265
-
266
-
267
-
268
-
269
-
270
 |
 |
3. Disconnect the cables attached to the computer. This includes power cords, input/output (I/O) cables,
and any other cables that are connected to the computer. See “Locating controls and connectors on the
front of your computer” on page 77 and “Rear connectors” on page 109.
4. Remove any locking devices, such as a cable lock or padlock that secures the computer cover. Open
the keylock if it is in the locked position.
5. Disengage the cover latch
1
and remove the cover. Place the cover on a flat surface.
Locations
The following illustration will help you locate the major FRUs in the computer.
Chapter 11
.
Replacing FRUs (Type 4155, 4158, 4218)
111