Lexmark Pro4000c User's Guide - Page 48
Printing on both sides of the paper (duplexing)
 |
View all Lexmark Pro4000c manuals
Add to My Manuals
Save this manual to your list of manuals |
Page 48 highlights
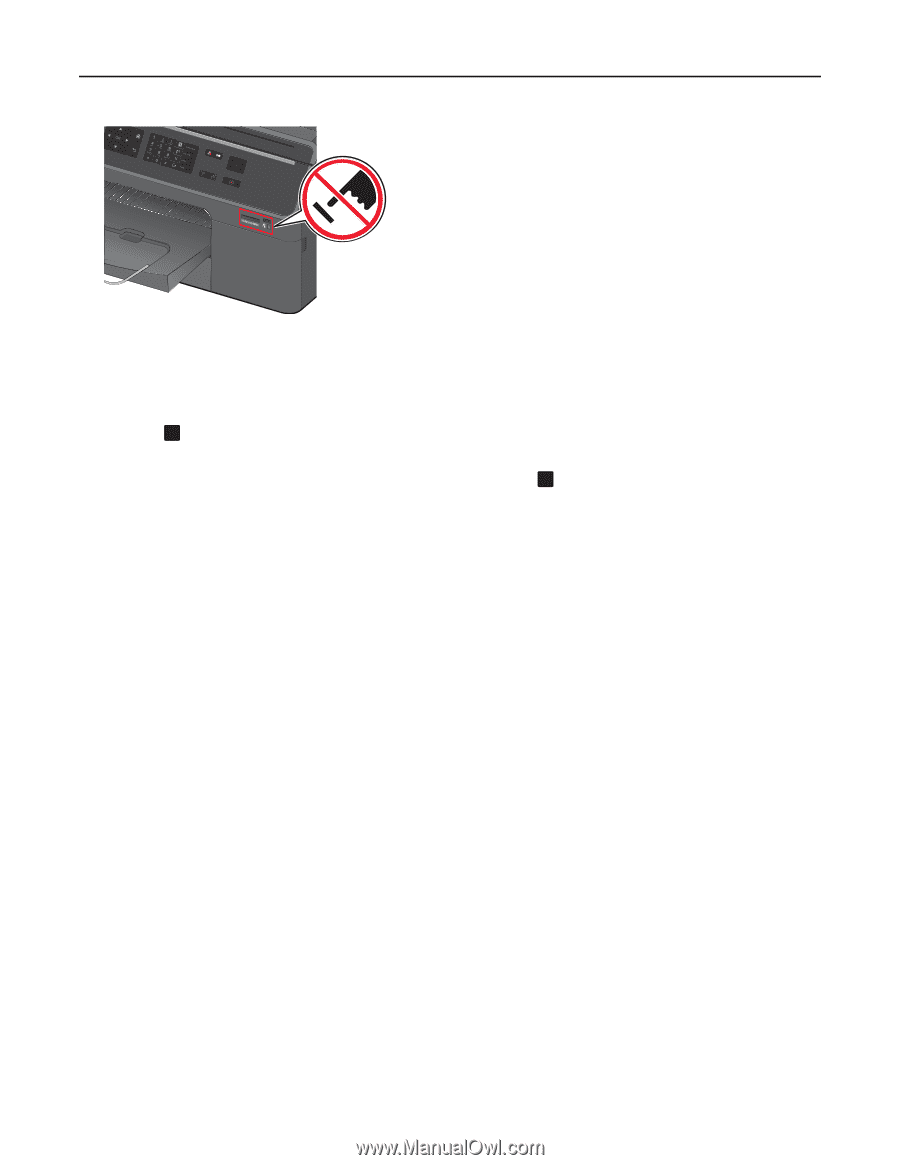
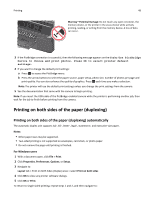
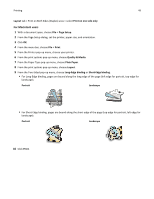
Printing 48 Warning-Potential Damage: Do not touch any open connector, the memory device, or the printer in the areas shown while actively printing, reading, or writing from the memory device. A loss of data can occur. 3 If the PictBridge connection is successful, then the following message appears on the display: Use PictBridge Device to choose and print photos. Press OK to select printer default settings. 4 If you want to change the default print settings: a Press OK to access the PictBridge menu. b Press the arrow buttons to select the paper source, paper setup, photo size, number of photos per page and print quality. You can also enhance the quality of graphics. Press OK each time you make a selection. Note: The printer will use the default print settings unless you change the print settings from the camera. 5 See the documentation that came with the camera to begin printing. Note: If you insert the USB cable of the PictBridge‑enabled camera while the printer is performing another job, then wait for the job to finish before printing from the camera. Printing on both sides of the paper (duplexing) Printing on both sides of the paper (duplexing) automatically The automatic duplex unit supports A4‑, A5‑, letter‑, legal‑, statement‑, and executive‑size paper. Notes: • Other paper sizes may be supported. • Two-sided printing is not supported on envelopes, card stock, or photo paper. • Do not remove the page until printing is finished. For Windows users 1 With a document open, click File > Print. 2 Click Properties, Preferences, Options, or Setup. 3 Navigate to: Layout tab > Print on Both Sides (Duplex) area > select Print on both sides 4 Click OK to close any printer software dialogs. 5 Click OK or Print. To return to single-sided printing, repeat steps 1 and 2, and then navigate to:
-
 1
1 -
2
-
3
-
4
-
5
-
6
-
7
-
8
-
9
-
10
-
11
-
12
-
13
-
14
-
15
-
16
-
17
-
18
-
19
-
20
-
21
-
22
-
23
-
24
-
25
-
26
-
27
-
28
-
29
-
30
-
31
-
32
-
33
-
34
-
35
-
36
-
37
-
38
-
39
-
40
-
41
-
42
-
 43
43 -
 44
44 -
 45
45 -
 46
46 -
 47
47 -
 48
48 -
 49
49 -
 50
50 -
 51
51 -
 52
52 -
 53
53 -
54
-
55
-
56
-
57
-
58
-
59
-
60
-
61
-
62
-
63
-
64
-
65
-
66
-
67
-
68
-
69
-
70
-
71
-
72
-
73
-
74
-
75
-
76
-
77
-
78
-
79
-
80
-
81
-
82
-
83
-
84
-
85
-
86
-
87
-
88
-
89
-
90
-
91
-
92
-
93
-
94
-
95
-
96
-
97
-
98
-
99
-
100
-
101
-
102
-
103
-
104
-
105
-
106
-
107
-
108
-
109
-
110
-
111
-
112
-
113
-
114
-
115
-
116
-
117
-
118
-
119
-
120
-
121
-
122
-
123
-
124
-
125
-
126
-
127
-
128
-
129
-
130
-
131
-
132
-
133
-
134
-
135
-
136
-
137
-
138
-
139
-
140
-
141
-
142
-
143
-
144
-
145
-
146
-
147
-
148
-
149
-
150
-
151
-
152
-
153
-
154
-
155
-
156
-
157
-
158
-
159
-
160
-
161
-
162
-
163
-
164
-
165
-
166
-
167
-
168
-
169
-
170
-
171
-
172
-
173
-
174
-
175
-
176
-
177
-
178
-
179
-
180
-
181
-
182
-
183
-
184
-
185
-
186
-
187
-
188
-
189
 |
 |