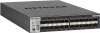
Netgear XSM4324FS Hardware Installation Guide - Page 56
Install the switch on a flat surface, Optional Step 5: Install SFP transceiver modules
 |
View all Netgear XSM4324FS manuals
Add to My Manuals
Save this manual to your list of manuals |
Page 56 highlights
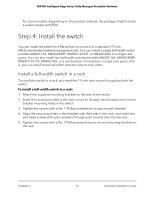
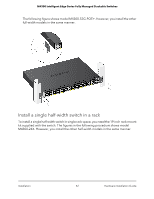
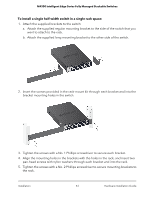
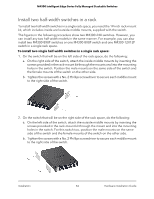
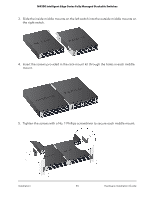
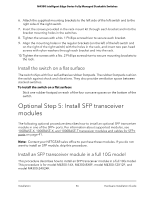
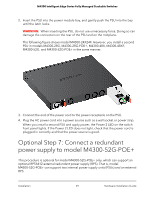
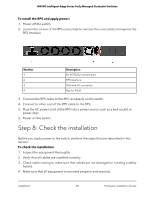
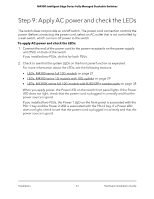
M4300 Intelligent Edge Series Fully Managed Stackable Switches 6. Attach the supplied mounting brackets to the left side of the left switch and to the right side of the right switch. 7. Insert the screws provided in the rack-mount kit through each bracket and into the bracket mounting holes in the switches. 8. Tighten the screws with a No. 1 Phillips screwdriver to secure each bracket. 9. Align the mounting holes in the regular brackets (on the left of the left switch and on the right of the right switch) with the holes in the rack, and insert two pan-head screws with nylon washers through each bracket and into the rack. 10. Tighten the screws with a No. 2 Phillips screwdriver to secure mounting brackets to the rack. Install the switch on a flat surface The switch ships with four self-adhesive rubber footpads. The rubber footpads cushion the switch against shock and vibrations. They also provide ventilation space between stacked switches. To install the switch on a flat surface: Stick one rubber footpad on each of the four concave spaces on the bottom of the switch. Optional Step 5: Install SFP transceiver modules The following optional procedure describes how to install an optional SFP transceiver module in one of the SFP+ ports. For information about supported modules, see 10GBASE-X, 1000BASE-X, and 1000BASE-T transceiver modules and cables for SFP+ ports on page 41. Note: Contact your NETGEAR sales office to purchase these modules. If you do not want to install an SFP module, skip this procedure. Install an SFP transceiver module in a full 10G model This procedure describes how to install an SFP transceiver module in a full 10G model. This procedure is for model M4300-16X, M4300-8X8F, model M4300-12X12F, and model M4300-24X24F. Installation 56 Hardware Installation Guide
-
 1
1 -
2
-
3
-
4
-
5
-
6
-
7
-
8
-
9
-
10
-
11
-
12
-
13
-
14
-
15
-
16
-
17
-
18
-
19
-
20
-
21
-
22
-
23
-
24
-
25
-
26
-
27
-
28
-
29
-
30
-
31
-
32
-
33
-
34
-
35
-
36
-
37
-
38
-
39
-
40
-
41
-
42
-
43
-
44
-
45
-
46
-
47
-
48
-
49
-
50
-
 51
51 -
 52
52 -
 53
53 -
 54
54 -
 55
55 -
 56
56 -
 57
57 -
 58
58 -
 59
59 -
 60
60 -
 61
61 -
62
-
63
-
64
-
65
-
66
-
67
-
68
-
69
 |
 |