Netgear XSM4324FS Hardware Installation Guide - Page 60
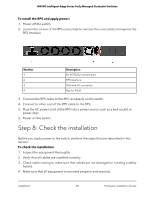
Step 8: Check the installation
 |
View all Netgear XSM4324FS manuals
Add to My Manuals
Save this manual to your list of manuals |
Page 60 highlights
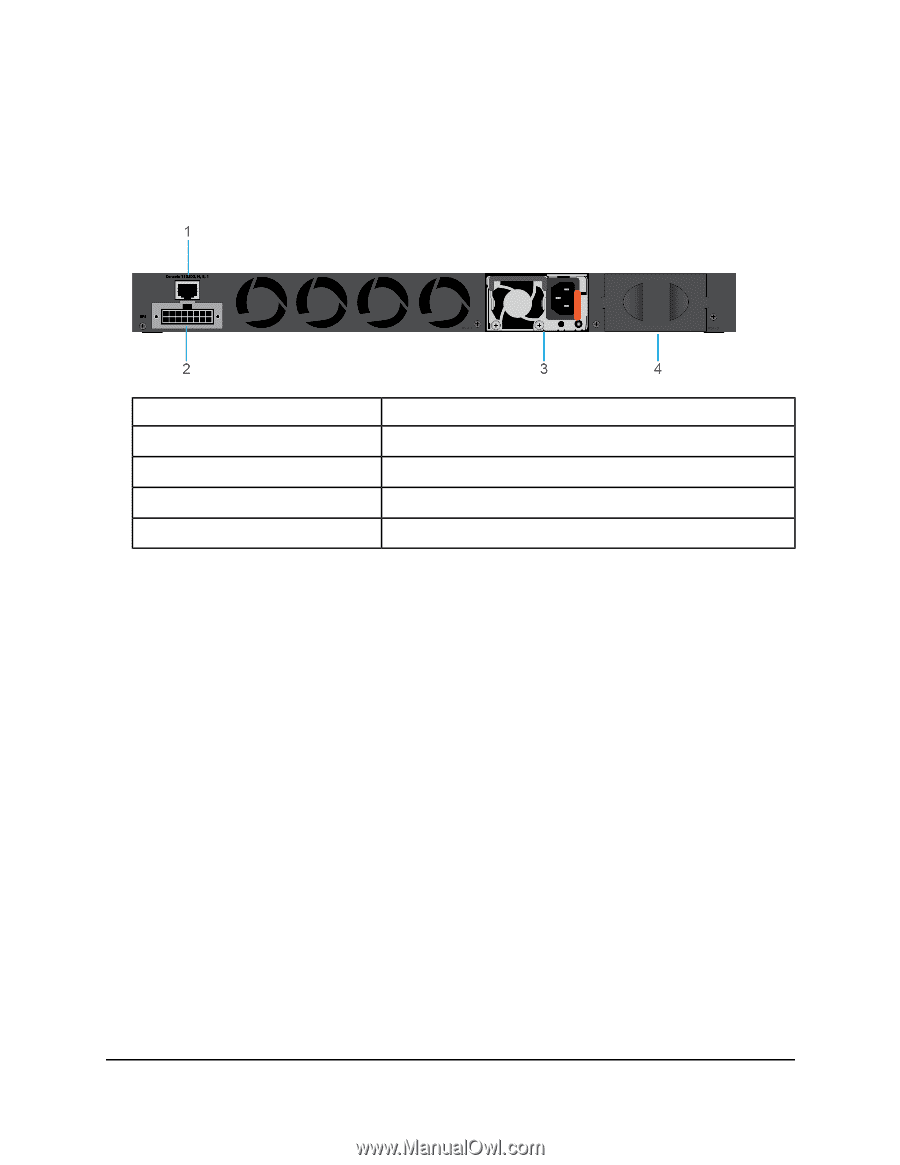
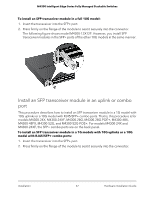
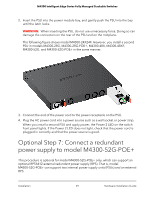
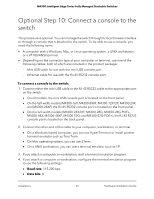
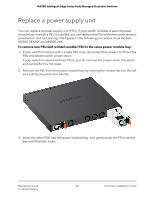
M4300 Intelligent Edge Series Fully Managed Stackable Switches To install the RPS and apply power: 1. Power off the switch. 2. Loosen the screws of the RPS cover plate to remove the cover plate and expose the RPS interface. Number 1 2 3 4 Description RJ-45 RS232 console port RPS interface PSU with AC connector Bay for PSU2 3. Connect the RPS cable to the RPS receptacle on the switch. 4. Connect to other end of the RPS cable to the RPS. 5. Plug the AC power cord of the RPS into a power source such as a wall socket or power strip. 6. Power on the switch. Step 8: Check the installation Before you apply power to the switch, perform the steps that are described in this section. To check the installation: 1. Inspect the equipment thoroughly. 2. Verify that all cables are installed correctly. 3. Check cable routing to make sure that cables are not damaged or creating a safety hazard. 4. Make sure that all equipment is mounted properly and securely. Installation 60 Hardware Installation Guide
-
 1
1 -
2
-
3
-
4
-
5
-
6
-
7
-
8
-
9
-
10
-
11
-
12
-
13
-
14
-
15
-
16
-
17
-
18
-
19
-
20
-
21
-
22
-
23
-
24
-
25
-
26
-
27
-
28
-
29
-
30
-
31
-
32
-
33
-
34
-
35
-
36
-
37
-
38
-
39
-
40
-
41
-
42
-
43
-
44
-
45
-
46
-
47
-
48
-
49
-
50
-
51
-
52
-
53
-
54
-
 55
55 -
 56
56 -
 57
57 -
 58
58 -
 59
59 -
 60
60 -
 61
61 -
 62
62 -
 63
63 -
 64
64 -
 65
65 -
66
-
67
-
68
-
69
 |
 |