Pioneer DEH-P800PRS Owner's Manual - Page 10
Resetting the microprocessor, Switching the DSP setting, About the demo mode, Before You Start - install
 |
UPC - 012562883724
View all Pioneer DEH-P800PRS manuals
Add to My Manuals
Save this manual to your list of manuals |
Page 10 highlights
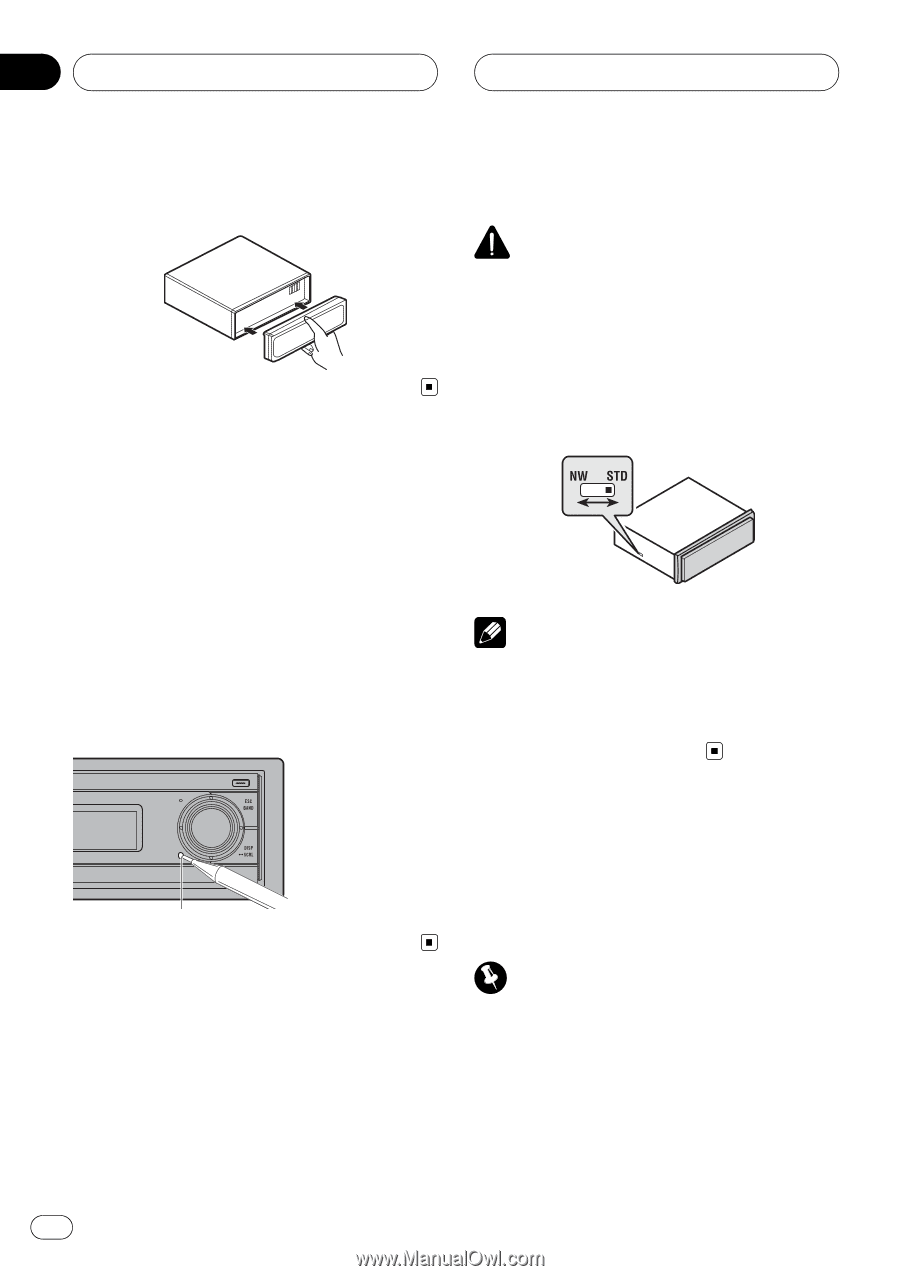
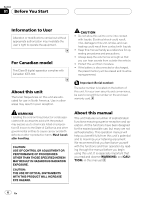
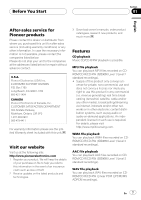
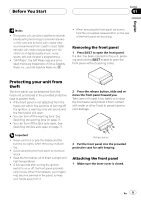
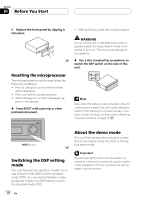
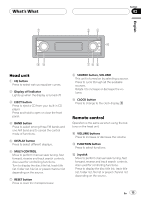
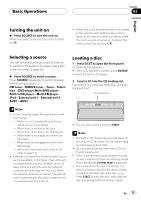
Section 01 Before You Start 2 Replace the front panel by clipping it into place. Resetting the microprocessor The microprocessor must be reset under the following conditions: ! Prior to using this unit for the first time after installation ! If the unit fails to operate properly ! When strange or incorrect messages ap- pear on the display % Press RESET with a pen tip or other pointed instrument. ! After switching, reset the microprocessor. WARNING Do not use the unit in standard mode when a speaker system for 3-way network mode is connected to this unit. This may cause damage to the speakers. % Use a thin standard tip screwdriver to switch the DSP switch on the side of this unit. Note Even when the battery is disconnected or the microprocessor is reset, this unit's audio setting remains in the memory for at least one day. If you want to reset the audio setting, refer to Resetting the audio functions on page 72. RESET button Switching the DSP setting mode This unit features two operation modes: the 3way network mode (NW) and the standard mode (STD). You can switch between modes as desired. Initially, the DSP setting is set to the standard mode (STD). 10 En About the demo mode This unit features two demonstration modes. One is the reverse mode, the other is the feature demo mode. Important The red lead (ACC) of this unit should be connected to a terminal coupled with ignition switch on/off operations. If this is not done, the vehicle battery may be drained.
-
 1
1 -
2
-
3
-
4
-
 5
5 -
 6
6 -
 7
7 -
 8
8 -
 9
9 -
 10
10 -
 11
11 -
 12
12 -
 13
13 -
 14
14 -
 15
15 -
16
-
17
-
18
-
19
-
20
-
21
-
22
-
23
-
24
-
25
-
26
-
27
-
28
-
29
-
30
-
31
-
32
-
33
-
34
-
35
-
36
-
37
-
38
-
39
-
40
-
41
-
42
-
43
-
44
-
45
-
46
-
47
-
48
-
49
-
50
-
51
-
52
-
53
-
54
-
55
-
56
-
57
-
58
-
59
-
60
-
61
-
62
-
63
-
64
-
65
-
66
-
67
-
68
-
69
-
70
-
71
-
72
-
73
-
74
-
75
-
76
-
77
-
78
-
79
-
80
-
81
-
82
-
83
-
84
-
85
-
86
-
87
-
88
-
89
-
90
-
91
-
92
-
93
-
94
-
95
-
96
-
97
-
98
-
99
-
100
-
101
-
102
-
103
-
104
-
105
-
106
-
107
-
108
-
109
-
110
-
111
-
112
-
113
-
114
-
115
-
116
-
117
-
118
-
119
-
120
-
121
-
122
-
123
-
124
-
125
-
126
-
127
-
128
-
129
-
130
-
131
-
132
-
133
-
134
-
135
-
136
-
137
-
138
-
139
-
140
-
141
-
142
-
143
-
144
-
145
-
146
-
147
-
148
-
149
-
150
-
151
-
152
-
153
-
154
-
155
-
156
-
157
-
158
-
159
-
160
-
161
-
162
-
163
-
164
-
165
-
166
-
167
-
168
-
169
-
170
-
171
-
172
-
173
-
174
-
175
-
176
-
177
-
178
-
179
-
180
-
181
-
182
-
183
-
184
-
185
 |
 |