Sharp HT-X1 HT-X1 Operation Manual - Page 18
Main unit preparation
 |
UPC - 074000366138
View all Sharp HT-X1 manuals
Add to My Manuals
Save this manual to your list of manuals |
Page 18 highlights
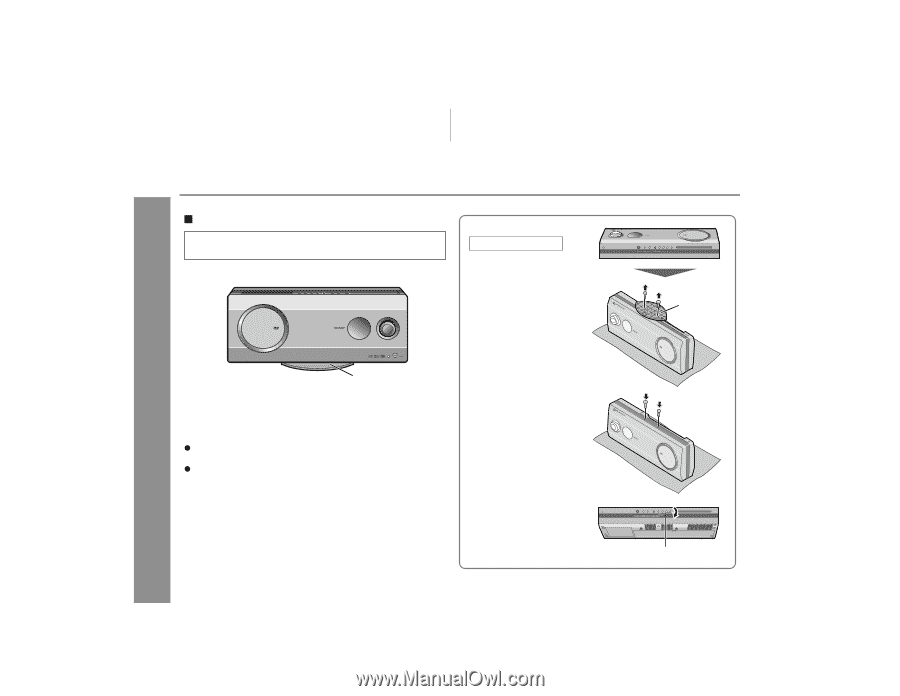
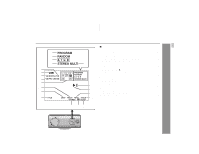
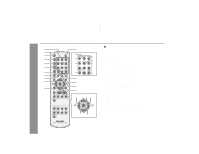
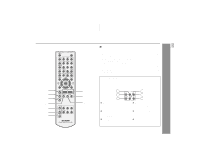
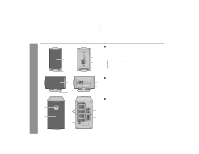
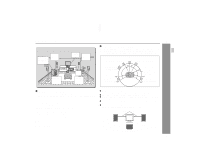
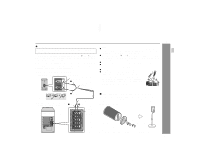
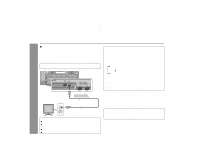
HT-X1 Main unit preparation Installation methods Make sure to unplug the AC power cord before installing the main unit or change the position. The stand is attached to the main unit at the factory. Placing horizontally 1 Remove the 2 screws and the stand. Stand Preparation for Use Stand You can also place the main unit horizontally or mount it on the wall without the stand. (See page 62 for mounting it on the wall.) Notes: When attaching or removing the stand, place the main unit on a cushion or soft cloth to avoid damage. Remove the only specified screws. Malfunction may occur. Be careful not to lose the removed screws. Caution: Do not change the installation direction when the main unit is turned on as the disc may not be read or may be damaged. 2 Fix the removed screws. 3 Attach the included button name label. Button name label Note: Attach the button name label carefully. It is difficult to peel off. 18
-
 1
1 -
2
-
3
-
4
-
5
-
6
-
7
-
8
-
9
-
10
-
11
-
12
-
 13
13 -
 14
14 -
 15
15 -
 16
16 -
 17
17 -
 18
18 -
 19
19 -
 20
20 -
 21
21 -
 22
22 -
 23
23 -
24
-
25
-
26
-
27
-
28
-
29
-
30
-
31
-
32
-
33
-
34
-
35
-
36
-
37
-
38
-
39
-
40
-
41
-
42
-
43
-
44
-
45
-
46
-
47
-
48
-
49
-
50
-
51
-
52
-
53
-
54
-
55
-
56
-
57
-
58
-
59
-
60
-
61
-
62
-
63
-
64
-
65
-
66
-
67
-
68
 |
 |