Sony MVC-CD500 Operating Instructions - Page 94
Copying images, Disconnecting the USB cable, from your computer or removing, the disc from your camera
 |
View all Sony MVC-CD500 manuals
Add to My Manuals
Save this manual to your list of manuals |
Page 94 highlights
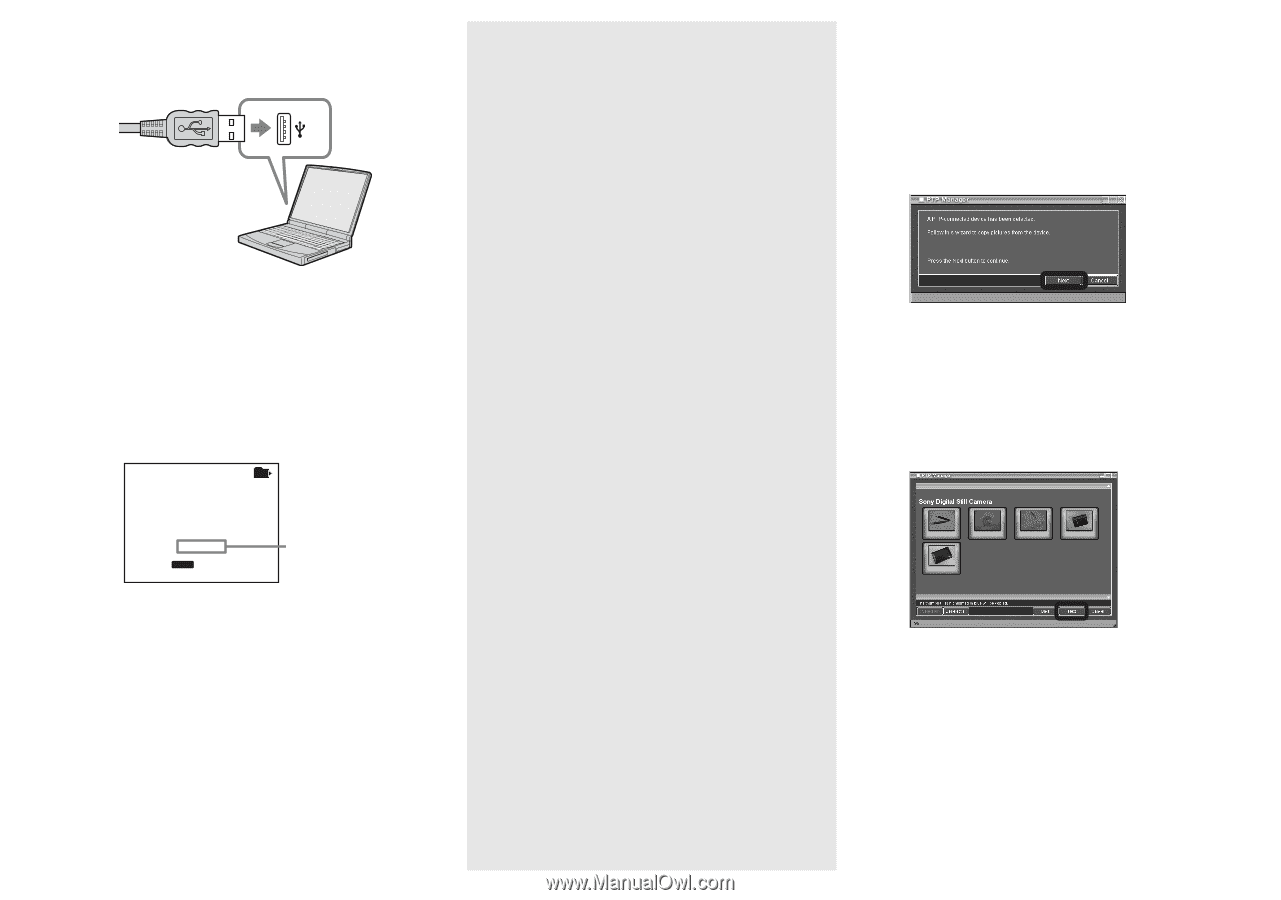
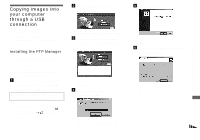
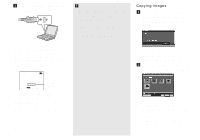
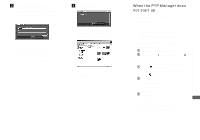
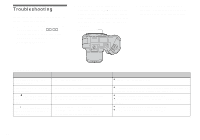
d Connect the USB cable to your computer. • When you use a desktop computer, we recommend that you connect the USB cable to the USB connector on the rear panel. • When using Windows XP, the AutoPlay wizard automatically appears on the desktop. Proceed to page 96. Current Folder: 101 USB Mode PTP a a a a Use MENU to move folder Access indicators* "USB Mode PTP" appears on the LCD screen of the camera. * During communication, the access indicators turn red. It may take some time for your computer to recognize the disc. 94 PDisconnecting the USB cable from your computer or removing the disc from your camera during USB connection Windows 98/98SE/2000/Me Users 1 Click [Cancel] and close the window when using the PTP Manager. 2 Disconnect the USB cable from the jack on the computer, or remove the disc. Copying images a Follow the steps on page 93 and make the USB connection, the PTP Manager starts. Click [Next]. The images stored on the disc are displayed. It may take some time to load the images from the disc. b Select the images that you want to copy, then click [Next]. The "Copy Destination and Group Name Setup" screen appears. The images in the selected recording folder appear. To copy an image in a different folder, follow the procedure on page 43 and change the recording folder.
-
 1
1 -
2
-
3
-
4
-
5
-
6
-
7
-
8
-
9
-
10
-
11
-
12
-
13
-
14
-
15
-
16
-
17
-
18
-
19
-
20
-
21
-
22
-
23
-
24
-
25
-
26
-
27
-
28
-
29
-
30
-
31
-
32
-
33
-
34
-
35
-
36
-
37
-
38
-
39
-
40
-
41
-
42
-
43
-
44
-
45
-
46
-
47
-
48
-
49
-
50
-
51
-
52
-
53
-
54
-
55
-
56
-
57
-
58
-
59
-
60
-
61
-
62
-
63
-
64
-
65
-
66
-
67
-
68
-
69
-
70
-
71
-
72
-
73
-
74
-
75
-
76
-
77
-
78
-
79
-
80
-
81
-
82
-
83
-
84
-
85
-
86
-
87
-
88
-
 89
89 -
 90
90 -
 91
91 -
 92
92 -
 93
93 -
 94
94 -
 95
95 -
 96
96 -
 97
97 -
 98
98 -
 99
99 -
100
-
101
-
102
-
103
-
104
-
105
-
106
-
107
-
108
-
109
-
110
-
111
-
112
-
113
-
114
-
115
-
116
-
117
-
118
-
119
-
120
-
121
-
122
-
123
-
124
-
125
-
126
-
127
-
128
-
129
-
130
-
131
-
132
 |
 |