Yamaha CLP-611 Owner's Manual - Page 24
Using the Recorder
 |
View all Yamaha CLP-611 manuals
Add to My Manuals
Save this manual to your list of manuals |
Page 24 highlights
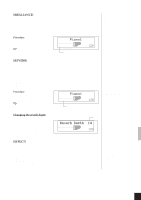
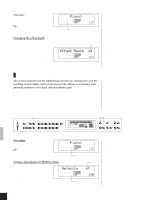
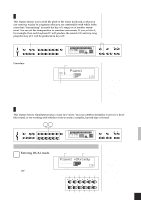
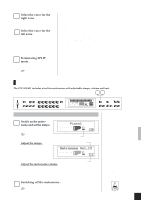
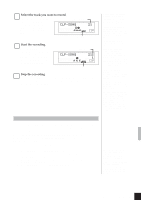
Using the Recorder Your Clavinova includes a two-track recorder that lets you record and play back a keyboard performance. If you like, you can build a two-track song by recording separate performances (and separate voices) onto each track. The recording function is a useful adjunct to any keyboard study program, since it lets you hear exactly how you sound from the listener's perspective. It can also be just plain fun. The recorder registers the following data. s Common to Both Tracks q Tempo q Reverb type & depth q Effect type s Independent for Each Track q Notes played q Dual-mode voices q Soft pedal q Effect depth q Voice selection q Voice variation q Split-mode voices q Damper pedal q Sostenuto pedal q Brilliance level q DUAL-mode settings (F4) q SPLIT-mode settings (F5) NOTE DUAL-and SPLIT-mode settings cannot be changed while recording is in progress. Recording Procedure 1 Make initial settings. Select the voice you want to use. (If you are using SPLIT or DUAL mode, select both voices.) You may also want to set the volume and tempo values. 2 If you have already recorded to one track and wish to listen to it while recording on the other, check that the indicator for the track you want to hear is lit up green. If the lamp is off, press the track button ([1] or [2]) once to set it on. 3 Enter RECORDING-mode standby. Press the [REC] button once to enter recording standby. The trackindicator over one of the track buttons will light up red. The lamp will come on only if the track contains recorded data. Before beginning a recording... You may find it convenient to press both buttons to check whether data already exists. If either lamp comes on, then the corresponding track contains data that will be lost when you being recording to it. If you have not recorded anything since power-on, the lamp above button [1] will come on. If you have already recorded, then the lamp above the most recently recorded track will come on. You cannot enter RECORDING mode while the Clavinova is in DEMO/PIANO SONG mode. To release RECORDING-mode standby... Press the [REC] button a second time. 20 CLP-811/611 Using the Recorder
-
 1
1 -
2
-
3
-
4
-
5
-
6
-
7
-
8
-
9
-
10
-
11
-
12
-
13
-
14
-
15
-
16
-
17
-
18
-
 19
19 -
 20
20 -
 21
21 -
 22
22 -
 23
23 -
 24
24 -
 25
25 -
 26
26 -
 27
27 -
 28
28 -
 29
29 -
30
-
31
-
32
-
33
-
34
-
35
-
36
-
37
-
38
-
39
-
40
-
41
-
42
-
43
-
44
-
45
-
46
-
47
-
48
-
49
-
50
-
51
-
52
-
53
-
54
-
55
-
56
-
57
-
58
-
59
-
60
-
61
-
62
-
63
-
64
-
65
-
66
-
67
-
68
-
69
-
70
-
71
-
72
 |
 |
