Yamaha MT1X Owner's Manual - Page 18
Multitrack Recording Techniques - parts for
 |
View all Yamaha MT1X manuals
Add to My Manuals
Save this manual to your list of manuals |
Page 18 highlights
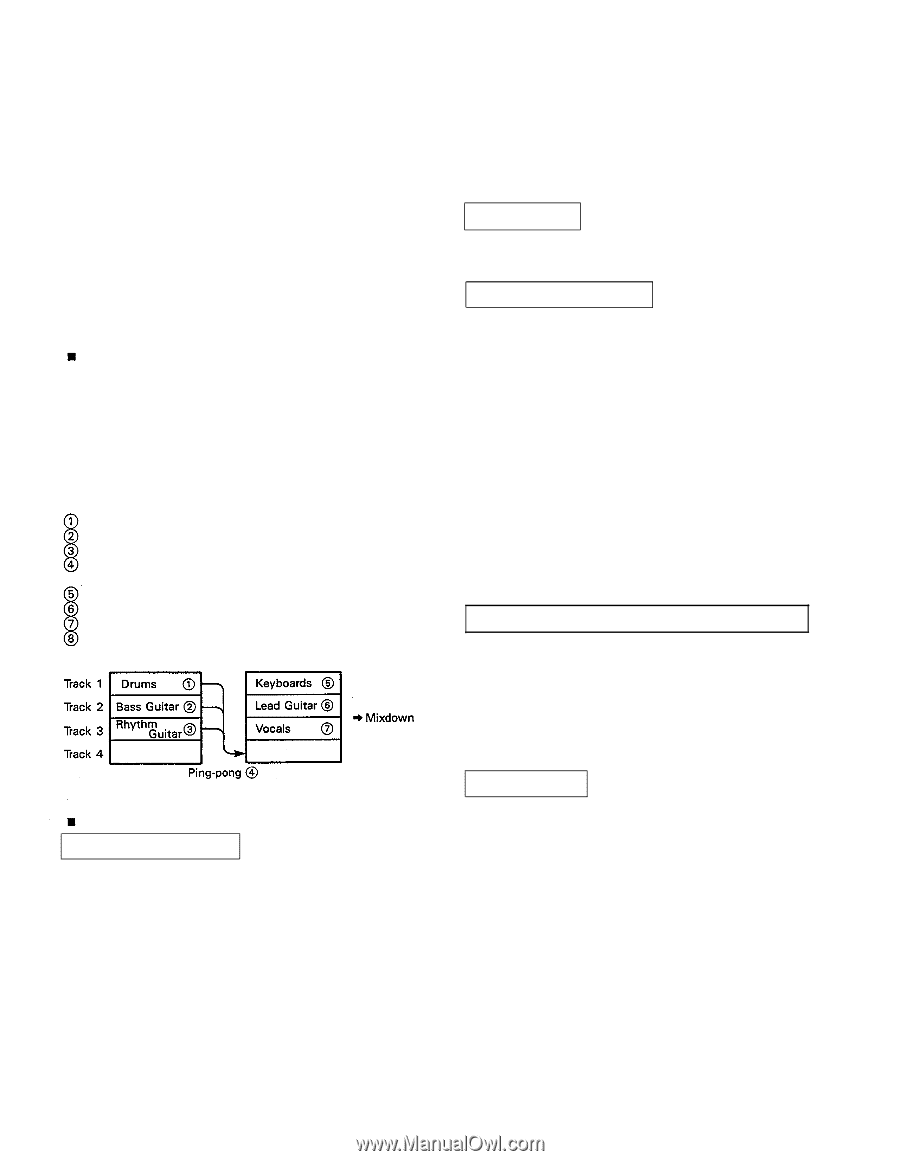
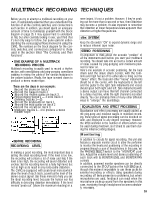
MULTITRACK RECORDING TECHNIQUES Before you try to attempt a multitrack recording on your own, it's absolutely essential that you understand the function of all the controls, switches, and connectors in each section. In addition, you should spend an adequate amount of time to familiarize yourself with the block diagram on page 35. It may appear hard to understand at first, but after carefully looking it over, you'll find that it's not only easy to fo!low, but quite useful in understanding the various signal flows involved in using the CMX1. The numbers on the block diagram for the controls, switches, and connectors correspond to those used in the section titled "The Controls, and Their Functions". ONE EXAMPLE OF A MULTITRACK RECORDING PROCESS Multitrack recording is usually used to record a rhythm section, with overdubbing and ping-ponging operations assisting in mixing the parts of the various musicians in the proper balance. Finally, the tape is mixed down to produce a stereo master tape. These are the steps in our example: RP(RRRRRfeieeeeerneccccccgeoooooo-prrrirrrnddddddogntttttthhhhhhgteeeeeeirnadklgbvrecheoraauytykcrstmdbsashaocms1golsak-ounrsogdinttn13ausrta)rirt-otacraoanckrnc3kto2rktaorn1a3cntcktroak1c2trka3ck 4 mMiaxdstoewr tnaptraecks 1- 4 to produce a stereo BEFORE RECORDING RECORDING LEVEL In making a good recording, the most important step is setting the ideal recording level. If the level is too low, the recording will contain a lot of noise and hiss; if the level is too high, the recording will sound distorted and unclear. Set the recording level at a fairly high level, but not so high as to result in any noticeable distortion. The CMX1 is equipped with peak level meters which show the level of each track, as well as the level of the stereo output signal. Use these meters to help you set the ideal recording level, because the human ear has difficulty in detecting distortion immediately. If the level meters "peak out" (show the maximum reading) in a mere instant, it's not a problem. However, if they're peaking out for more than a second or two, then distortion may become a problem. It's also important to remember that distortion at lower frequencies is less apparent than distortion at higher frequencies. dbx SYSTEM Keep the dbx switch "ON" to expand dynamic range and to reduce inherent tape noise. STEREO POSITIONING It's important to think about the acoustic "position" of all the instruments well before you start your multitrack recording. You should take into account a certain amount of noise caused by ping-ponging and mixdowns planned for later on. Here's one example of acoustic positioning. Set the bass drum and the snare drum center, with the tomtoms and high hat set off to either side to bring out the "stereo" effect. The bass and other "heavy" instruments should be in the center, with the keyboards to the left and the guitar to the right. Solo instruments and voices should span both right and left. Solo instruments with a stereo output can have their left channel connected to a delay machine, while the right channel is recorded directly. You can probably think of many other different ways to "arrange" the soundstage. EQUALIZATION AND EFFECT PROCESSING Equalization and effect processing are usually added at the ping-pong and mixdown stages. In multitrack recording, these types of signal processing can be decided on later, and employed to any degree necessary. However, the MT1X is limited in the number of effects which can be used during mixdown, so it's best to use them during the initial recording stages. Monitoring In addition to circuits for signal recording, this unit also features a separate monitor circuit to allow the performer to monitor the levels and positioning of the recording in progress through a pair of headphones. In this case, set the PHONES SELECT switch to the "MONITOR" position. Adjust the volume level and stereo positioning of each track with its MONITOR LEVEL and MONITOR PAN controls. In addition, powered monitor speakers can be directly connected to the ST OUT jacks or the AUX SEND jack, though this makes it impossible to use these jacks for external recording or effects. Using speakers during recording off lines presents no problems, but when microphones are used, feedback can result when the microphone picks up sound from the speakers. In this case, monitoring through headphones becomes absolutely necessary. 16
-
 1
1 -
2
-
3
-
4
-
5
-
6
-
7
-
8
-
9
-
10
-
11
-
12
-
 13
13 -
 14
14 -
 15
15 -
 16
16 -
 17
17 -
 18
18 -
 19
19 -
 20
20 -
 21
21 -
 22
22 -
 23
23 -
24
-
25
-
26
-
27
-
28
-
29
-
30
-
31
-
32
-
33
-
34
-
35
-
36
-
37
-
38
-
39
-
40
-
41
-
42
 |
 |