Brother International MFC 8300 Users Manual - English - Page 161
Checking the Drum Life, REPLACE DRUM?
 |
UPC - 012502564614
View all Brother International MFC 8300 manuals
Add to My Manuals
Save this manual to your list of manuals |
Page 161 highlights
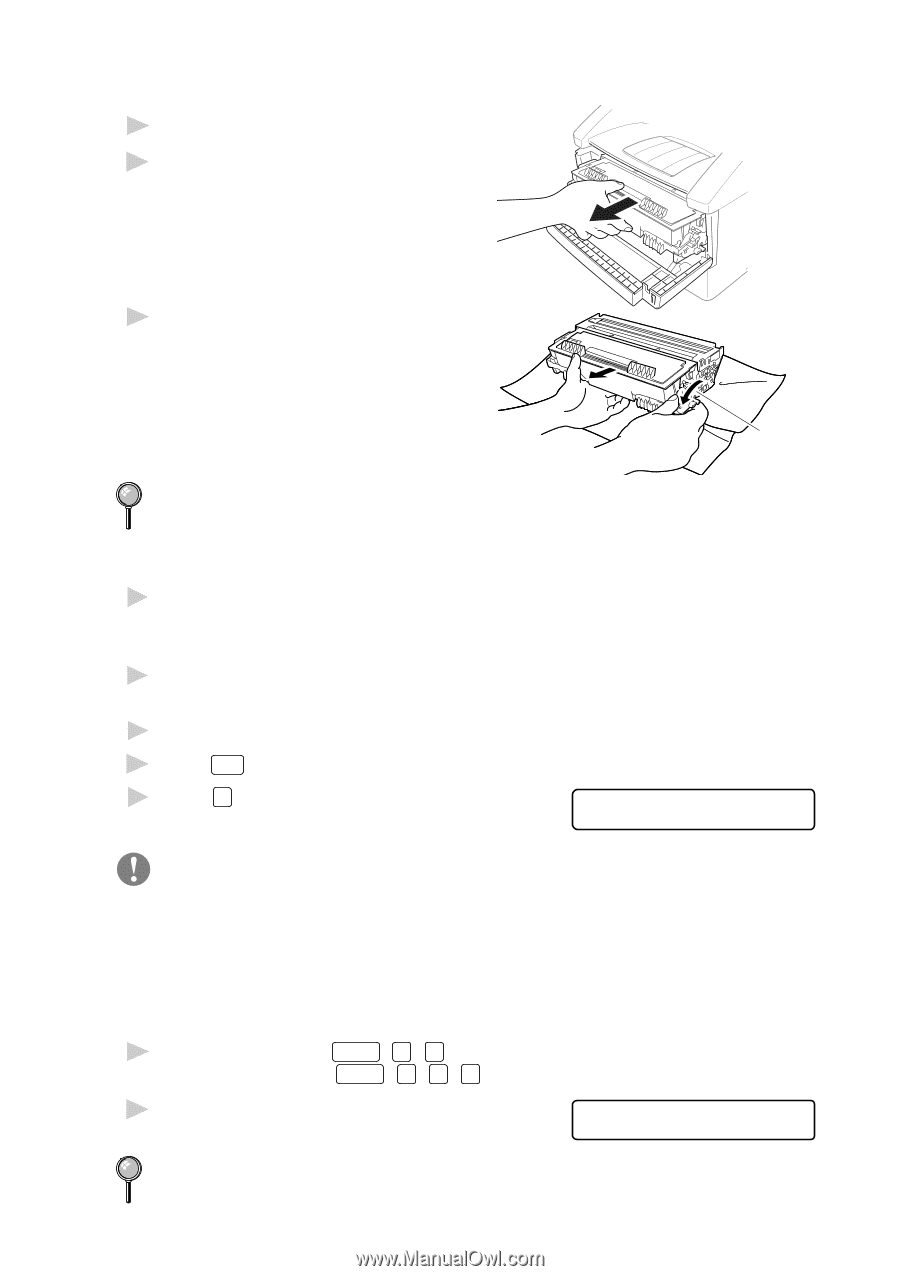
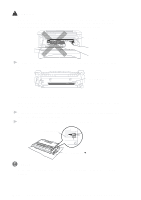
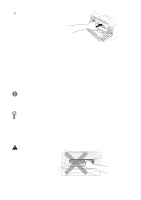
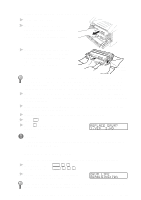
Follow these steps to replace the drum unit: 1 Open the front cover. 2 Remove the old drum unit. Place the drum unit on a drop cloth or disposable paper to avoid scattering toner. 3 Hold down the lock lever on the right and pull the toner cartridge out of the drum unit assembly. (See Replacing the Toner Cartridge, page 17-23.) Lock Lever Discard the used drum unit according to local regulations. If you are not sure of them, call your local Sanitation Department. Be sure to seal the drum unit tightly so toner powder does not spill out of the unit. When discarding used drum units, keep them separate from domestic garbage. 4 Wait to unpack the new drum unit until immediately before installing it. Place the old drum unit into the aluminium bag and discard it according to local regulations. 5 Reinstall the toner cartridge into the new drum unit. (See Replacing the Toner Cartridge, page 17-23.) 6 Reinstall the new drum unit, keeping the front cover open. 7 Press Clear . 8 Press 1 and when the display shows ACCEPTED, and close the front cover. REPLACE DRUM? 1.YES 2.NO Caution If toner scatters and your hands or clothes get dirty, immediately wipe off or wash with cold water. Checking the Drum Life You can see the percentage of the drum's life that remains available. 1 For the FAX, press Function , 0 , 4 . For the MFC, press Function , 1 , 0 , 4 . 2 For five seconds, the screen displays the available percentage of drum life. DRUM LIFE REMAINING:70% Even if the remaining drum life is 0%, you may continue to use the drum unit until you have a print quality problem. T R O U B L E S H O O T I N G A N D R O U T I N E M A I N T E N A N C E 17 - 27
-
 1
1 -
2
-
3
-
4
-
5
-
6
-
7
-
8
-
9
-
10
-
11
-
12
-
13
-
14
-
15
-
16
-
17
-
18
-
19
-
20
-
21
-
22
-
23
-
24
-
25
-
26
-
27
-
28
-
29
-
30
-
31
-
32
-
33
-
34
-
35
-
36
-
37
-
38
-
39
-
40
-
41
-
42
-
43
-
44
-
45
-
46
-
47
-
48
-
49
-
50
-
51
-
52
-
53
-
54
-
55
-
56
-
57
-
58
-
59
-
60
-
61
-
62
-
63
-
64
-
65
-
66
-
67
-
68
-
69
-
70
-
71
-
72
-
73
-
74
-
75
-
76
-
77
-
78
-
79
-
80
-
81
-
82
-
83
-
84
-
85
-
86
-
87
-
88
-
89
-
90
-
91
-
92
-
93
-
94
-
95
-
96
-
97
-
98
-
99
-
100
-
101
-
102
-
103
-
104
-
105
-
106
-
107
-
108
-
109
-
110
-
111
-
112
-
113
-
114
-
115
-
116
-
117
-
118
-
119
-
120
-
121
-
122
-
123
-
124
-
125
-
126
-
127
-
128
-
129
-
130
-
131
-
132
-
133
-
134
-
135
-
136
-
137
-
138
-
139
-
140
-
141
-
142
-
143
-
144
-
145
-
146
-
147
-
148
-
149
-
150
-
151
-
152
-
153
-
154
-
155
-
 156
156 -
 157
157 -
 158
158 -
 159
159 -
 160
160 -
 161
161 -
 162
162 -
 163
163 -
 164
164 -
 165
165 -
 166
166 -
167
-
168
-
169
-
170
-
171
-
172
-
173
-
174
-
175
-
176
-
177
-
178
-
179
-
180
-
181
-
182
-
183
 |
 |