Brother International PC-420PRW Users Manual - English - Page 22
Changing the needle stop position, Adjusting the brightness of the LCD, panel, and then press
 |
View all Brother International PC-420PRW manuals
Add to My Manuals
Save this manual to your list of manuals |
Page 22 highlights
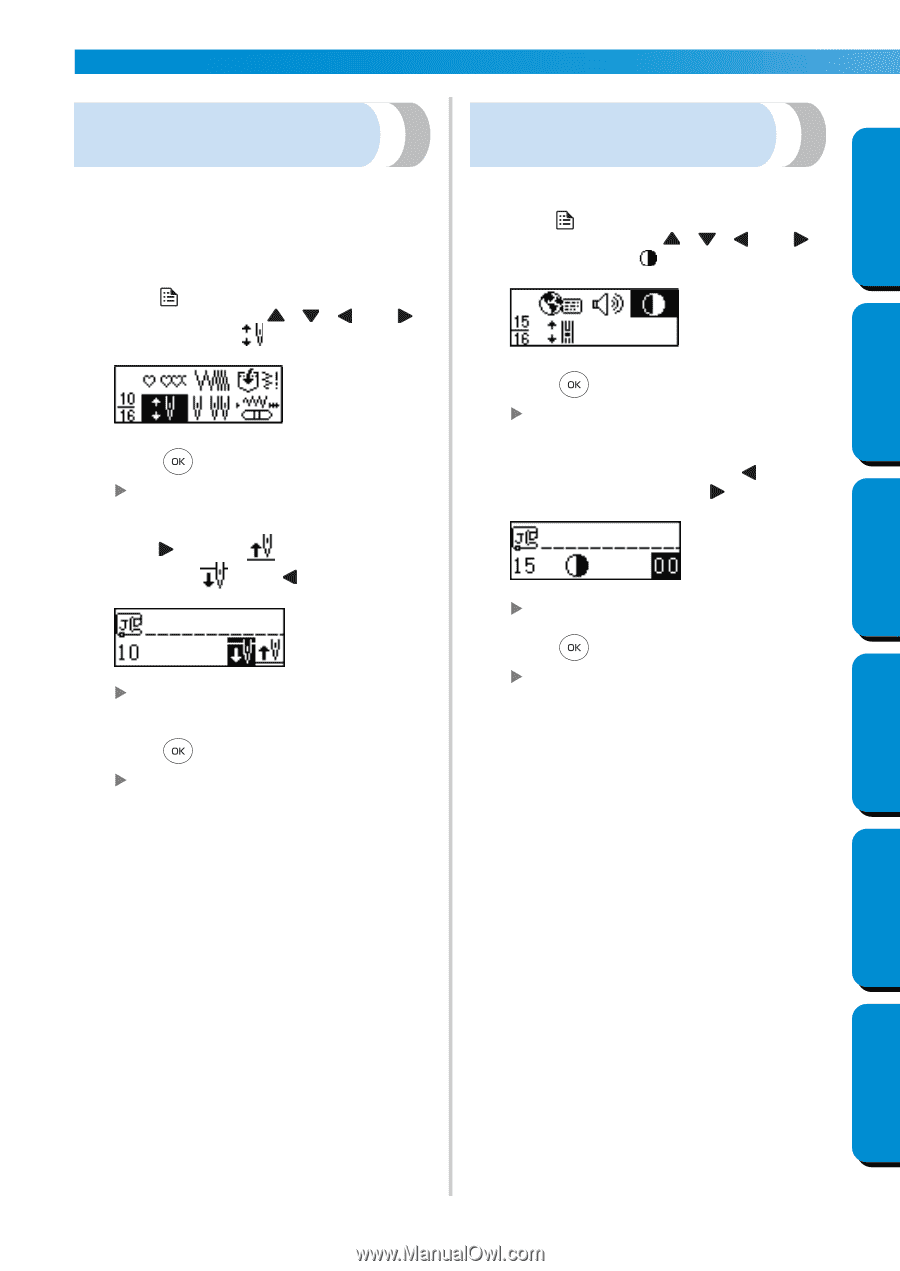
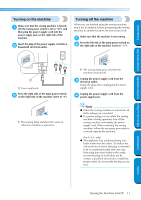
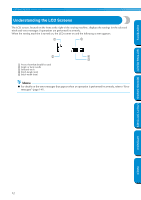
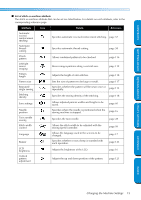
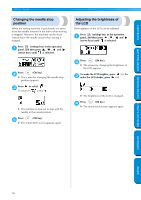
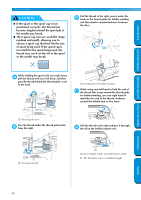
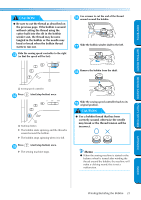
GETTING READY SEWING BASICS UTILITY STITCHES GETTING READY CONTENTS Changing the needle stop position When the sewing machine is purchased, it is set to leave the needle lowered in the fabric when sewing is stopped. However, the machine can be set to instead leave the needle raised when sewing is stopped. Press (settings key) in the operation 1 panel, and then press , , and (arrow keys) until is selected. Press (OK key). 2 X The screen for changing the needle stop position appears. Press to select . 3 To return to , press . X The machine is now set to stop with the needle in the raised position. Press (OK key). 4 X The initial stitch screen appears again. Adjusting the brightness of the LCD The brightness of the LCD can be adjusted. Press (settings key) in the operation 1 panel, and then press , , and (arrow keys) until is selected. Press (OK key). 2 X The screen for changing the brightness of the LCD appears. To make the LCD brighter, press (-). To 3 make the LCD darker, press (+). X The brightness of the LCD is changed. Press (OK key). 4 X The initial stitch screen appears again. APPENDIX INDEX 16
-
 1
1 -
2
-
3
-
4
-
5
-
6
-
7
-
8
-
9
-
10
-
11
-
12
-
13
-
14
-
15
-
16
-
 17
17 -
 18
18 -
 19
19 -
 20
20 -
 21
21 -
 22
22 -
 23
23 -
 24
24 -
 25
25 -
 26
26 -
 27
27 -
28
-
29
-
30
-
31
-
32
-
33
-
34
-
35
-
36
-
37
-
38
-
39
-
40
-
41
-
42
-
43
-
44
-
45
-
46
-
47
-
48
-
49
-
50
-
51
-
52
-
53
-
54
-
55
-
56
-
57
-
58
-
59
-
60
-
61
-
62
-
63
-
64
-
65
-
66
-
67
-
68
-
69
-
70
-
71
-
72
-
73
-
74
-
75
-
76
-
77
-
78
-
79
-
80
-
81
-
82
-
83
-
84
-
85
-
86
-
87
-
88
-
89
-
90
-
91
-
92
-
93
-
94
-
95
-
96
-
97
-
98
-
99
-
100
-
101
-
102
-
103
-
104
-
105
-
106
-
107
-
108
-
109
-
110
-
111
-
112
-
113
-
114
-
115
-
116
-
117
-
118
-
119
-
120
-
121
-
122
-
123
-
124
-
125
-
126
-
127
-
128
-
129
-
130
-
131
-
132
-
133
-
134
-
135
-
136
-
137
-
138
-
139
-
140
-
141
-
142
-
143
-
144
-
145
-
146
-
147
-
148
-
149
-
150
-
151
-
152
-
153
 |
 |