Canon 3543B001AA ZR Instruction Manual - Page 56
Editing to a VCR
 |
UPC - 013803108521
View all Canon 3543B001AA manuals
Add to My Manuals
Save this manual to your list of manuals |
Page 56 highlights
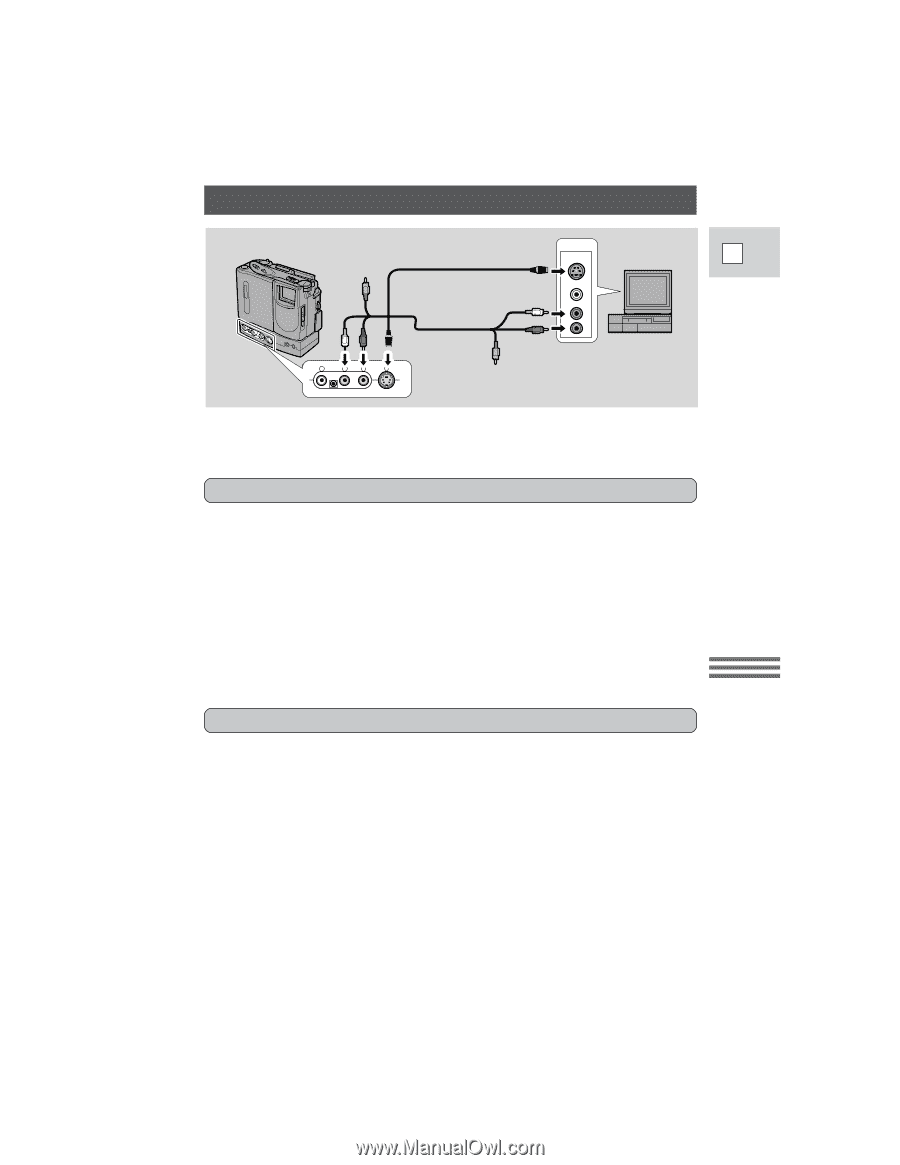
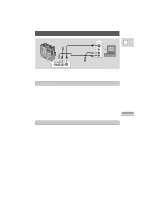
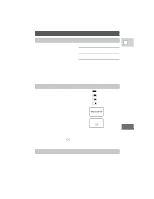
Editing to a VCR Playback the tape on the camcorder. S-150 S-video Cable STV-150 Stereo Video Cable V L R S INPUT S-VIDEO E VIDEO AUDIO L R Record the scenes you want on the VCR. Using the Full Range of Features By connecting the camera to another VCR, you can edit your recordings in order to remove unwanted scenes - or combine different shots to create your own video productions. Preparations 1. Connect the camera to the VCR. • See "Connections for Playback on a TV screen" on p. 22. 2. Prepare the TV and VCR. • Turn on the TV and set it to the video channel, or set the TV/VIDEO selector to VIDEO. • Turn on the VCR, and set its input selector to LINE. Load a blank cassette, and put the VCR in record pause mode. • See your TV and VCR instruction manuals for details. 3. Slide the camera's POWER switch to VCR, and load your recorded cassette. Basic Recording 1. Find a point on your recorded cassette slightly ahead of the section you want to copy. 2. Start to play it back while you monitor the picture on the TV. 3. Start recording on the VCR as soon as the section you want to copy appears on the screen. 4. Pause the VCR at the end of the section you want to copy, then stop playback on the camera. 5. Repeat steps 1 to 4 until your edited recording is complete. Note: • The quality of the edited tape will be slightly lower than that of the original. 57
-
 1
1 -
2
-
3
-
4
-
5
-
6
-
7
-
8
-
9
-
10
-
11
-
12
-
13
-
14
-
15
-
16
-
17
-
18
-
19
-
20
-
21
-
22
-
23
-
24
-
25
-
26
-
27
-
28
-
29
-
30
-
31
-
32
-
33
-
34
-
35
-
36
-
37
-
38
-
39
-
40
-
41
-
42
-
43
-
44
-
45
-
46
-
47
-
48
-
49
-
50
-
 51
51 -
 52
52 -
 53
53 -
 54
54 -
 55
55 -
 56
56 -
 57
57 -
 58
58 -
 59
59 -
 60
60 -
 61
61 -
62
-
63
-
64
-
65
-
66
-
67
-
68
-
69
-
70
-
71
-
72
-
73
-
74
-
75
-
76
-
77
-
78
-
79
-
80
-
81
-
82
-
83
-
84
-
85
 |
 |