Canon 3543B001AA ZR Instruction Manual - Page 7
Powering Your Camcorder
 |
UPC - 013803108521
View all Canon 3543B001AA manuals
Add to My Manuals
Save this manual to your list of manuals |
Page 7 highlights
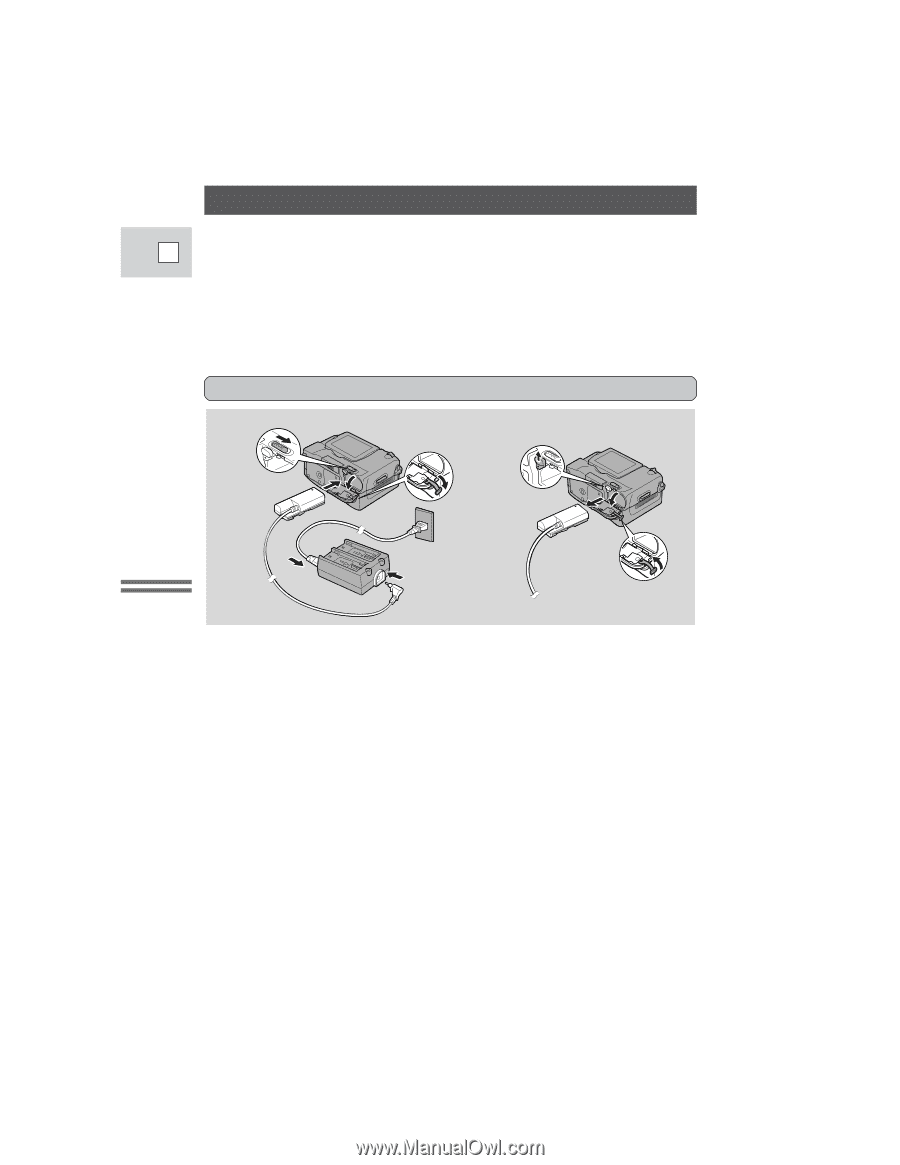
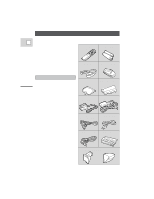
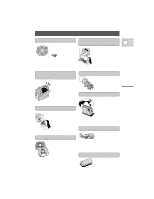
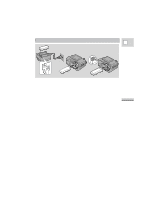
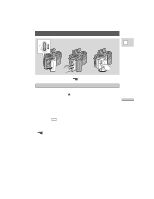
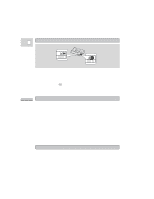
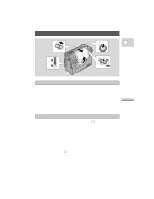
B A Powering Your Camcorder Before operating your camera, you will need to use the power adapter to: E provide power from an AC outlet or charge battery packs Notes: • The power adapter converts current from a household power socket (100-240 V AC, 50/60 Hz) to the DC current used by your camera. • If the adapter is used next to a TV, it may cause the TV to emit noise - move the adapter away from the TV or the antenna cable. Connecting the camera to an AC outlet 1 2 6 5 4 3 Use the power adapter and the DC coupler to provide your camera with instant power from an AC outlet. 1. Slide the battery cover release switch in the direction of the arrow. • The battery cover flips open. 2. Insert the DC coupler into the camera, in the direction of the arrow until it clicks into place. • Lift up and pull the small rubber stopper out slightly and feed the cable through the opening. You can now close the battery cover. 3. Connect the DC coupler to the adapter. 4. Connect the power cable to the adapter. 5. Plug the power cable into an AC outlet. 6. Remove the DC coupler after use. • Place the camera on its side before removing the coupler, since the coupler may drop out when you press the battery release knob. • Slide across the battery cover release switch (and replace the small rubber stopper). • Press the battery release knob (orange) upwards. • Always turn the camera off before removing the power source. 8 Mastering the Basics
-
 1
1 -
 2
2 -
 3
3 -
 4
4 -
 5
5 -
 6
6 -
 7
7 -
 8
8 -
 9
9 -
 10
10 -
 11
11 -
 12
12 -
13
-
14
-
15
-
16
-
17
-
18
-
19
-
20
-
21
-
22
-
23
-
24
-
25
-
26
-
27
-
28
-
29
-
30
-
31
-
32
-
33
-
34
-
35
-
36
-
37
-
38
-
39
-
40
-
41
-
42
-
43
-
44
-
45
-
46
-
47
-
48
-
49
-
50
-
51
-
52
-
53
-
54
-
55
-
56
-
57
-
58
-
59
-
60
-
61
-
62
-
63
-
64
-
65
-
66
-
67
-
68
-
69
-
70
-
71
-
72
-
73
-
74
-
75
-
76
-
77
-
78
-
79
-
80
-
81
-
82
-
83
-
84
-
85
 |
 |